Groupmail includes a library of professionally designed email templates you can customise in a visual drag-and-drop editor — no HTML or coding required. Pick a template, swap in your content, and send.
Choose a Template
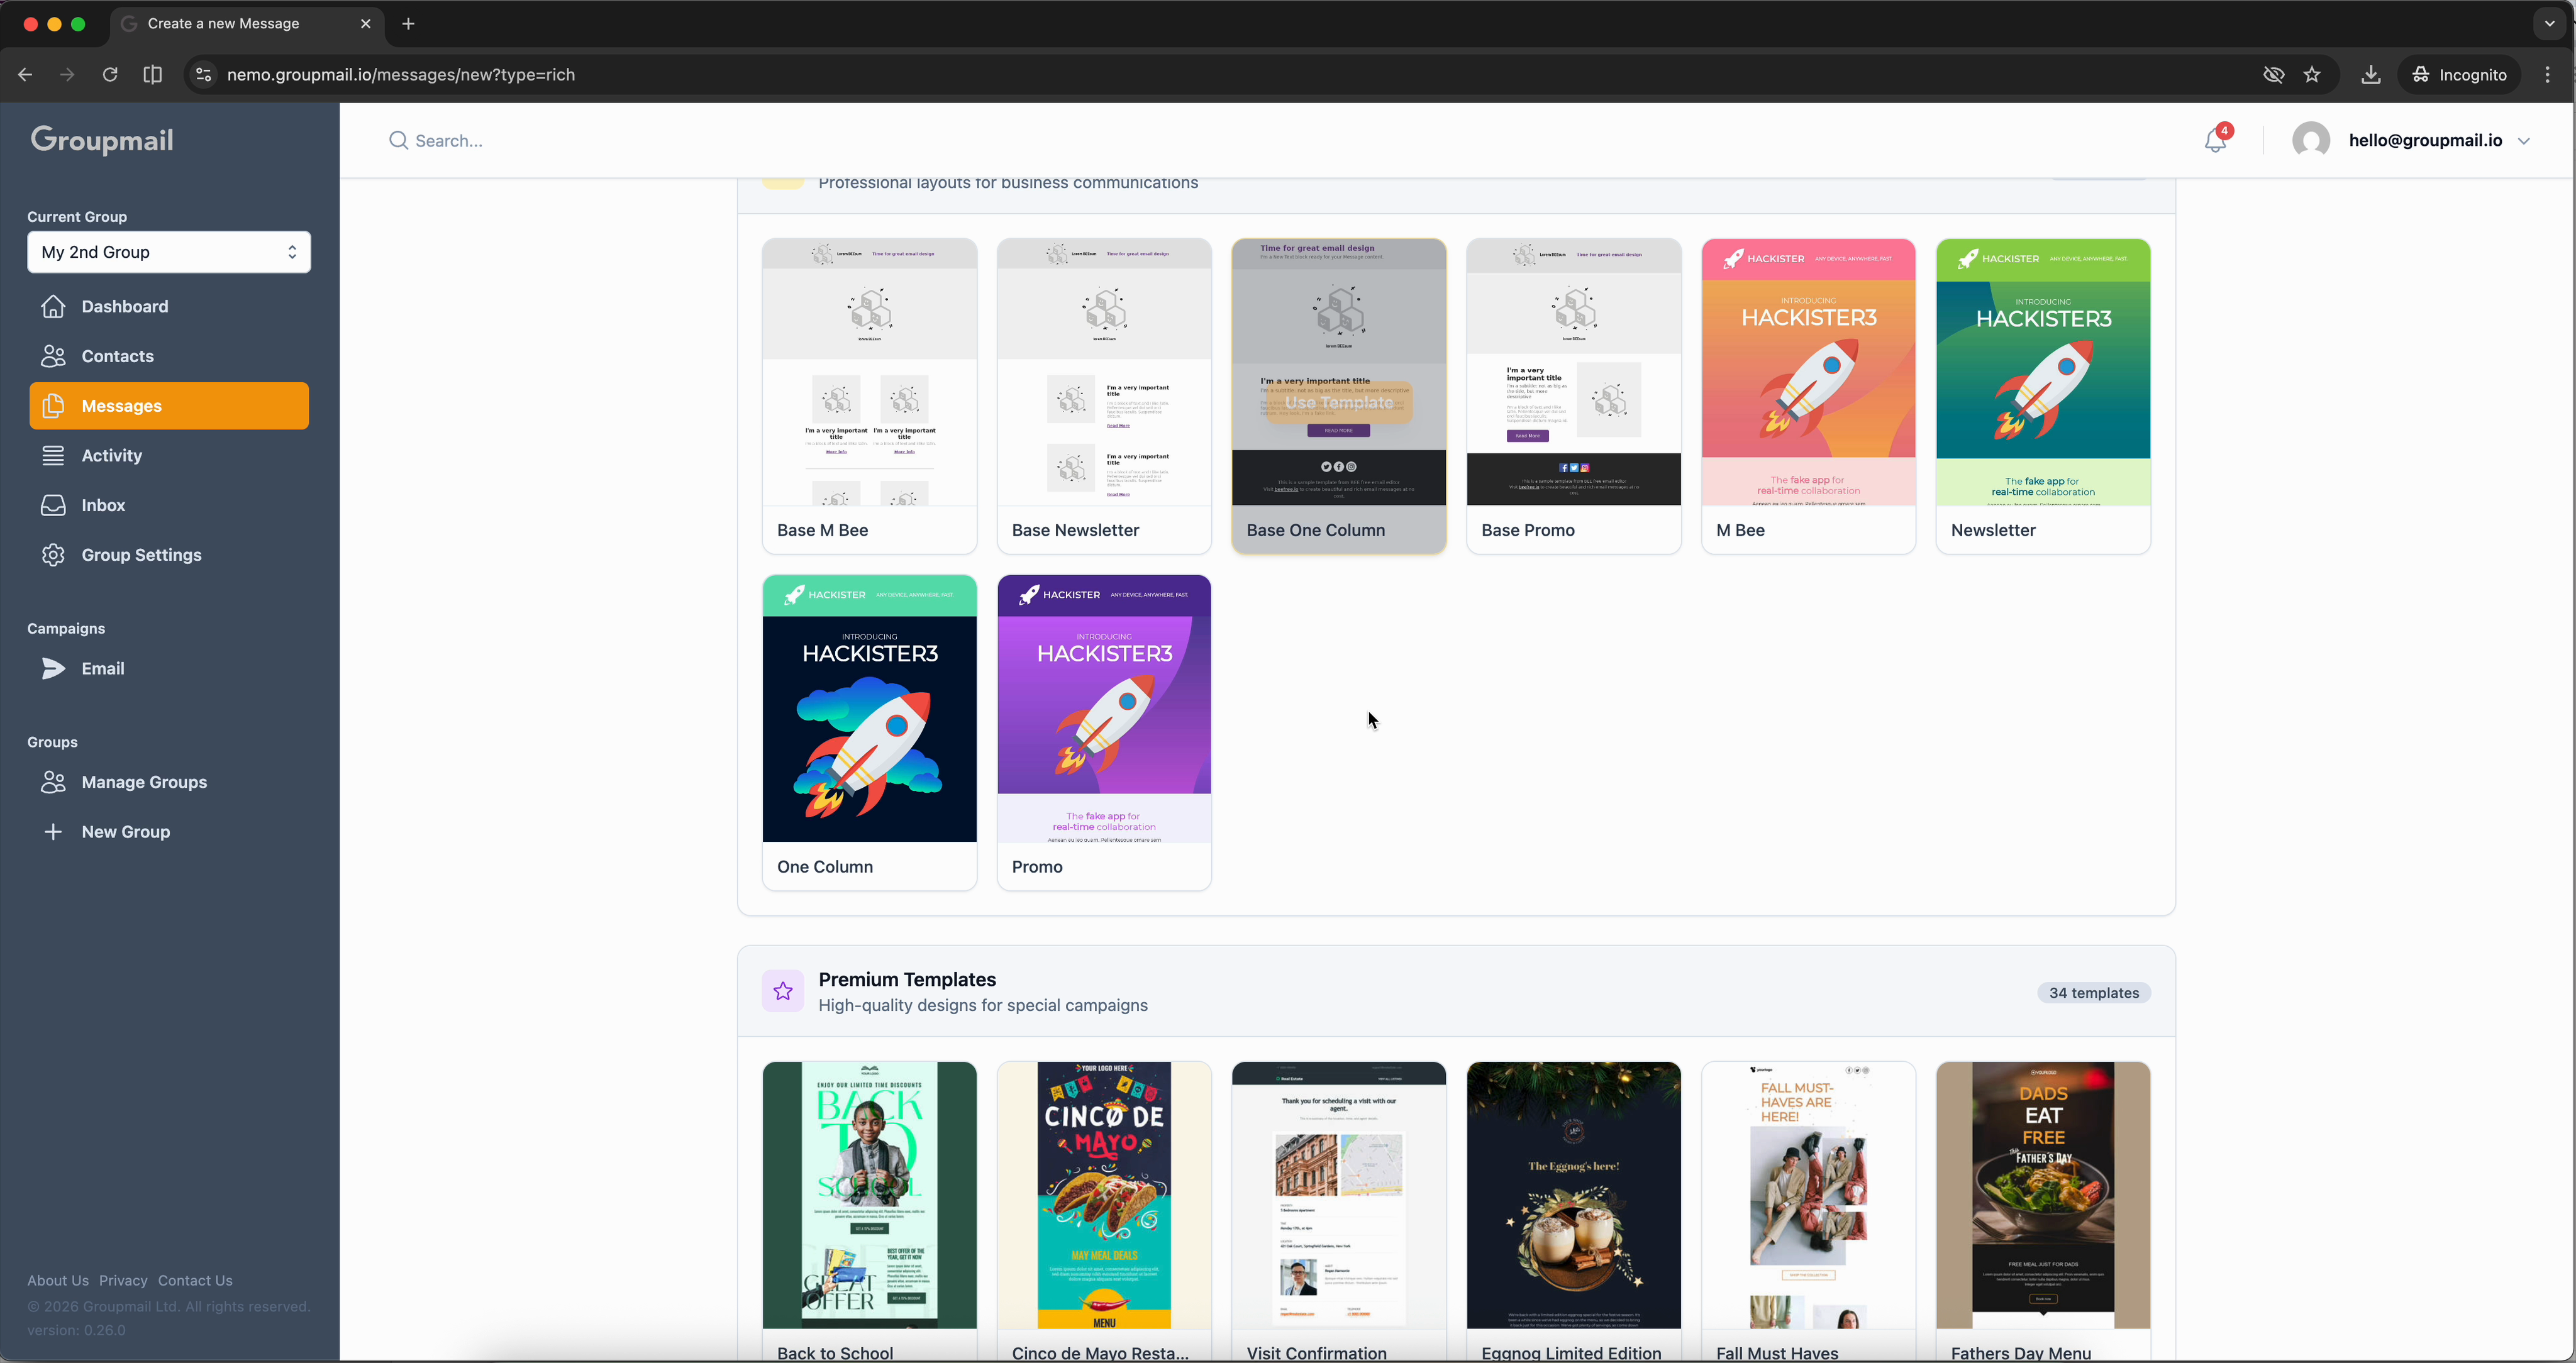
From the Messages page, click New Message and select From Template. You'll see a gallery with two sections: base templates for clean starting points and premium templates for polished, campaign-ready designs.
Browse the gallery and click any template to select it. Each one is fully customisable, so choose whichever layout best fits your campaign.
The Drag-and-Drop Editor
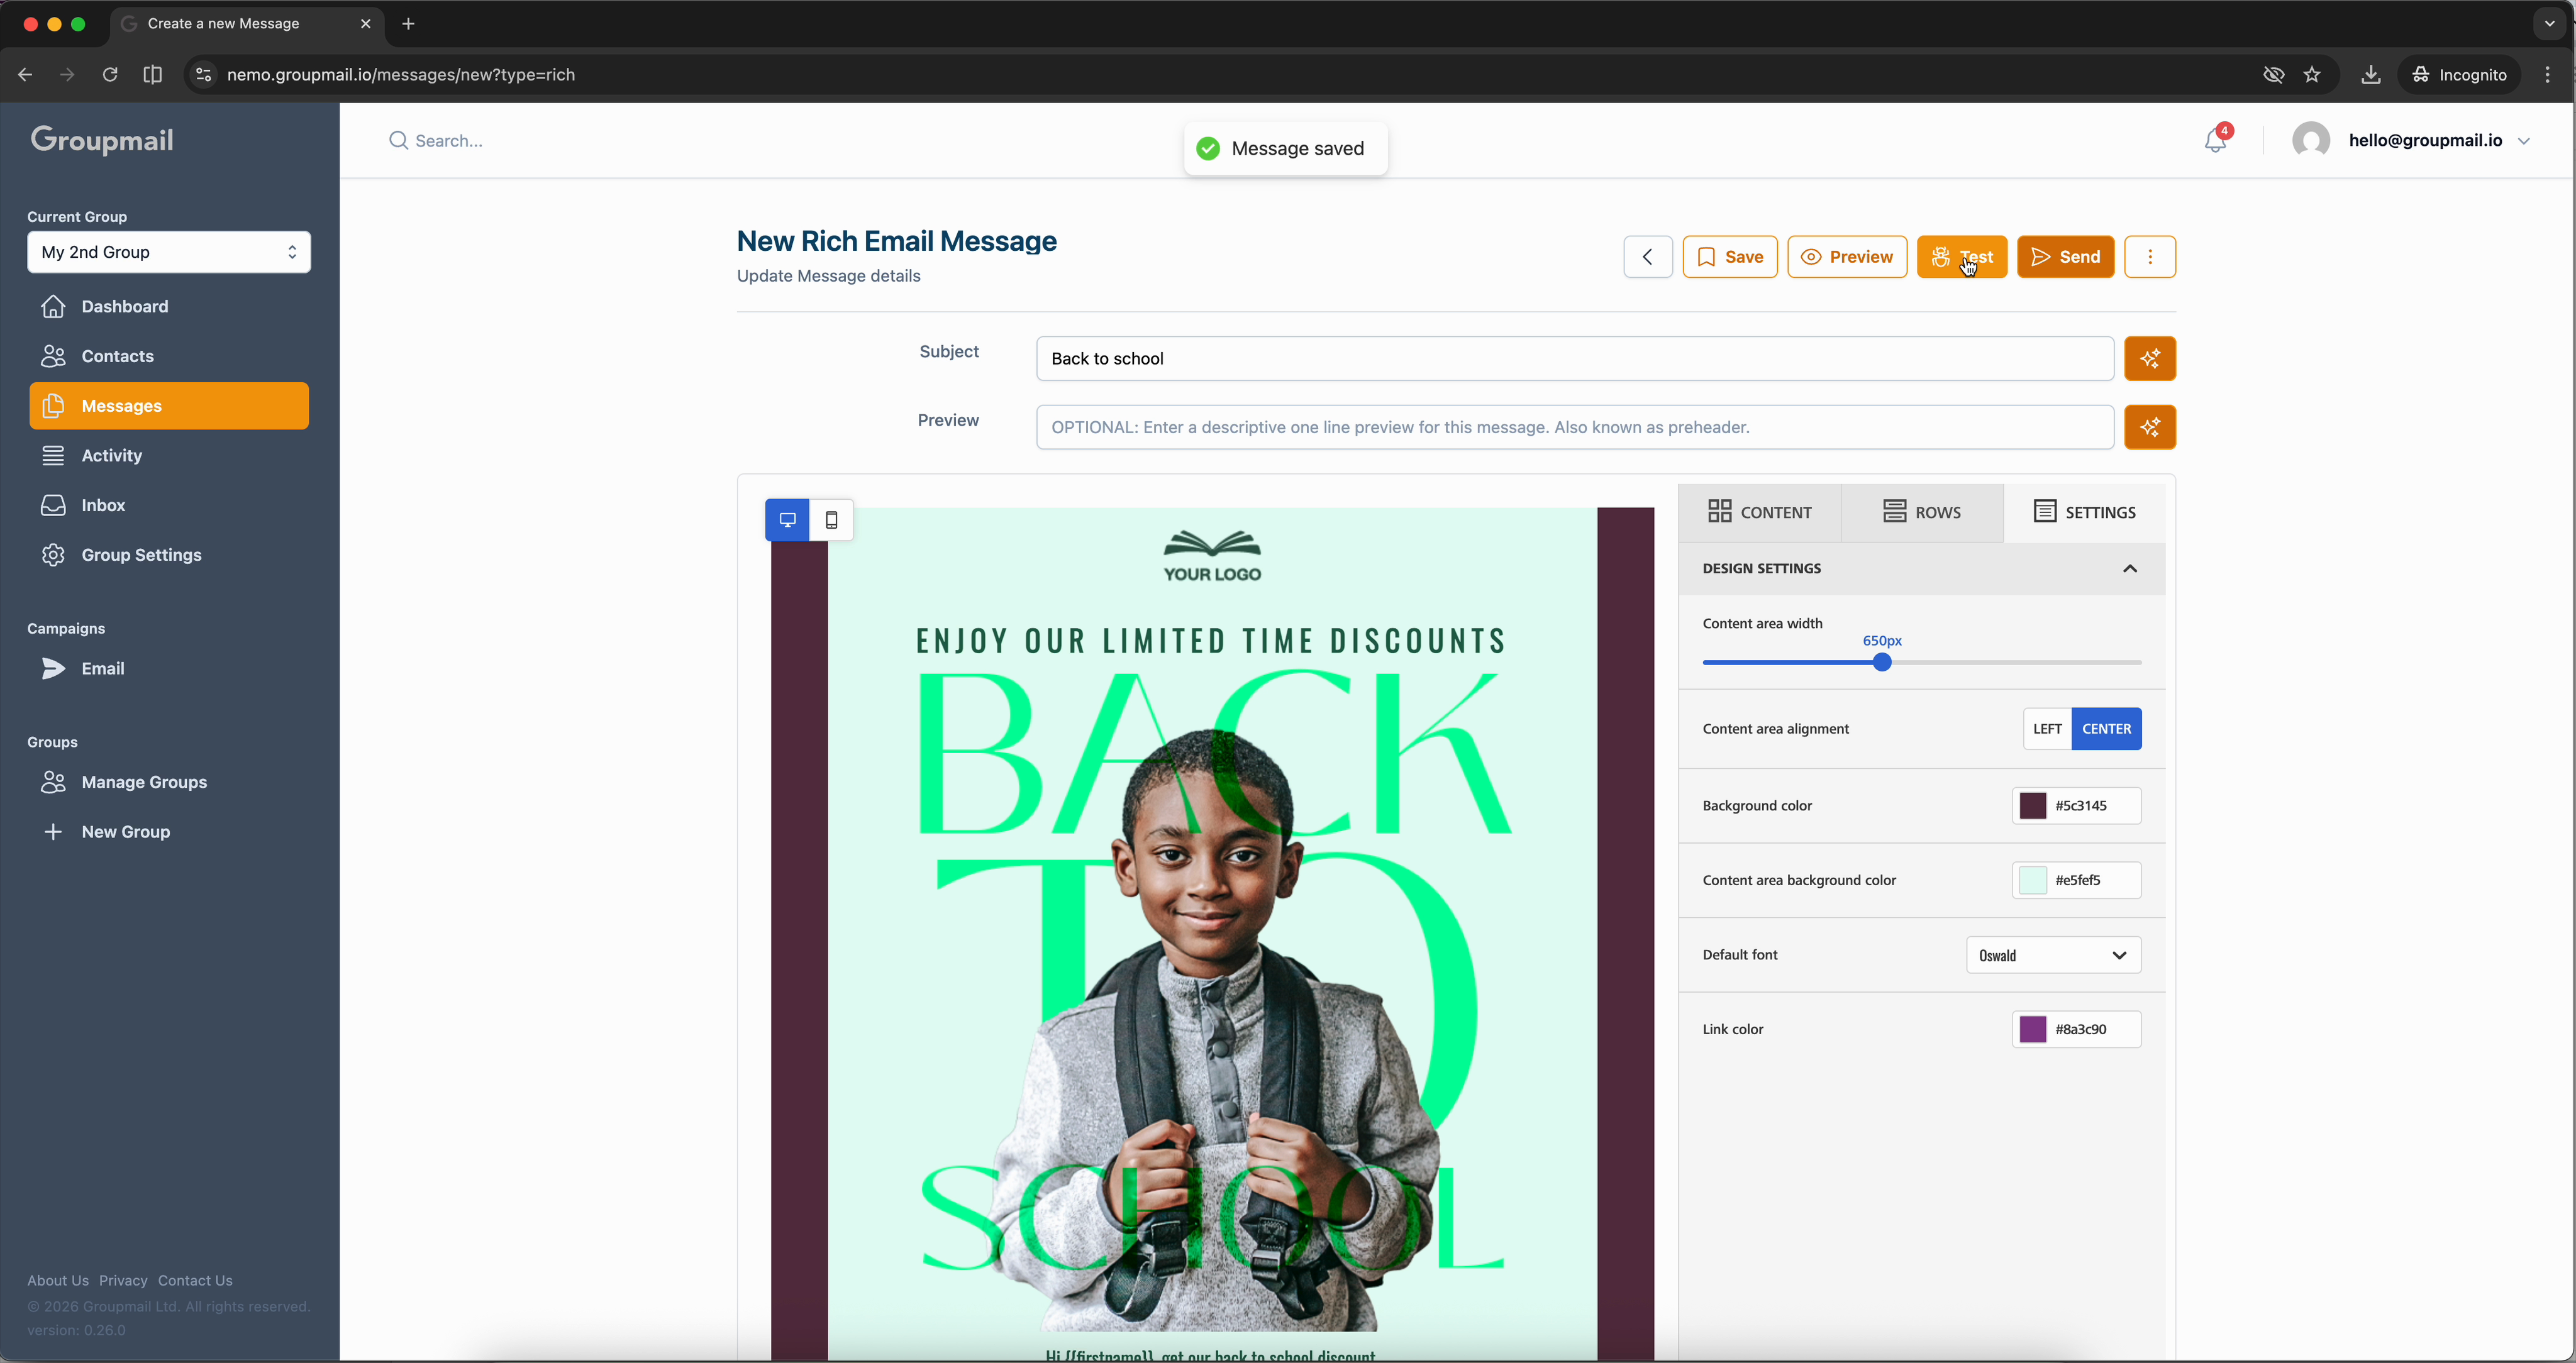
Once you select a template, it opens in the visual editor. The email preview sits on the left, and the editing panel on the right has three tabs: Content, Rows, and Settings.
At the top of the page, enter your Subject line and an optional Preview text (the preheader that appears in inboxes alongside the subject). Both fields also have an AI button to generate suggestions.
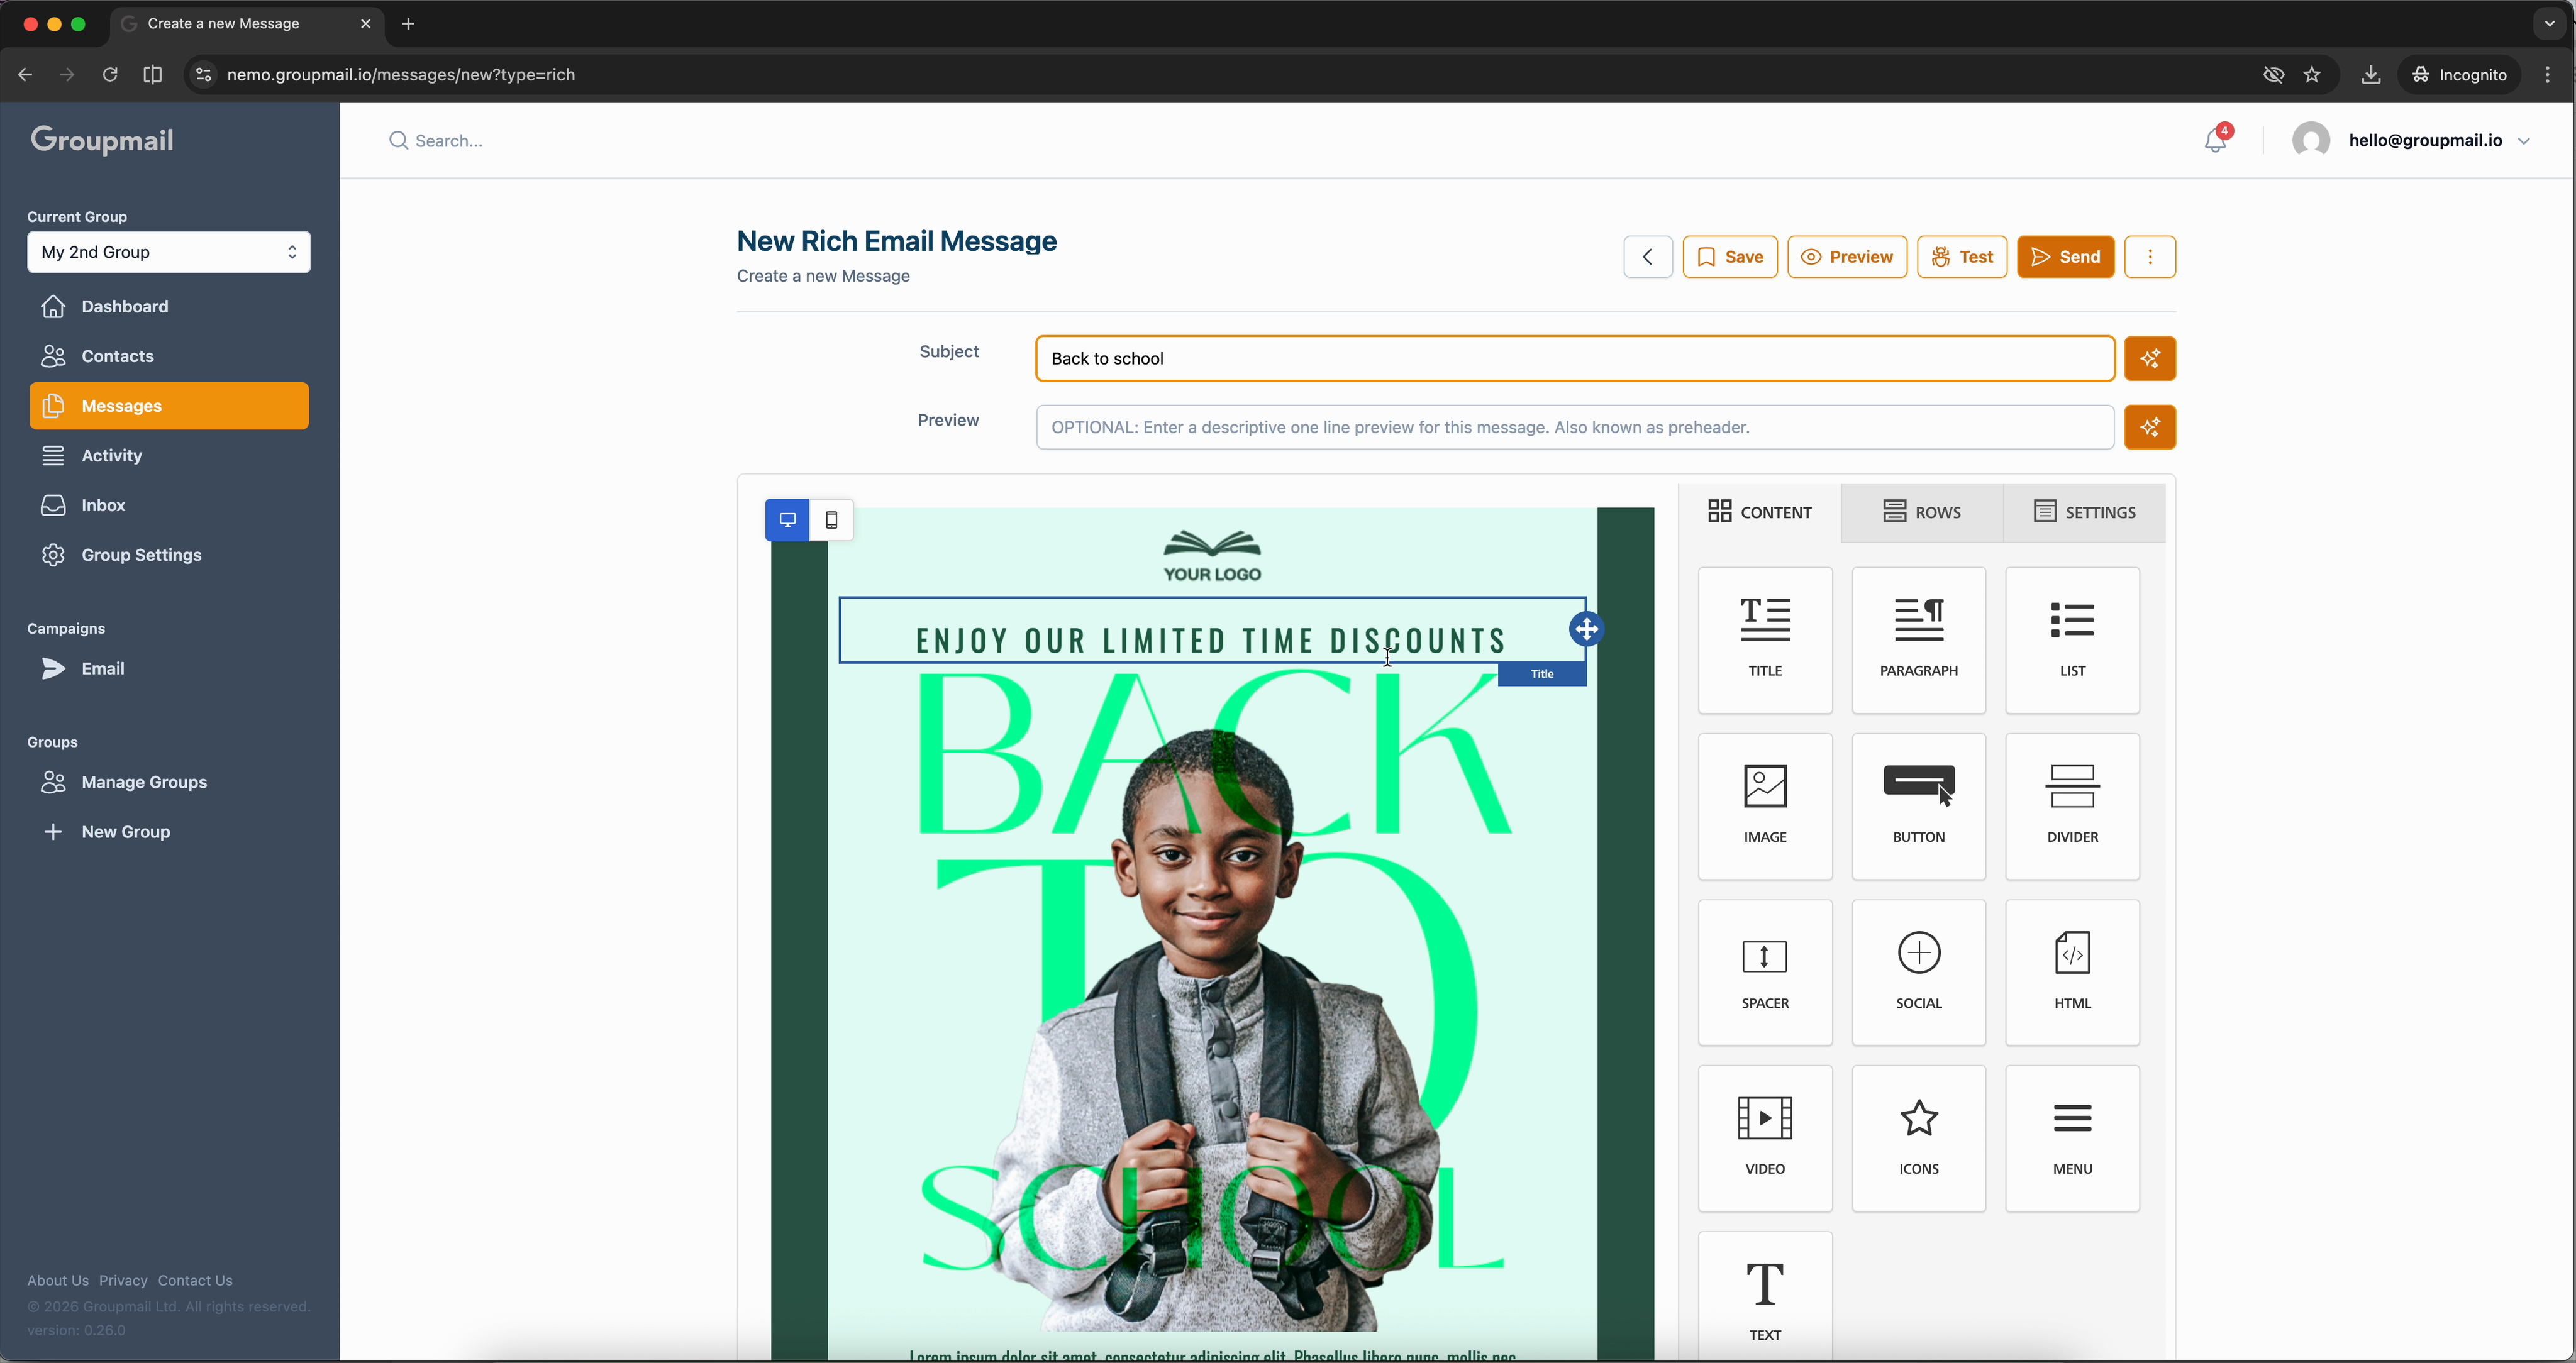
The Content tab shows blocks you can drag into the template — titles, paragraphs, images, buttons, dividers, social links, videos, icons, and more. Just drag any block from the panel and drop it wherever you want in the email.
Edit Text and Personalise
Click any text element in the template to edit it inline. A floating toolbar appears with formatting options — bold, italic, underline, text colour, alignment, links, and more. You'll also see buttons for Special Links and Merge Tags.
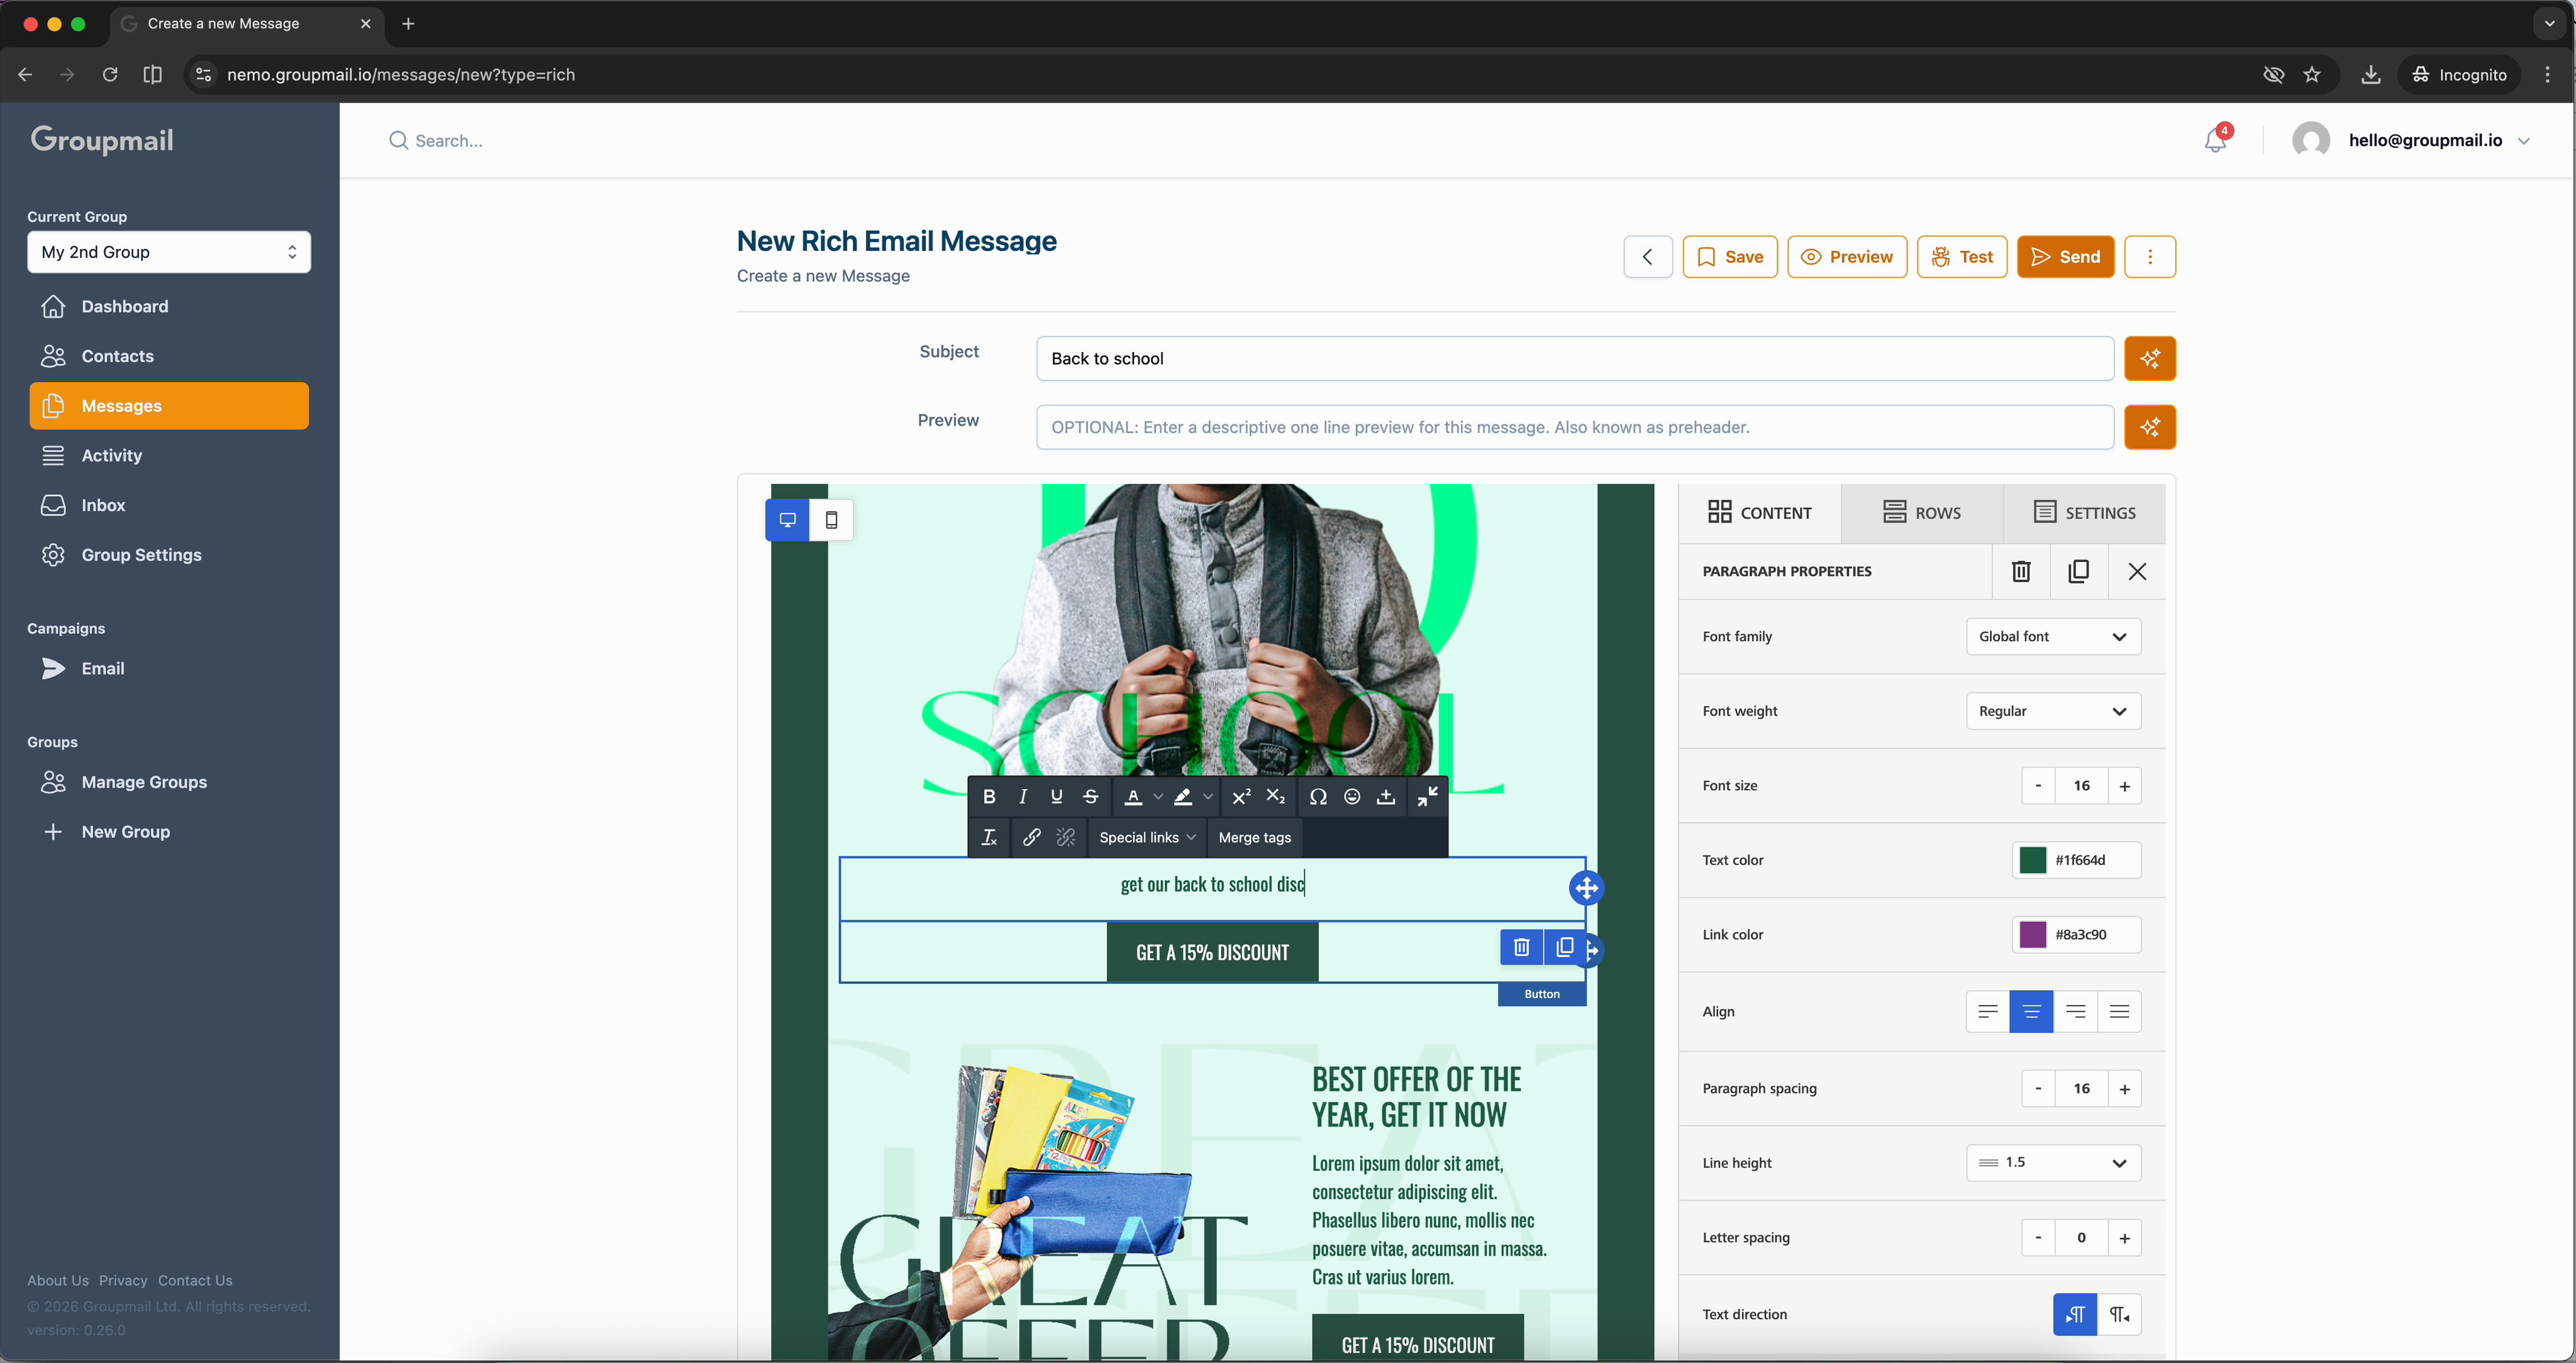
Merge tags turn a single template into a personal message for every subscriber — use them in headings, body text, or even buttons.
Insert merge tags like {{firstname}} to personalise your emails. The preview panel on the right shows how these will render with real contact data.
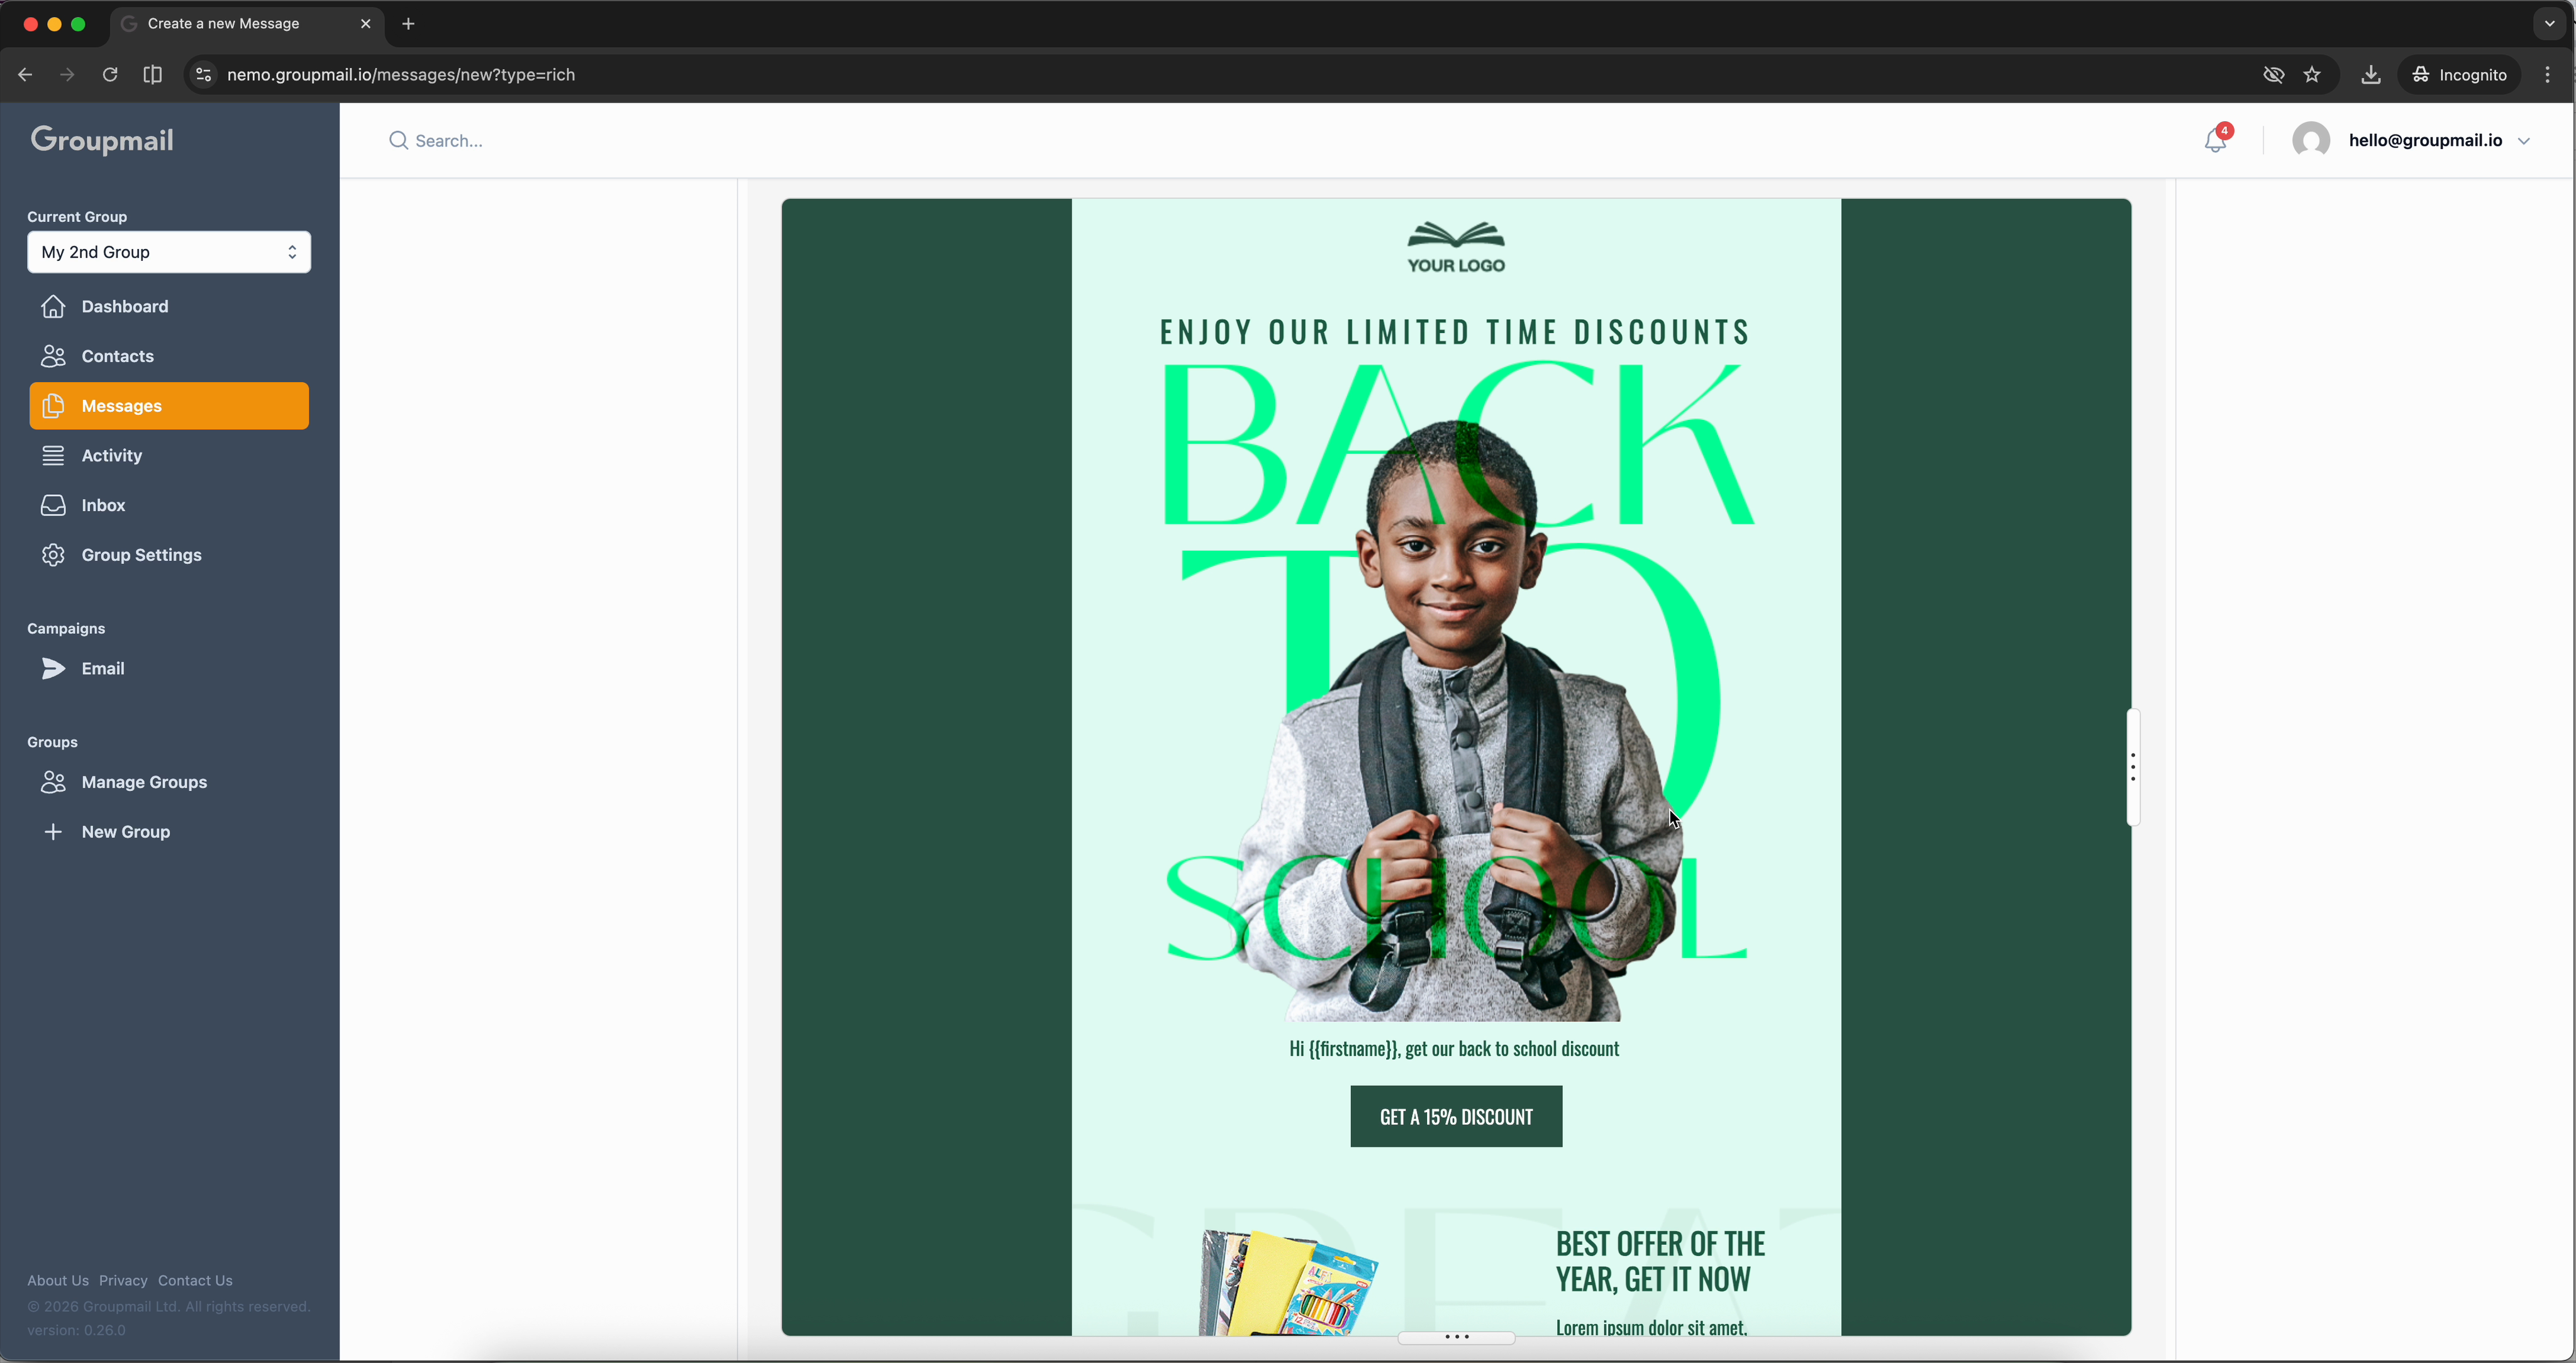
Preview Your Email
Click Preview in the toolbar to see a full-width view of your email exactly as subscribers will receive it. This is the best way to check your layout, images, and content before sending.
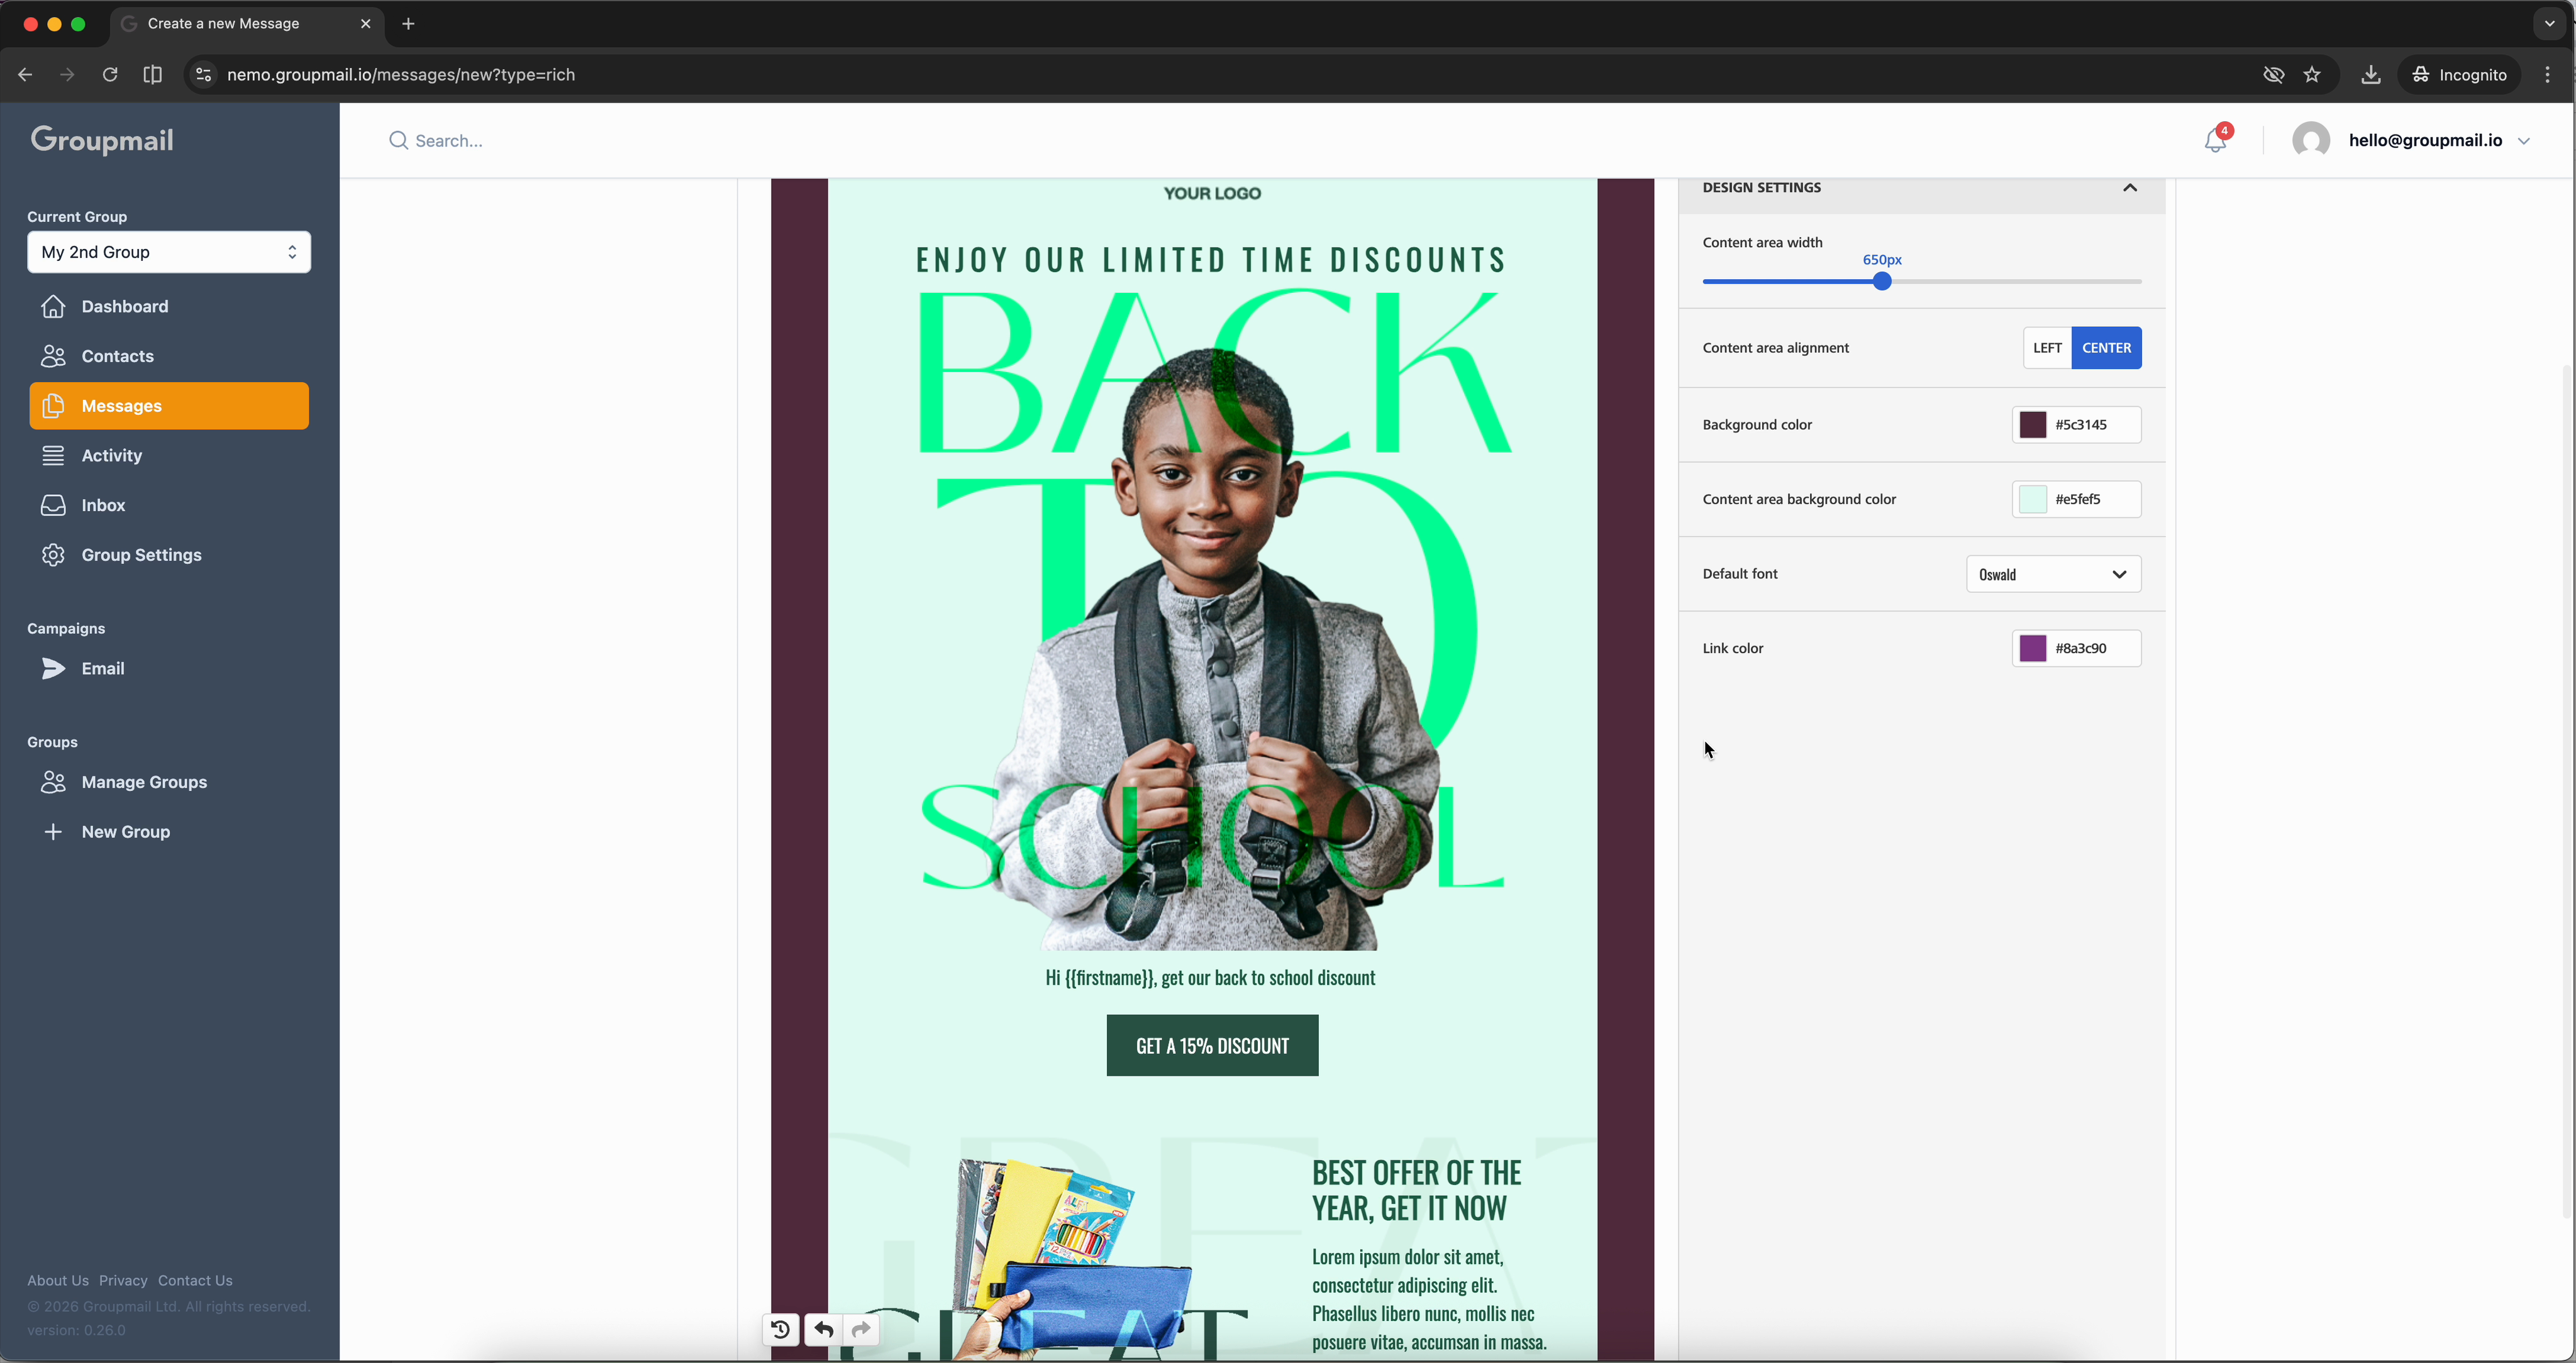
Adjust Design Settings
Switch to the Settings tab in the editing panel to control global design options. Here you can adjust the content area width, alignment (left or centre), background colour, content area background colour, default font, and link colour. These settings apply across the entire template.
Save, Test, and Send
When your email looks right, click Save. You'll see a confirmation toast. Click Test to send yourself a preview email and check how it looks in a real inbox.
Once you're happy with everything, your template-based email is ready to send. Click Send to deliver it, or save it for later — all saved messages are available on the Messages page.