Once you've created a message — whether as a newsletter, from a template, or in the advanced editor — the next step is sending it as a campaign. The campaign wizard walks you through naming, audience selection, and delivery in three simple steps.
Start a New Campaign
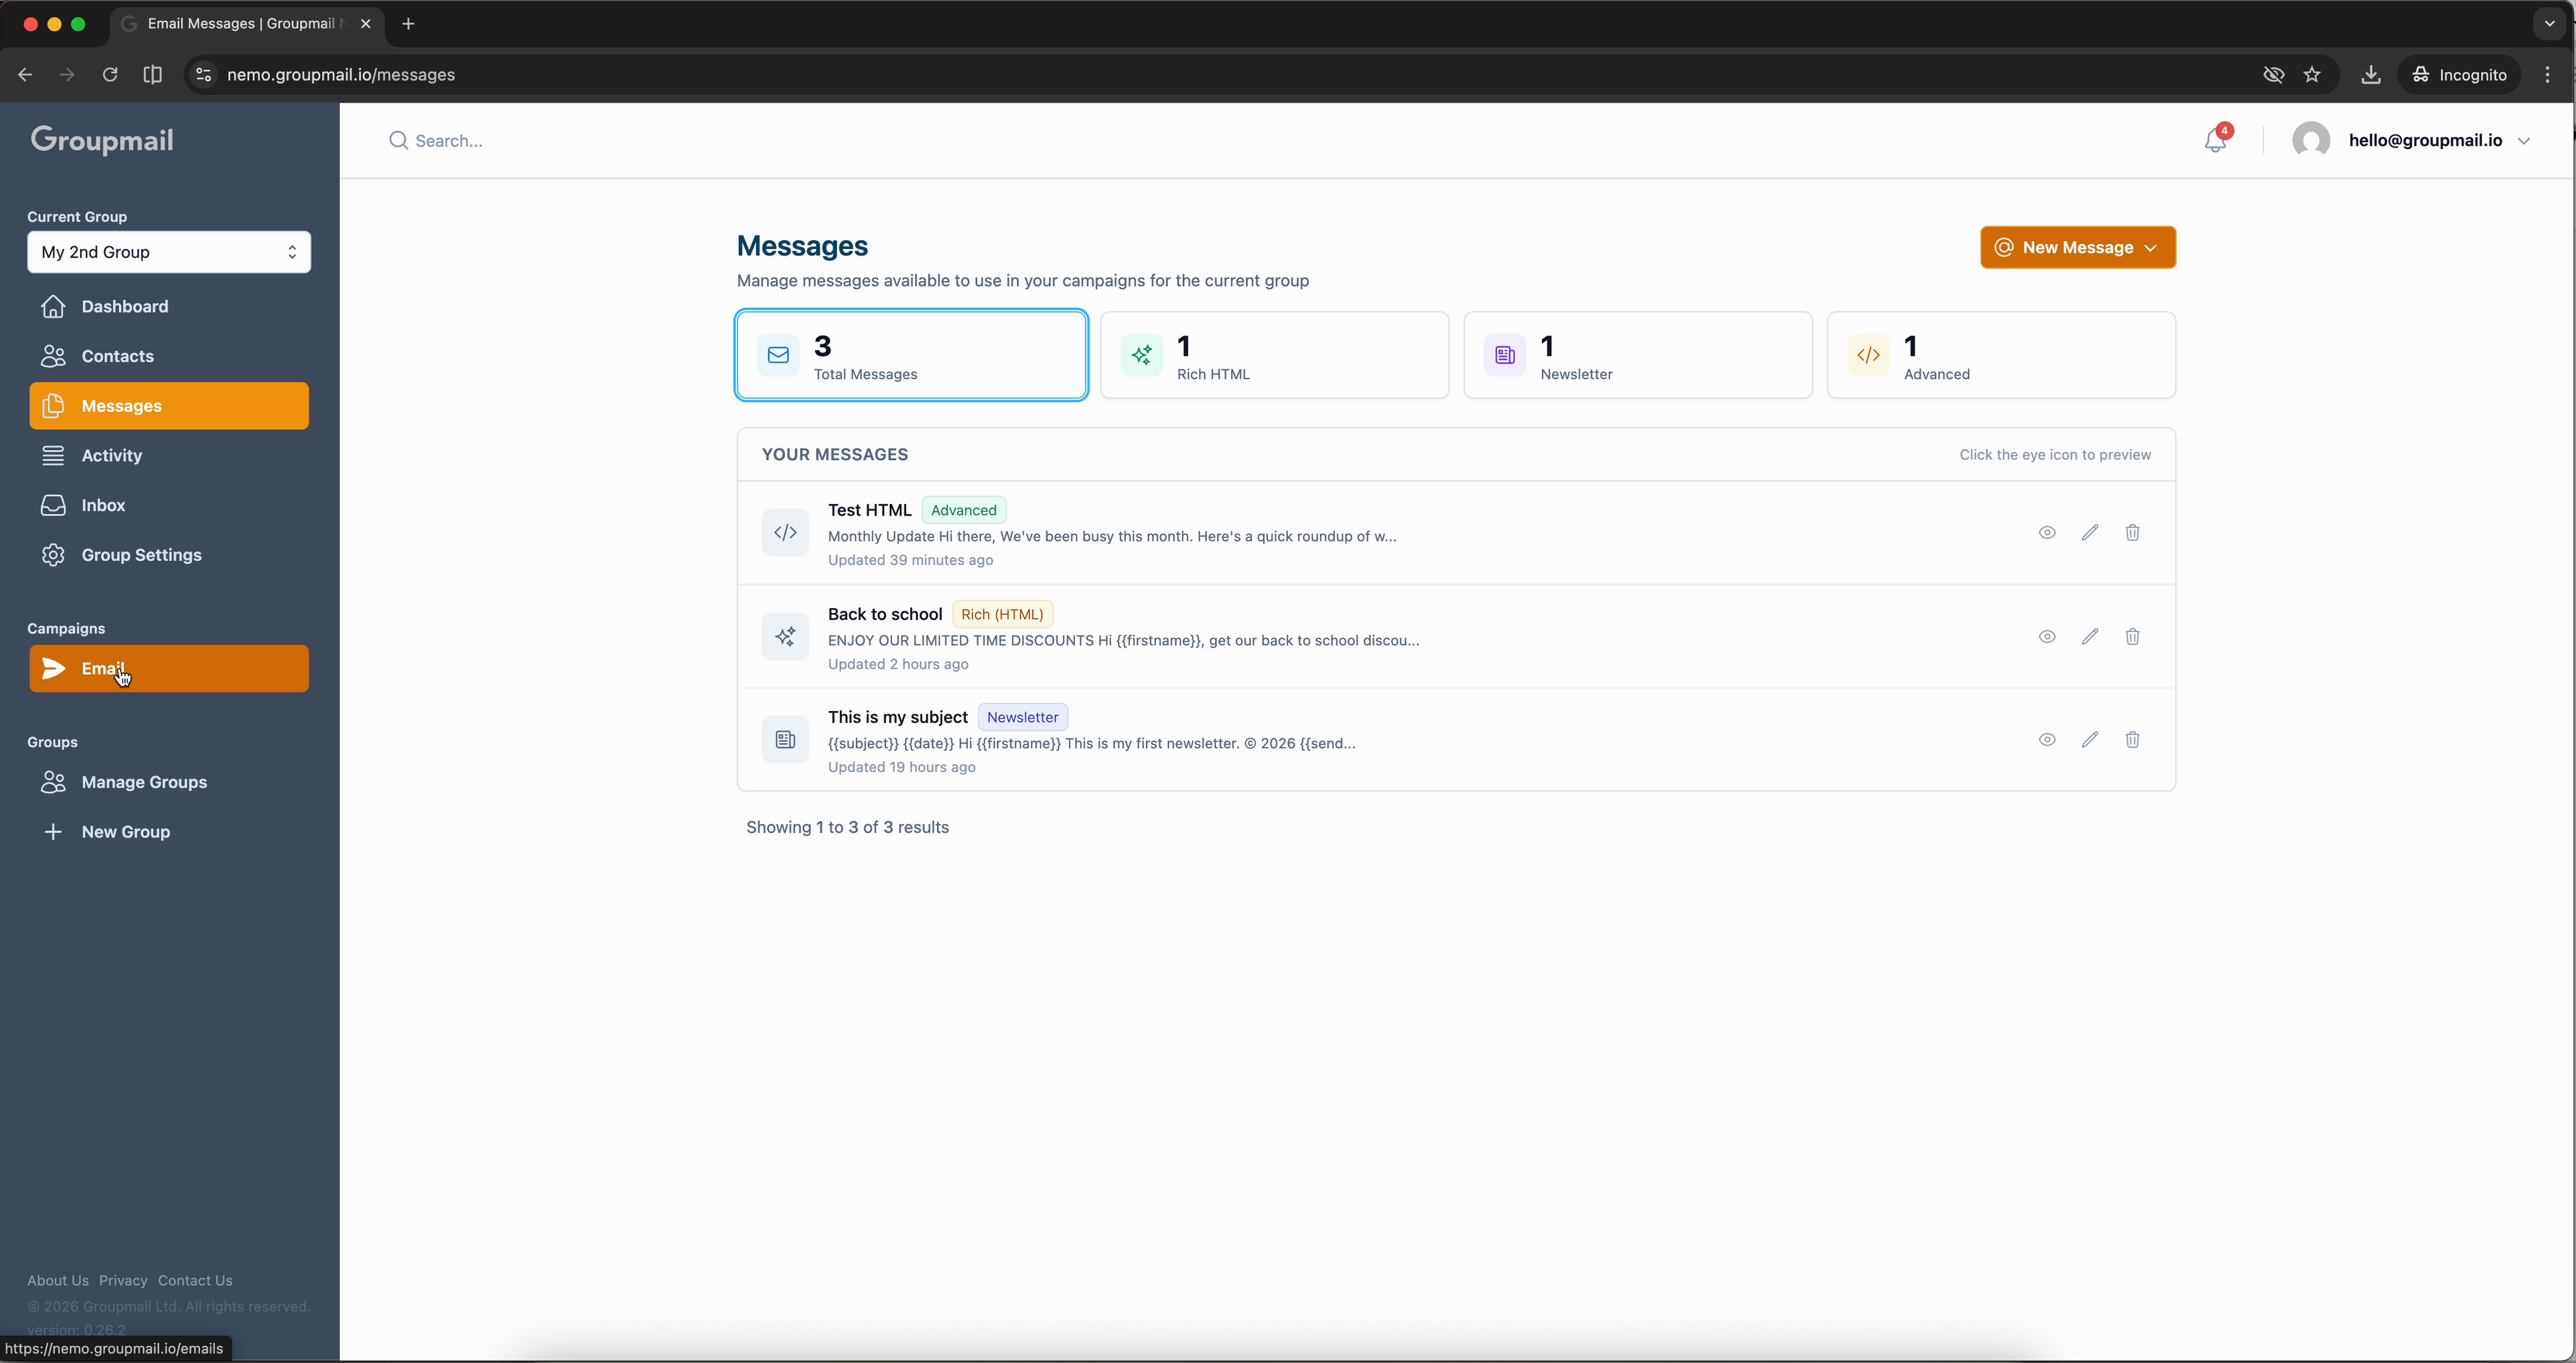
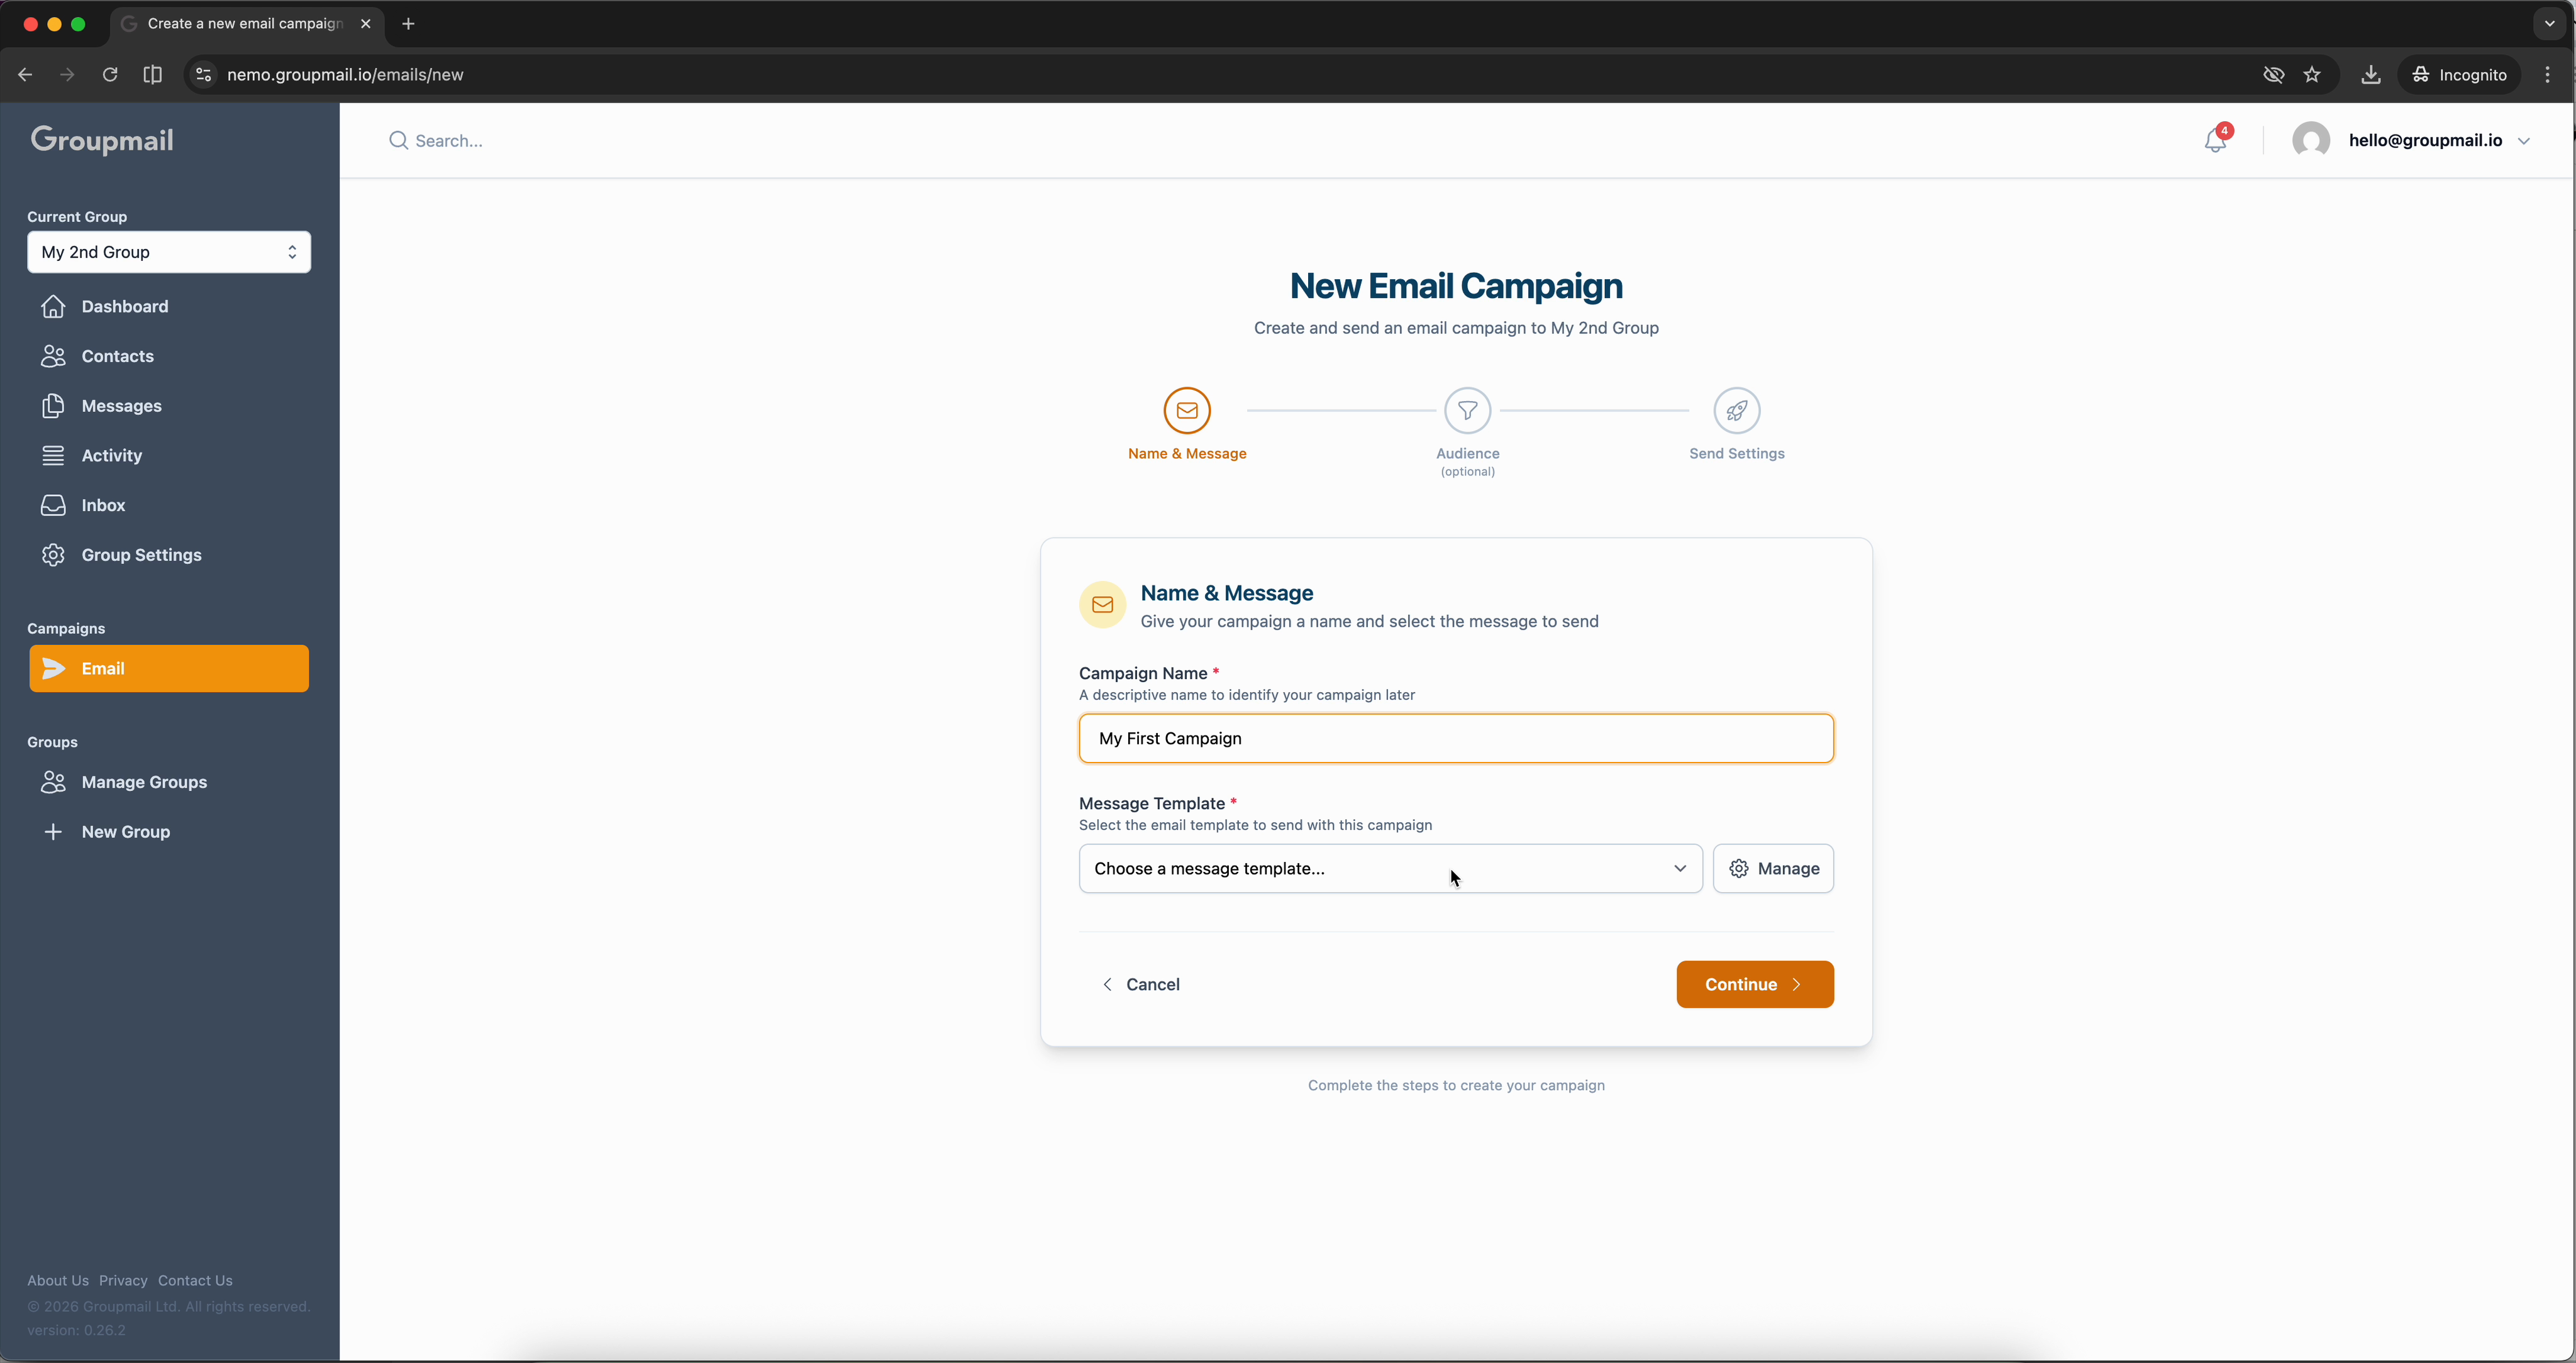
From the sidebar, click Email under Campaigns, then click New Campaign. The wizard opens with a progress bar showing three steps: Name & Message, Audience, and Send Settings.
Step 1: Name & Message
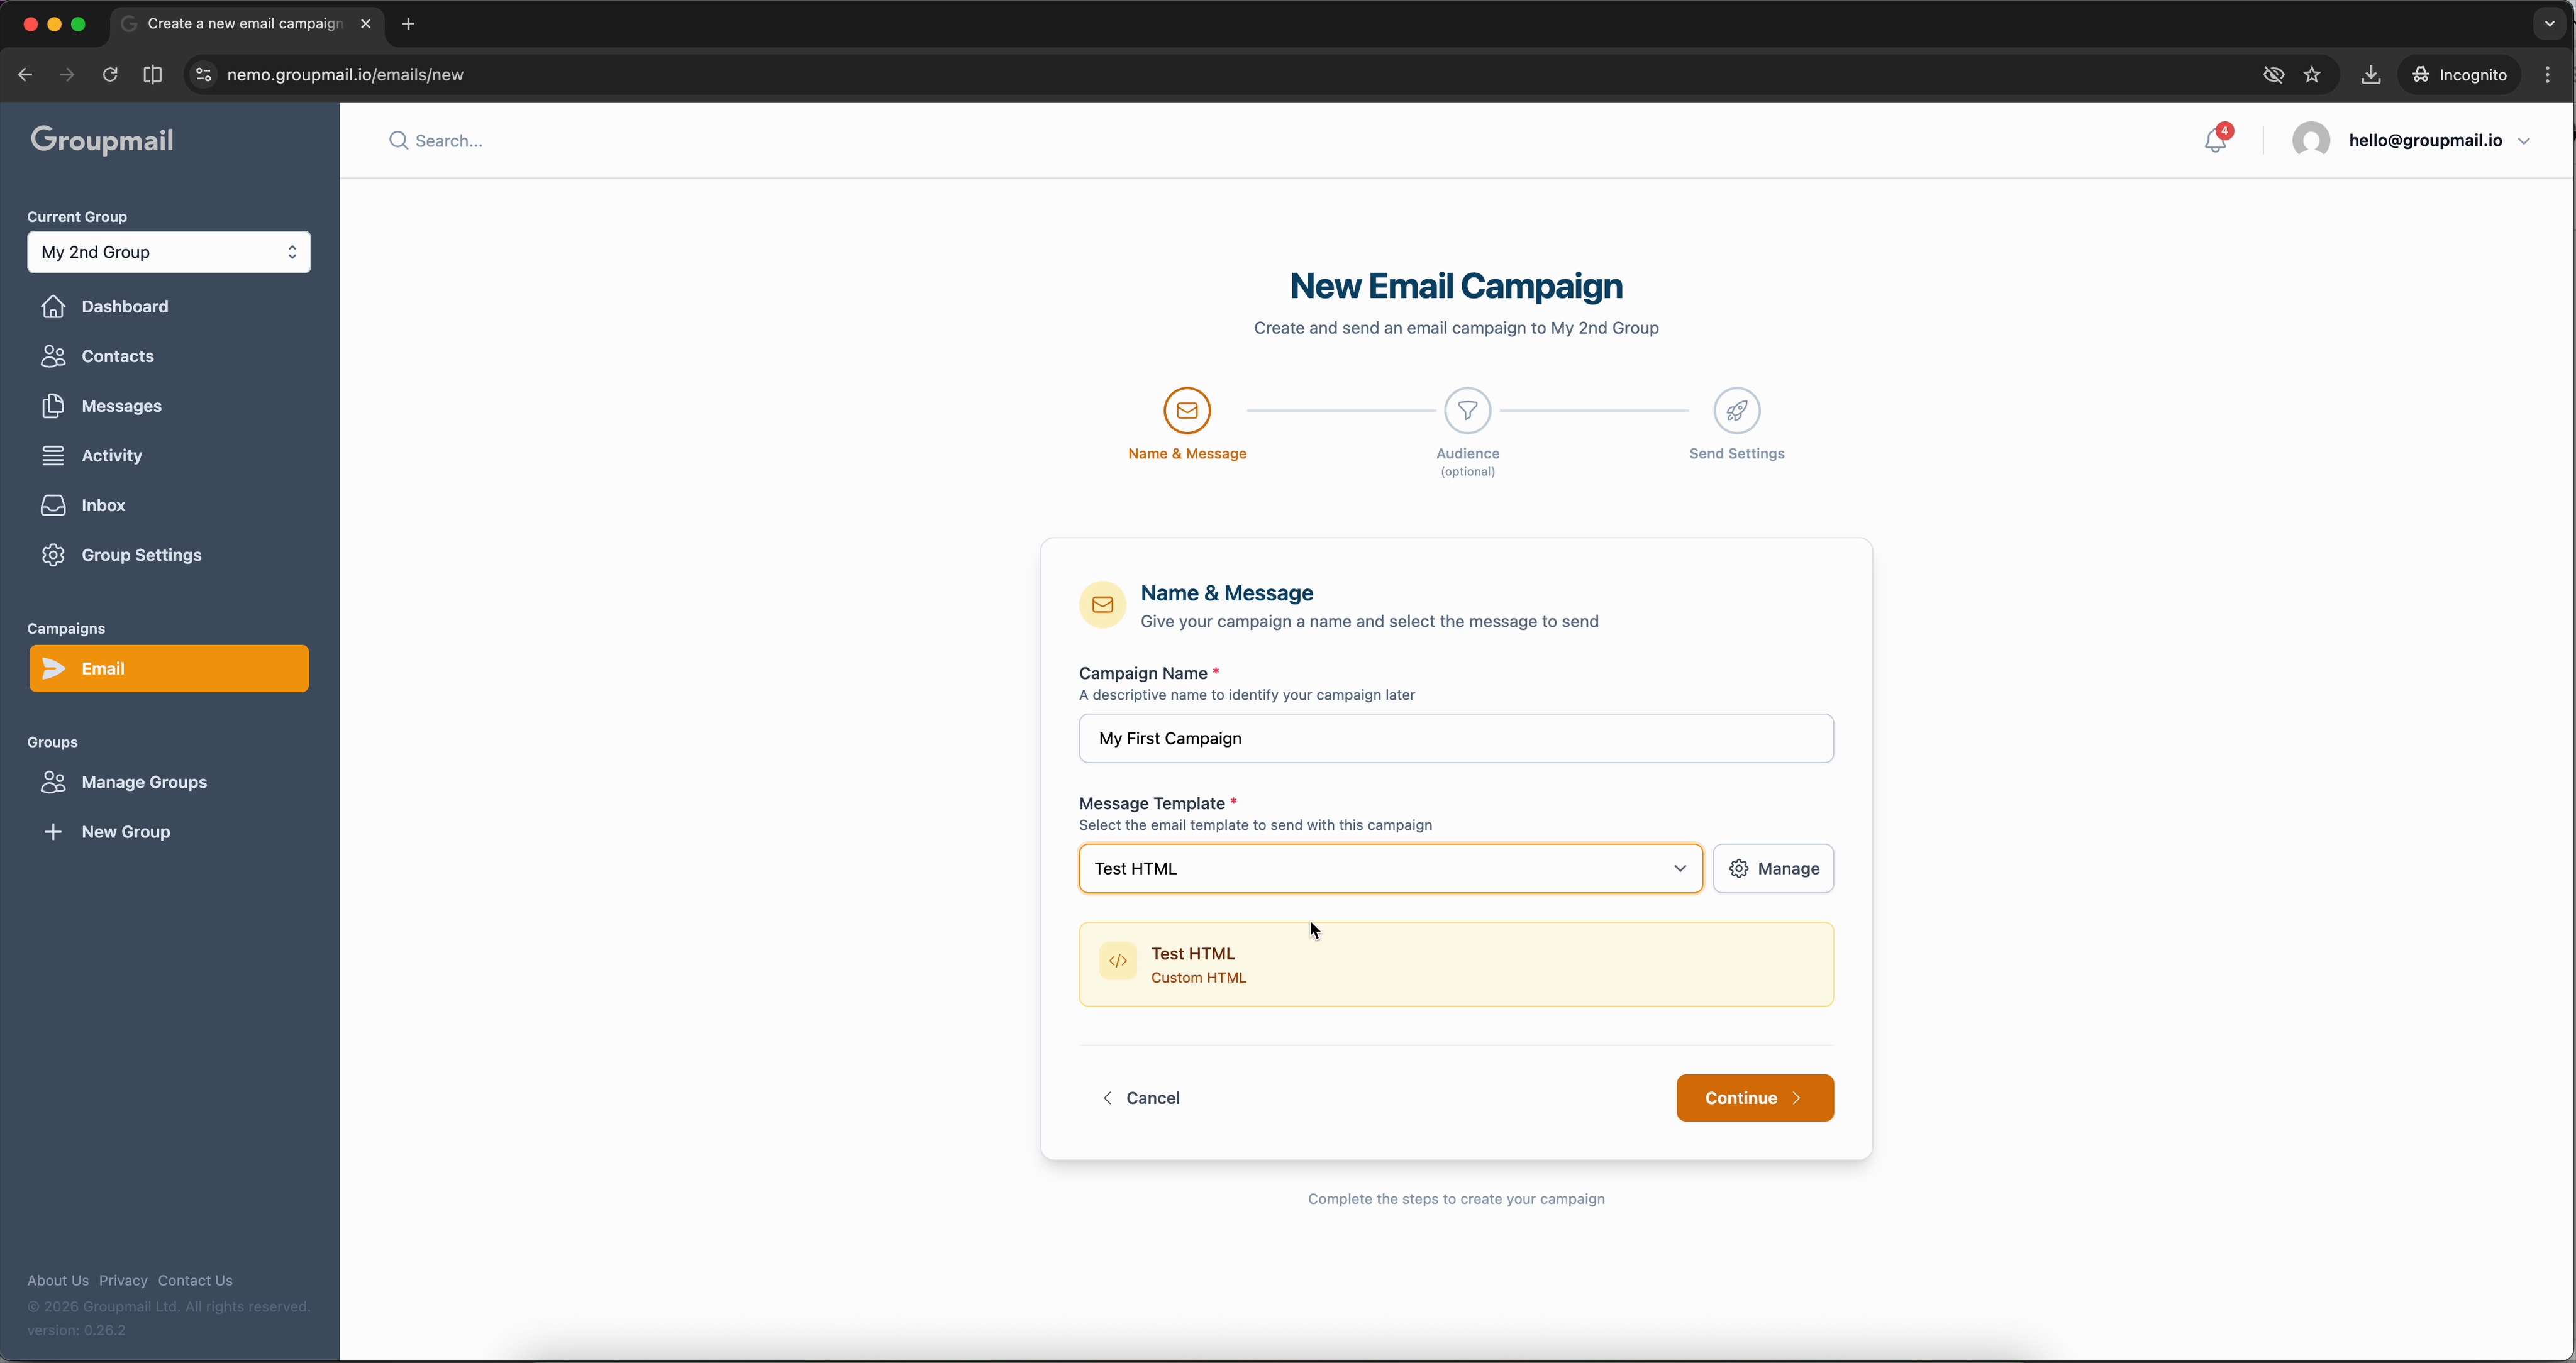
Give your campaign a descriptive Campaign Name — this is for your own reference and won't be visible to subscribers. Then select a Message Template from the dropdown. All your saved messages appear here, so pick the one you want to send.
Step 2: Target Audience
Click Continue to move to audience selection. By default, Send to all contacts is enabled, meaning every active contact in your group will receive the campaign. You'll see a green banner confirming the total number of recipients.
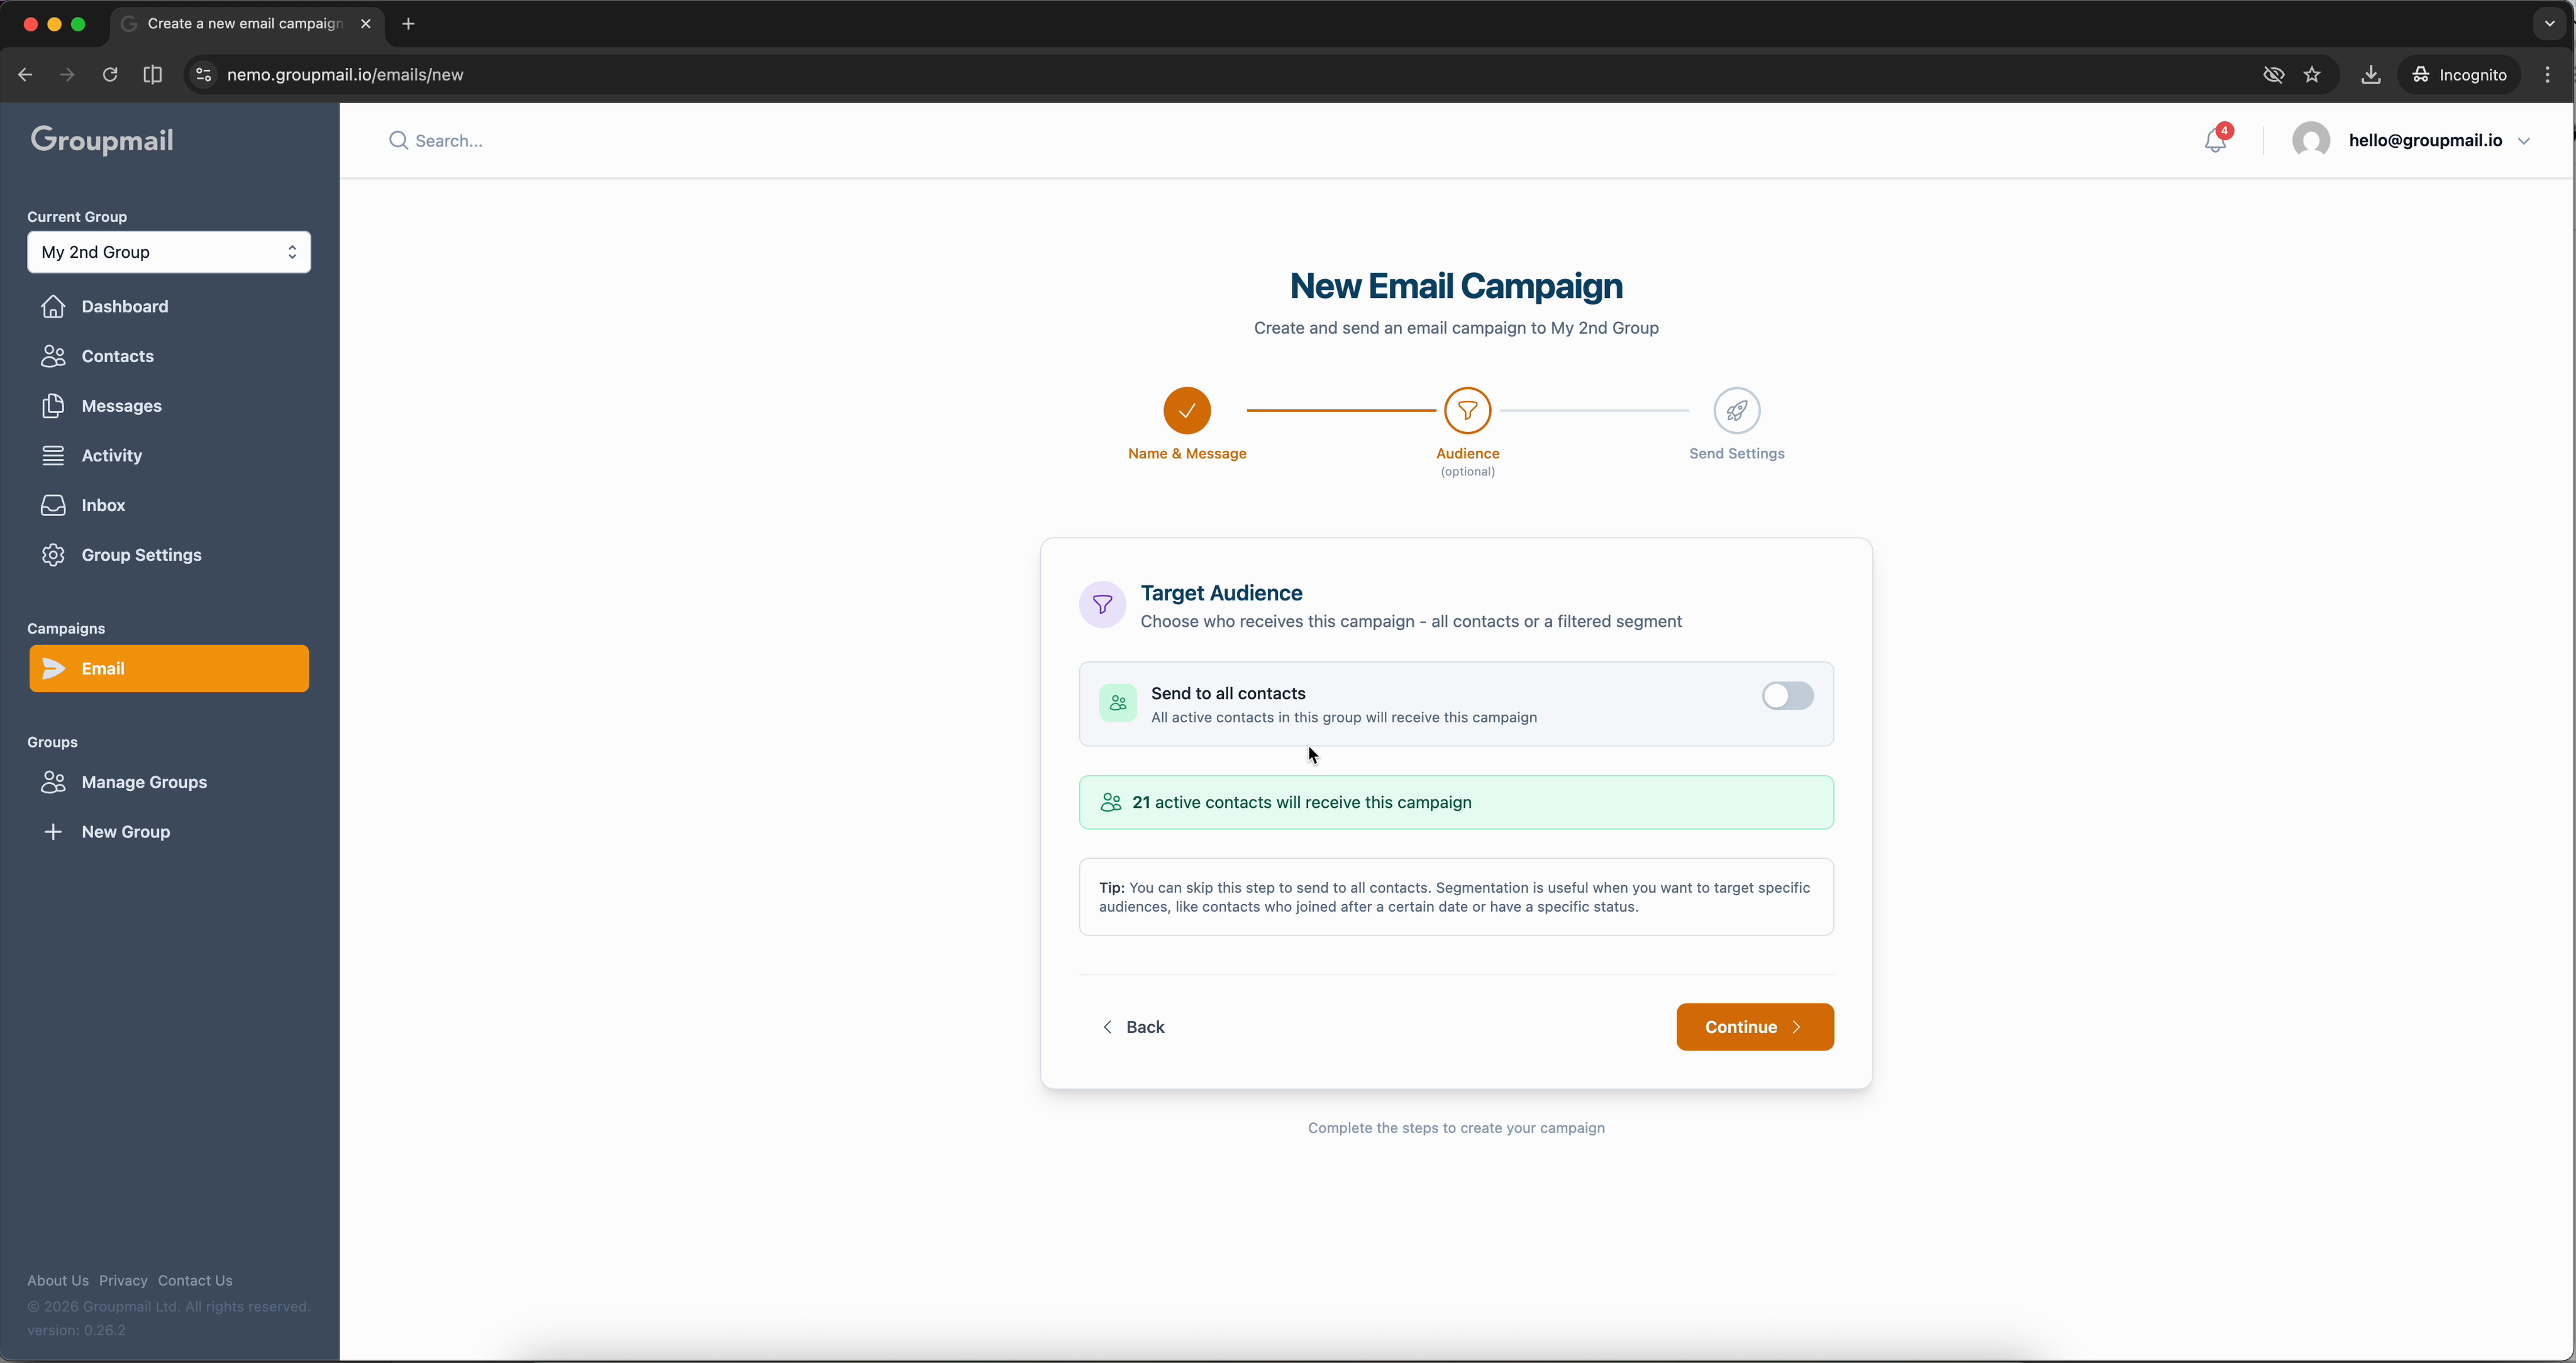
Segmentation is useful when you want to target specific audiences — like contacts who joined after a certain date or have a particular status. Toggle off "Send to all contacts" to set filters.
Step 3: Send Settings
Click Continue to reach the final step. Choose your delivery service from the dropdown — this is the email service that will handle sending. Then decide when to send: immediately or scheduled for a specific date and time.
Below the options, a Campaign Summary shows everything at a glance — your message name, recipient count, delivery channel, and timing.
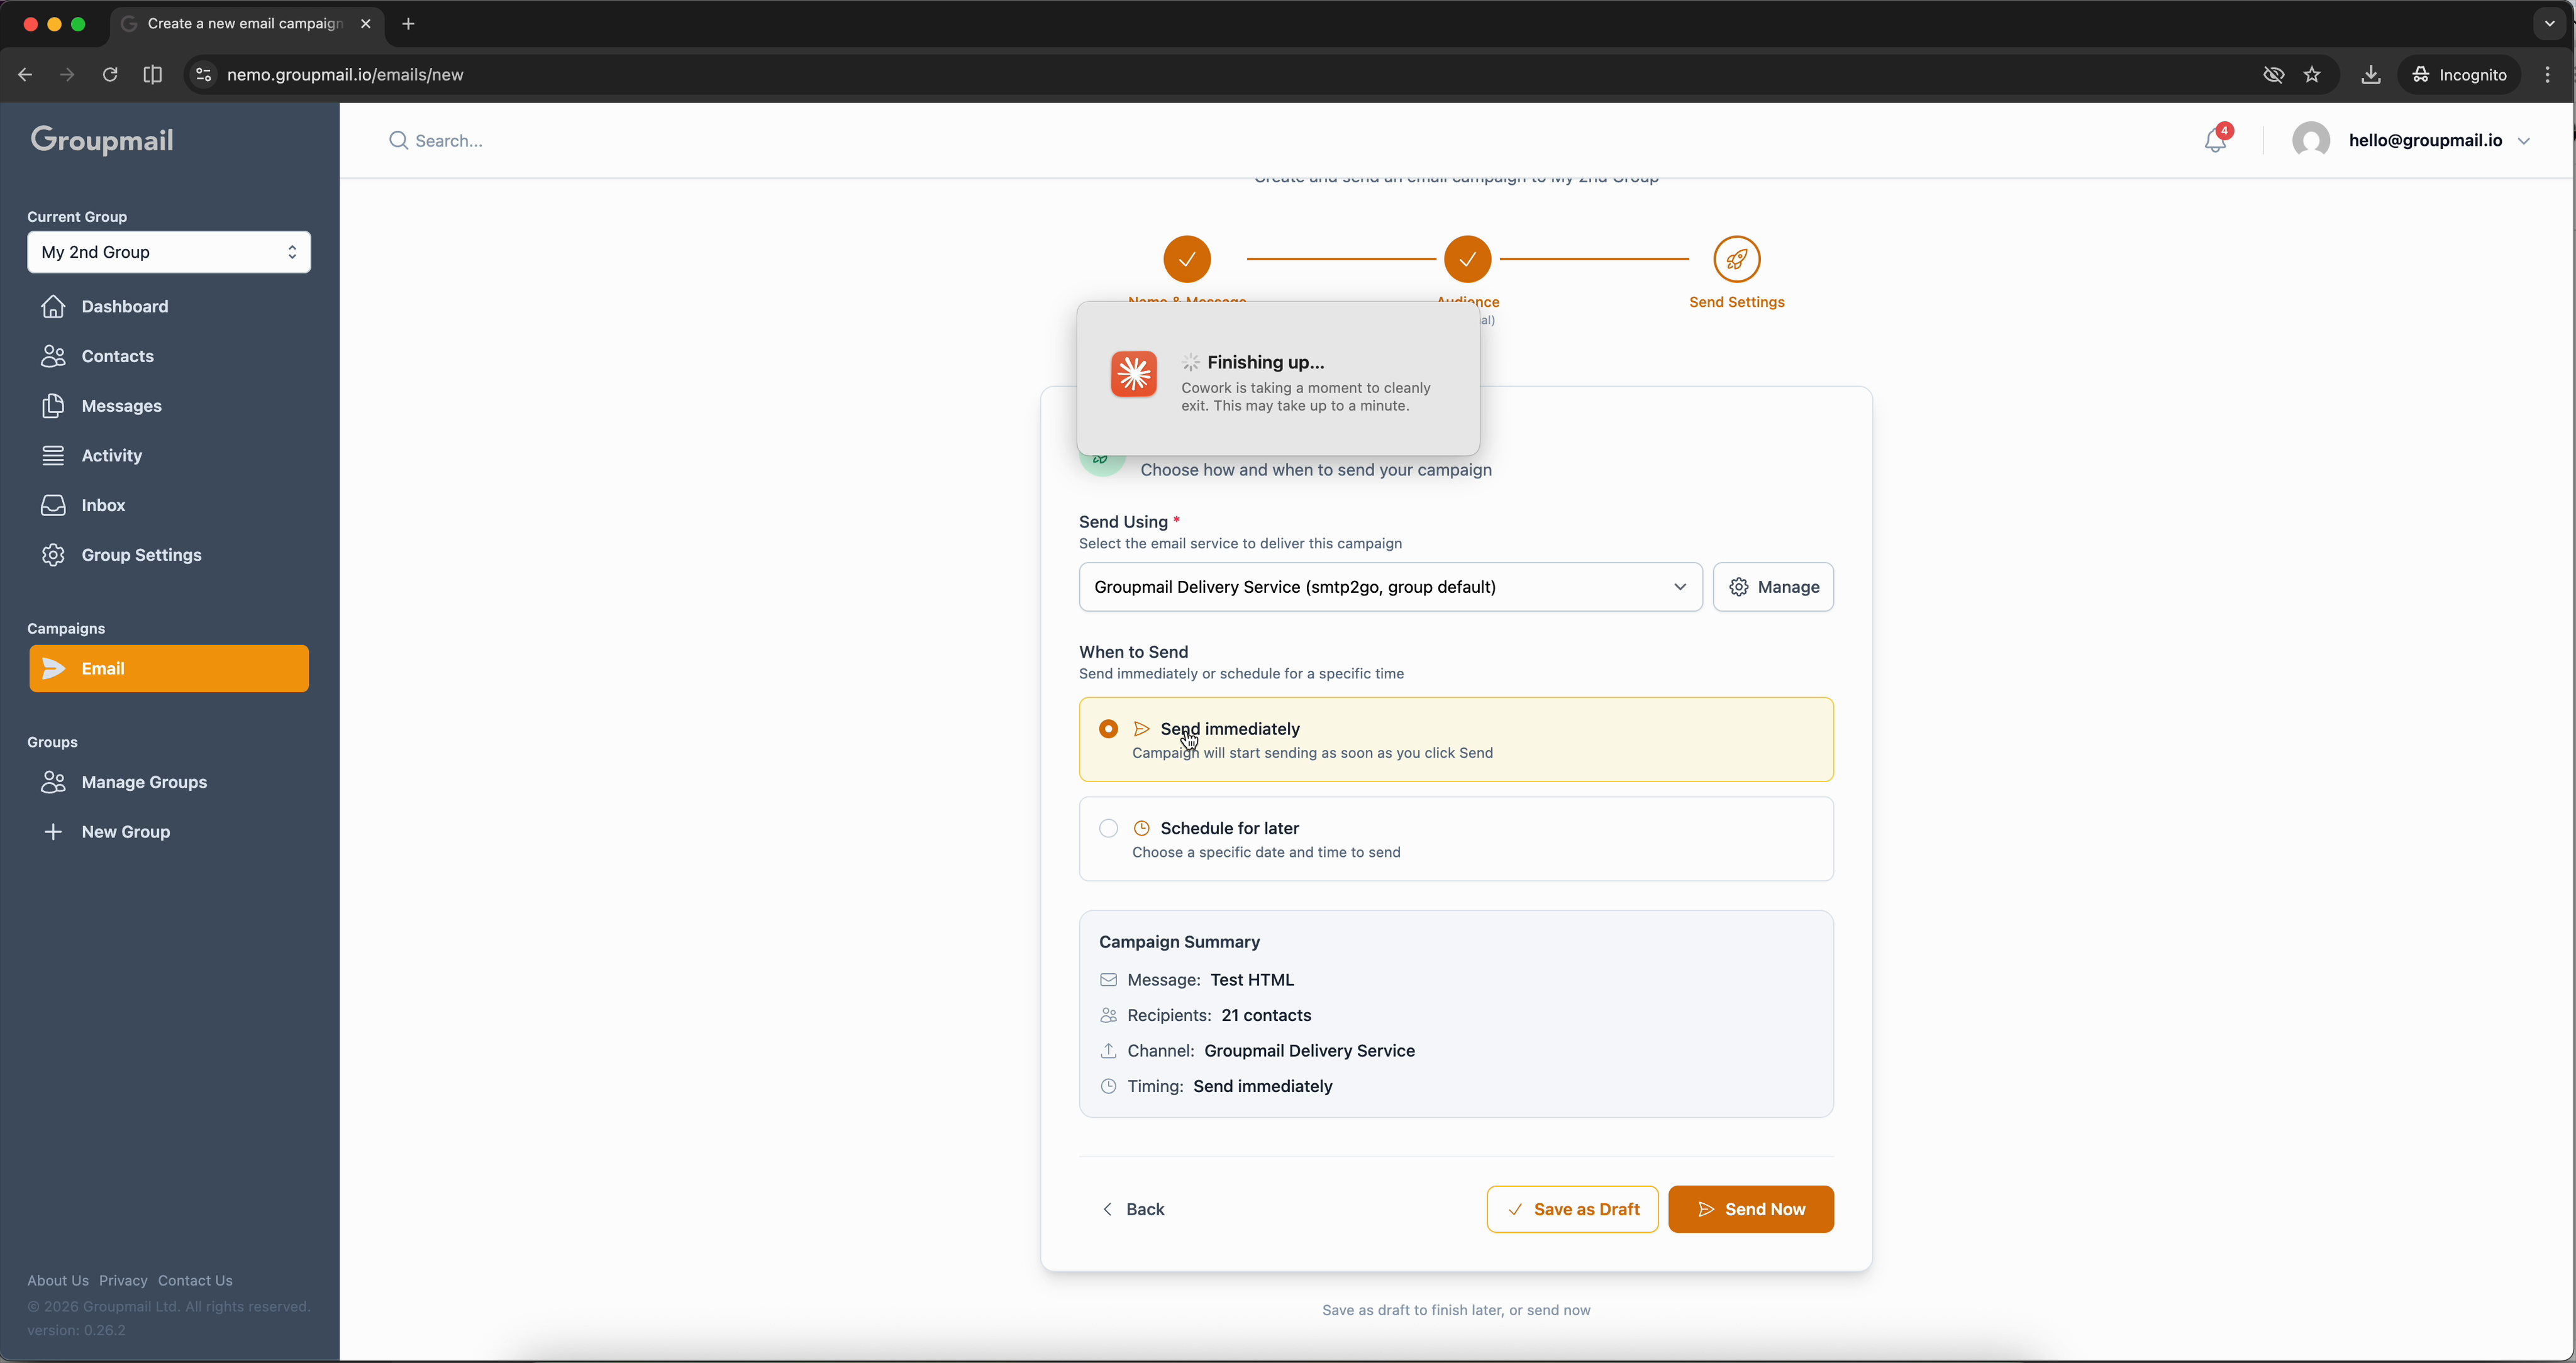
When everything looks right, click Send Now to launch your campaign, or Save as Draft to come back later.
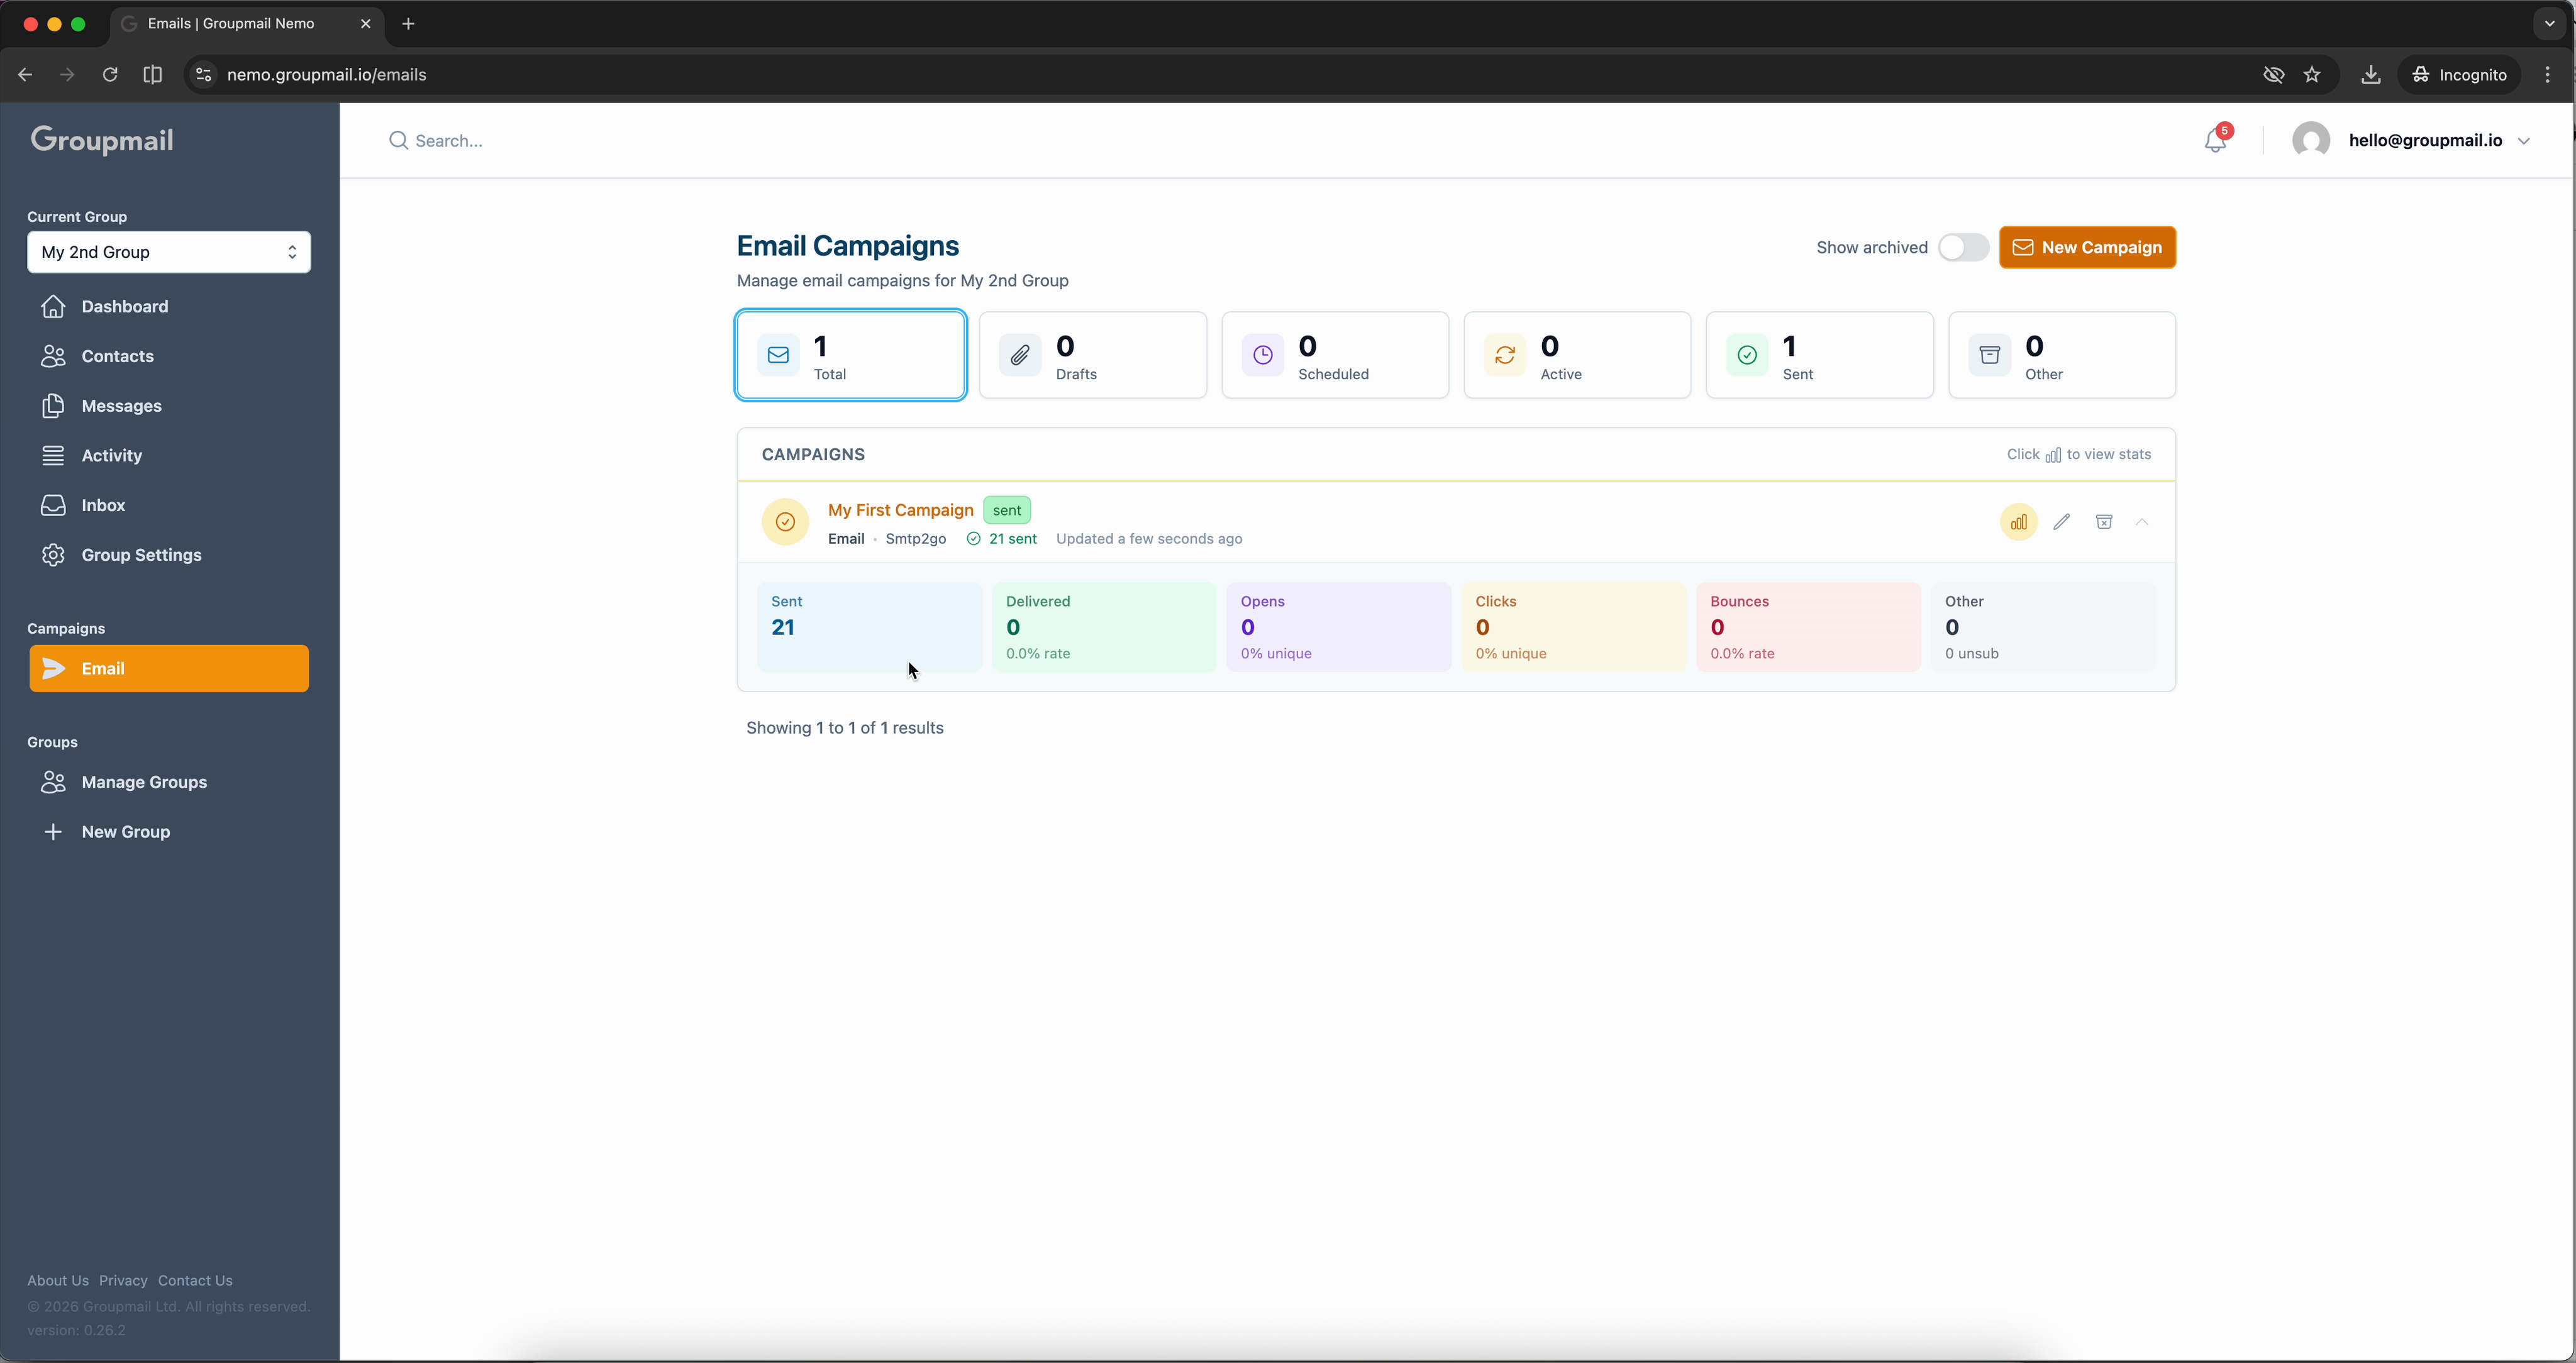
Track Your Campaign
After clicking Send Now, you're taken to the Email Campaigns page. Your campaign appears with an active status and a progress bar showing how many emails have been delivered.
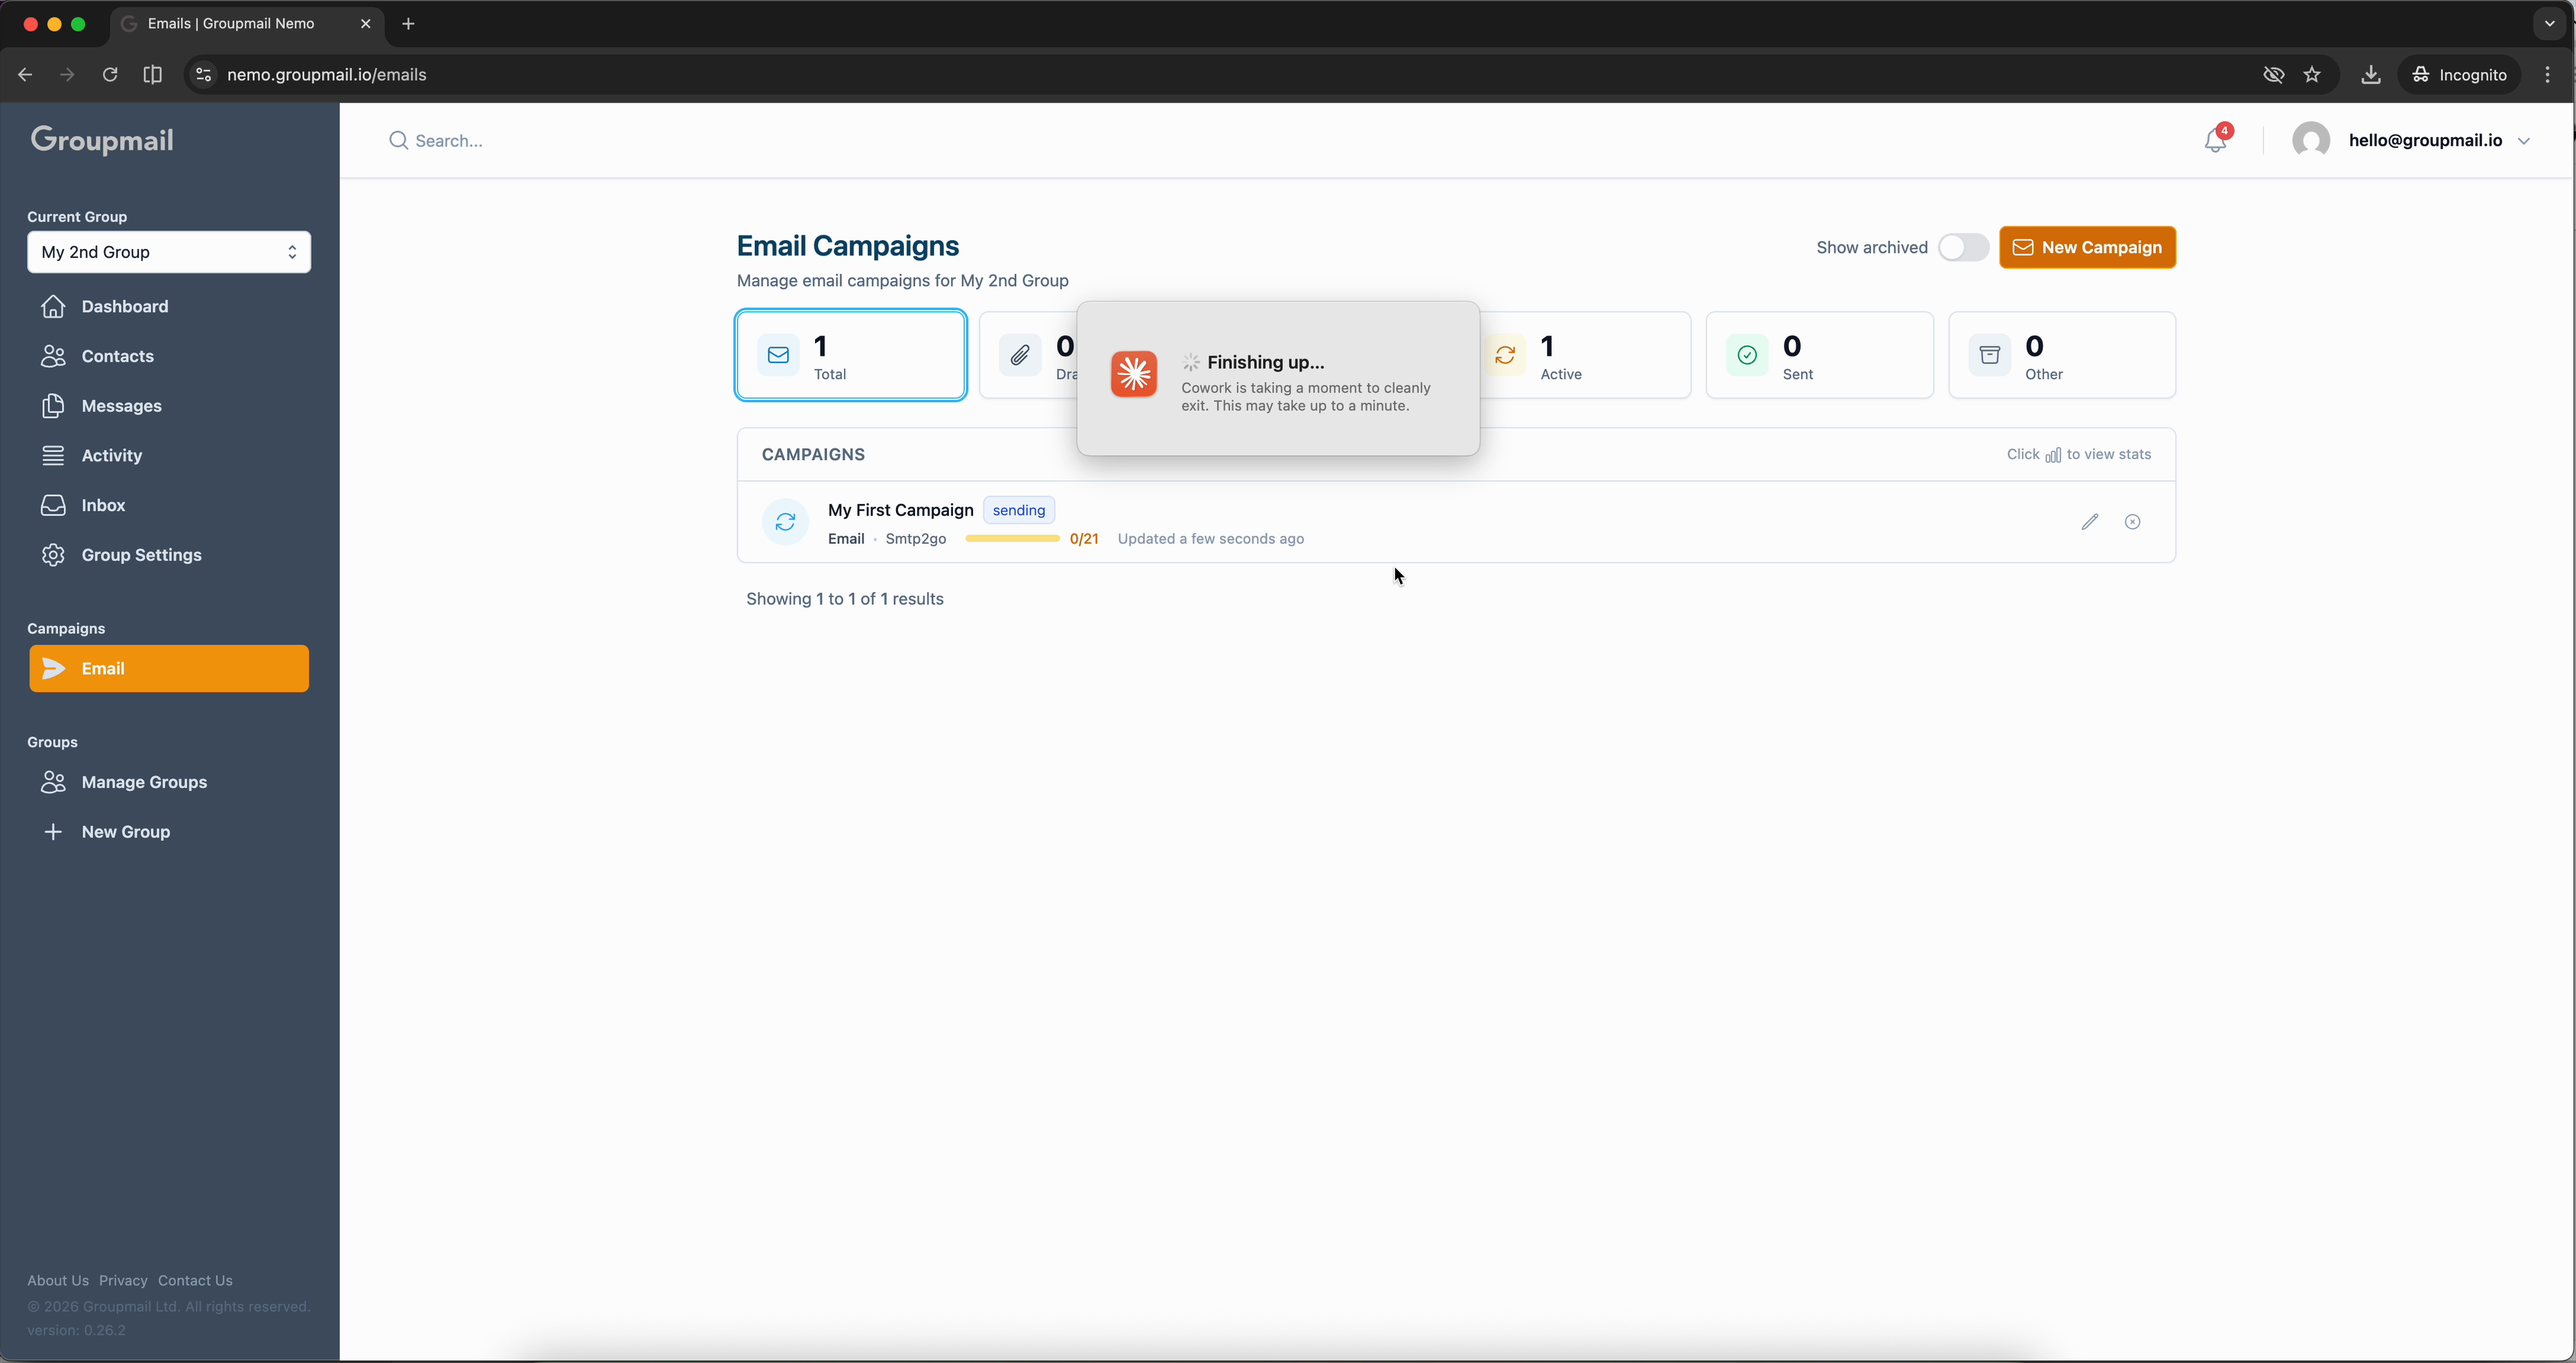
Once sending is complete, the campaign status changes to sent and you'll see full performance stats: sent count, delivered, opens, clicks, bounces, and more. These metrics update in real time as subscribers engage with your email.