Welcome! This guide will walk you through connecting your Groupmail account with SMTP2GO, a reliable email delivery service that ensures your newsletters reach your subscribers' inboxes.
SMTP2GO provides all Groupmail customers with 10,000 free emails per month. If your email needs grow beyond this allowance, SMTP2GO offers additional packages at competitive rates.
Step 1: Create Your SMTP2GO Account
Let's start by setting up your free SMTP2GO account through Groupmail.
Access the Channels page
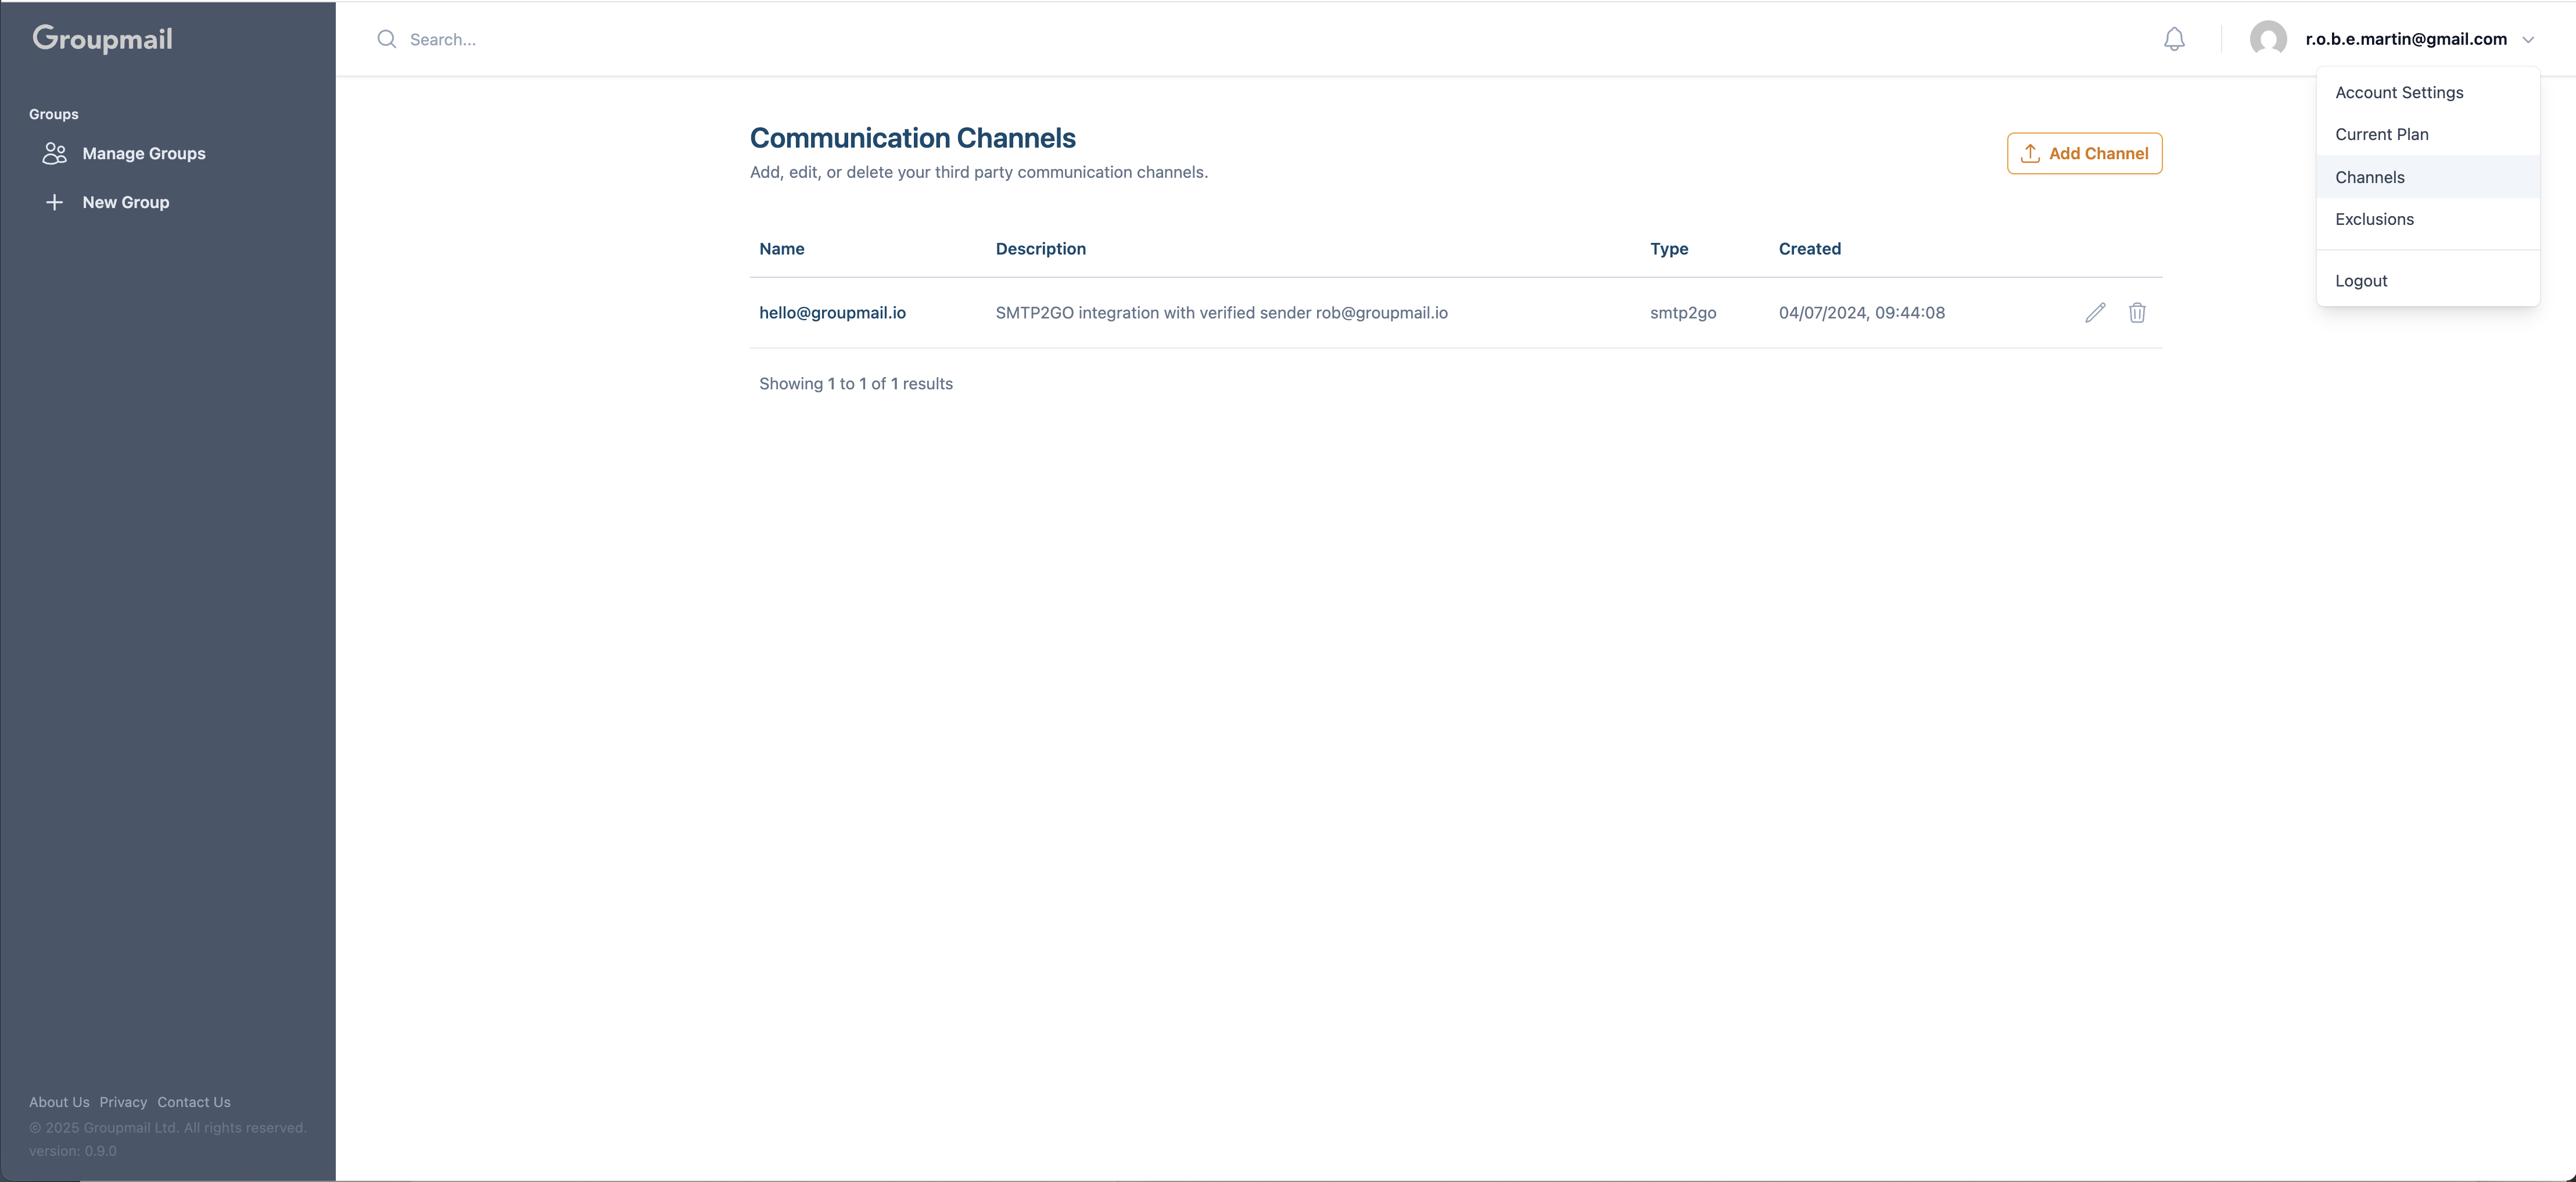
Click on your profile icon in the top right corner of your Groupmail dashboard and select Channels from the dropdown menu.
Add a new channel
Click the Add Channel button to open the channel setup screen.
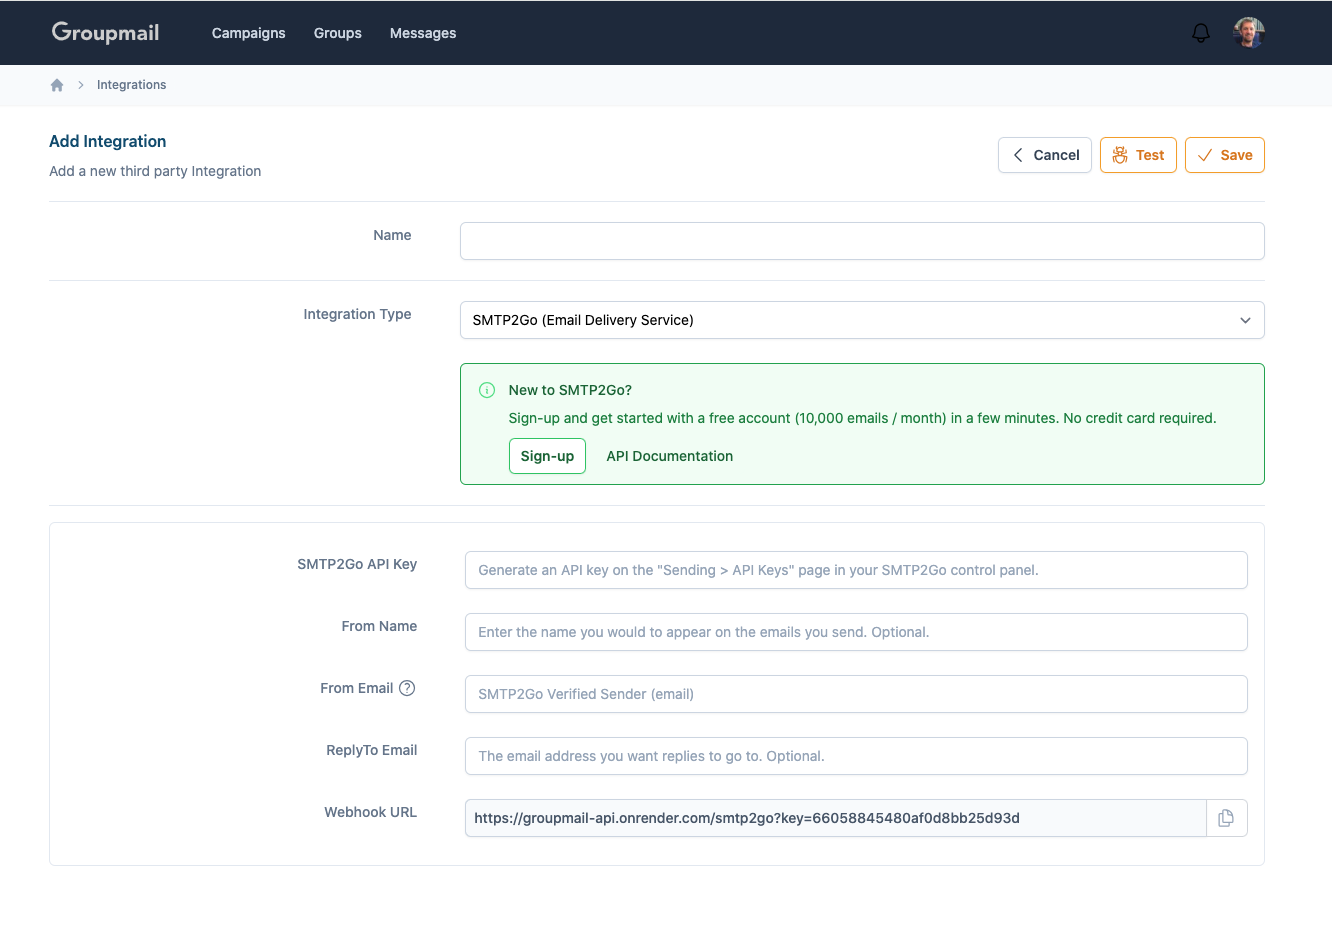
Sign up for SMTP2GO
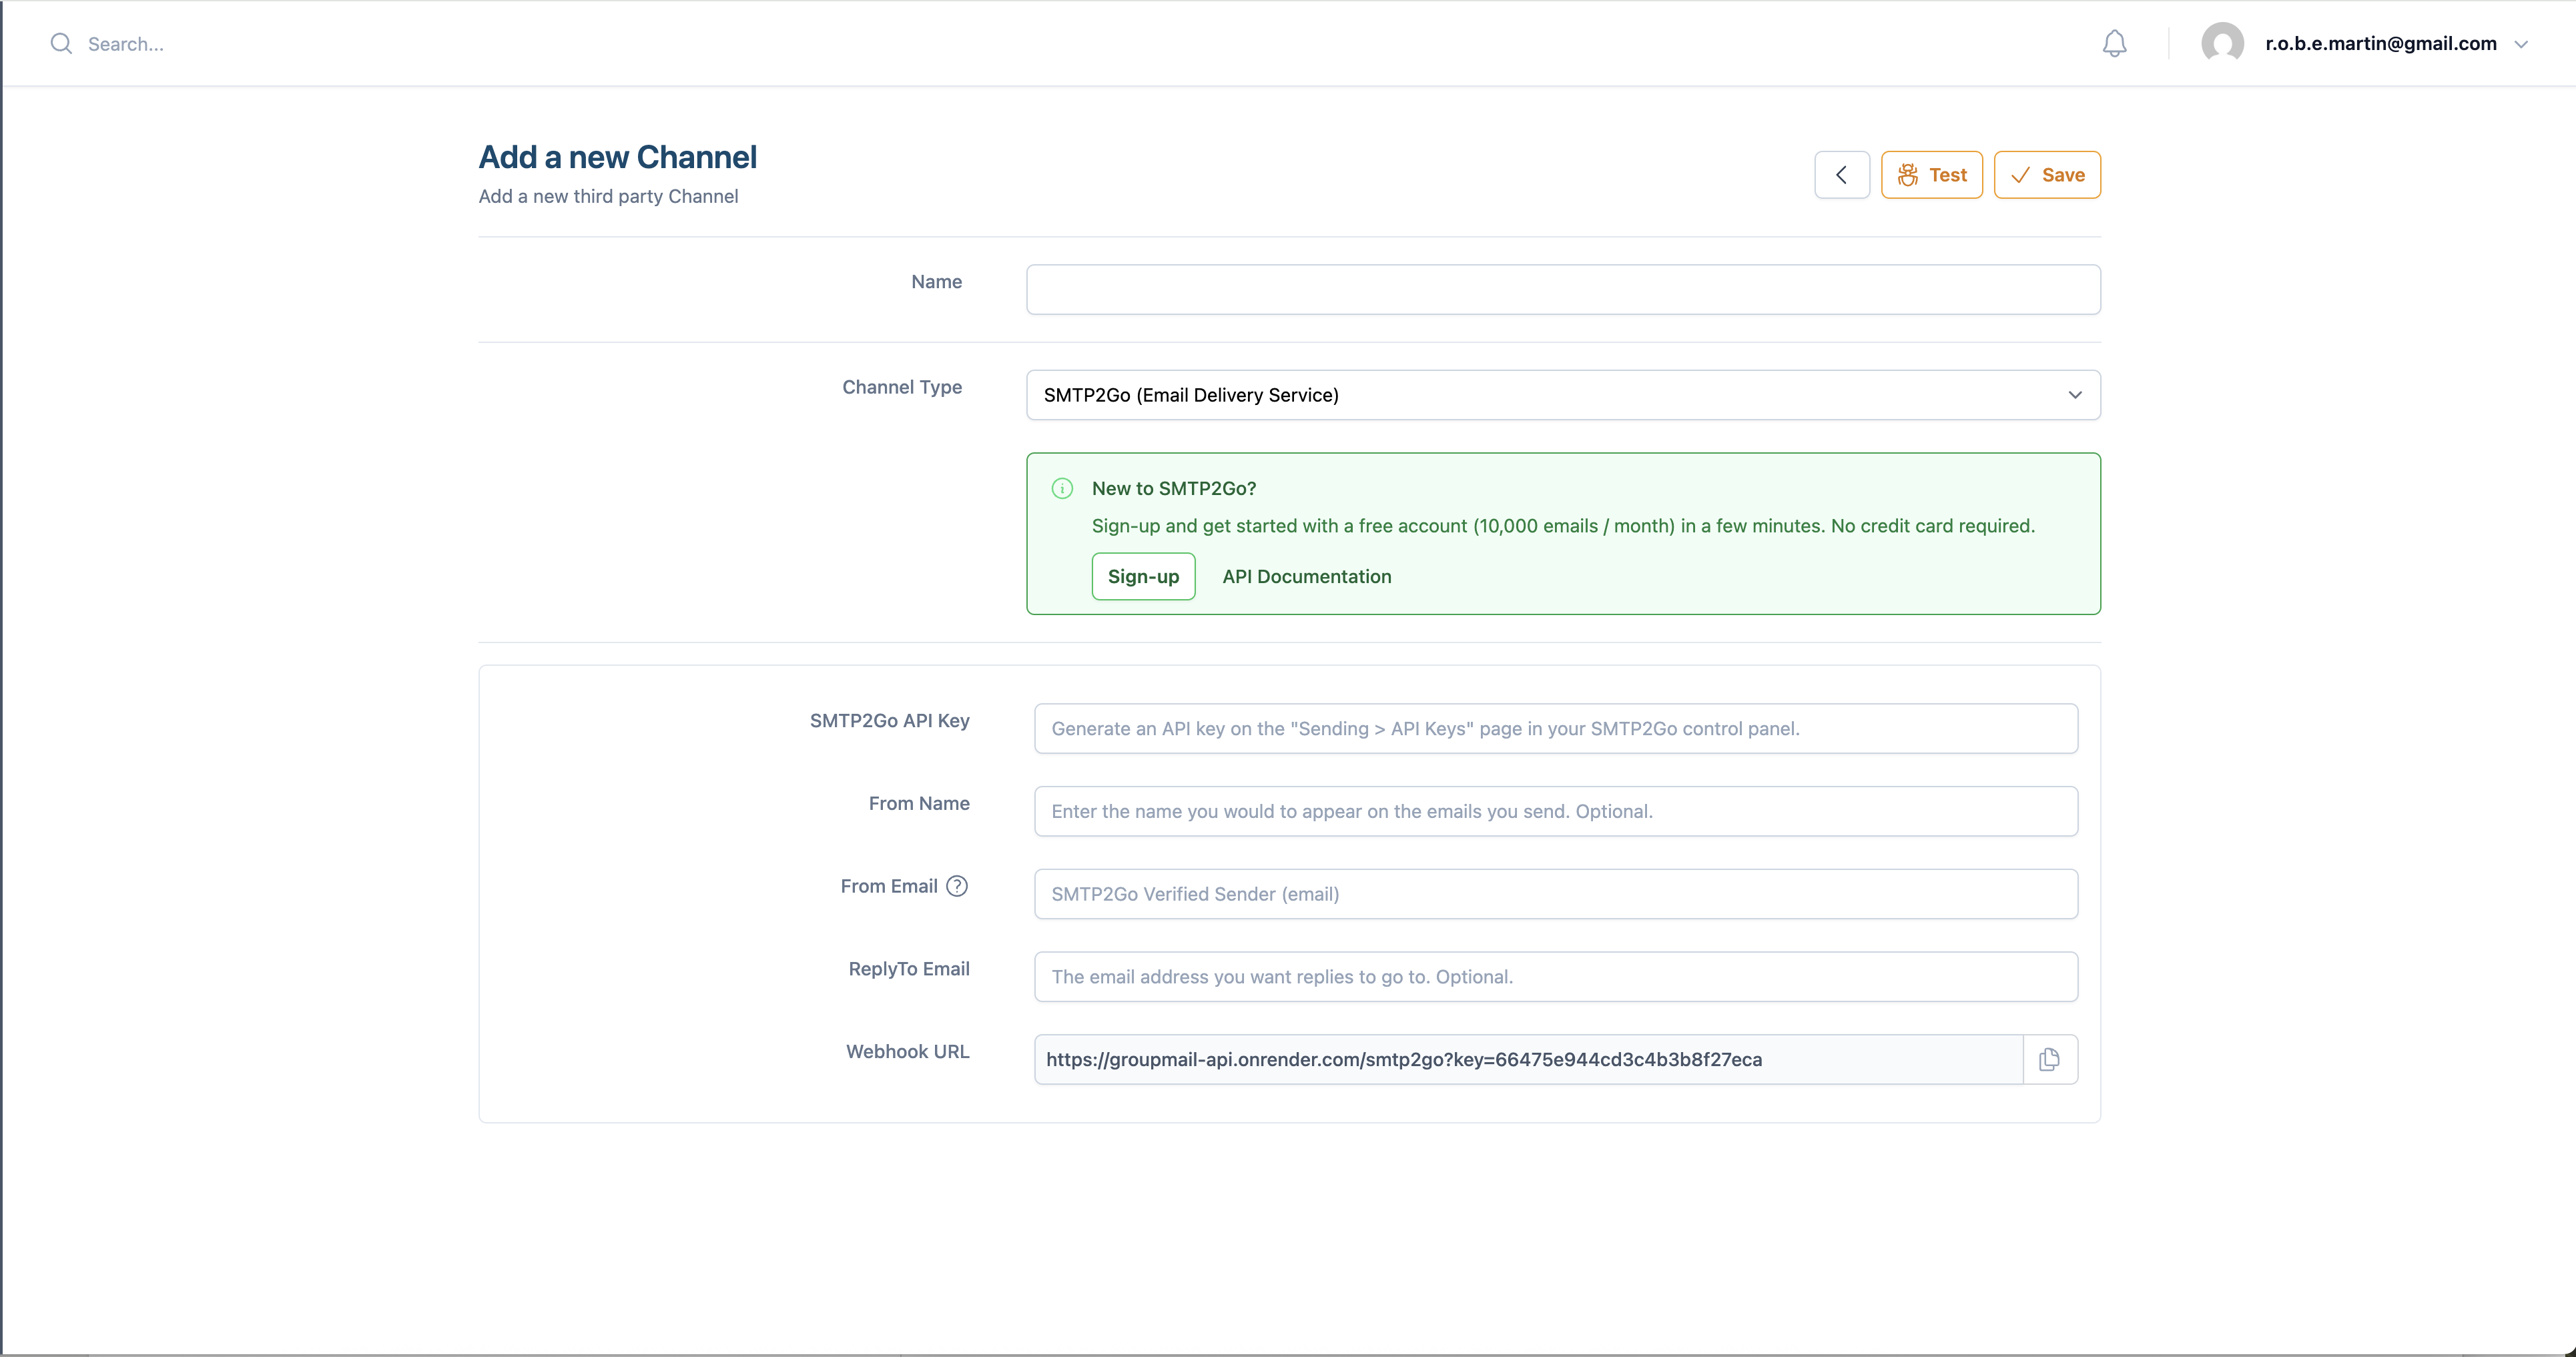
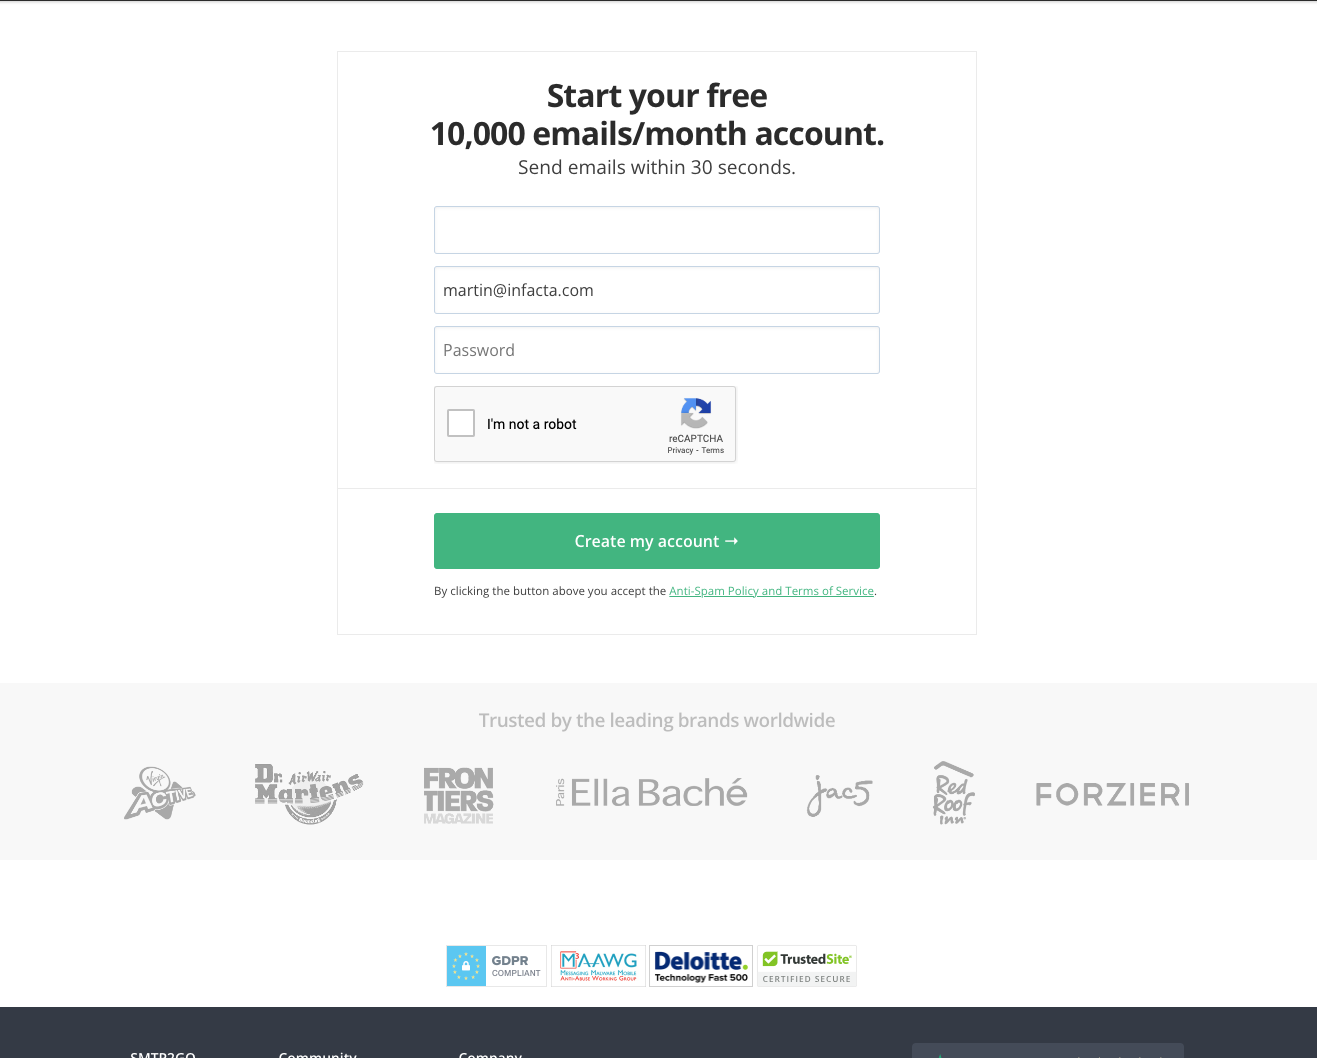
On the Add Channel screen, locate the SMTP2GO option and click the Sign-up button. This will take you to the SMTP2GO registration page where you can claim your free 10,000 emails per month.
Fill in your name, email address, and password to complete the registration. SMTP2GO will send you a verification email to confirm your account.
Step 2: SMTP2GO Account Setup
Once you've completed the signup and logged in to your SMTP2GO dashboard, you'll need to complete three setup steps.
1. Add your Verified Senders
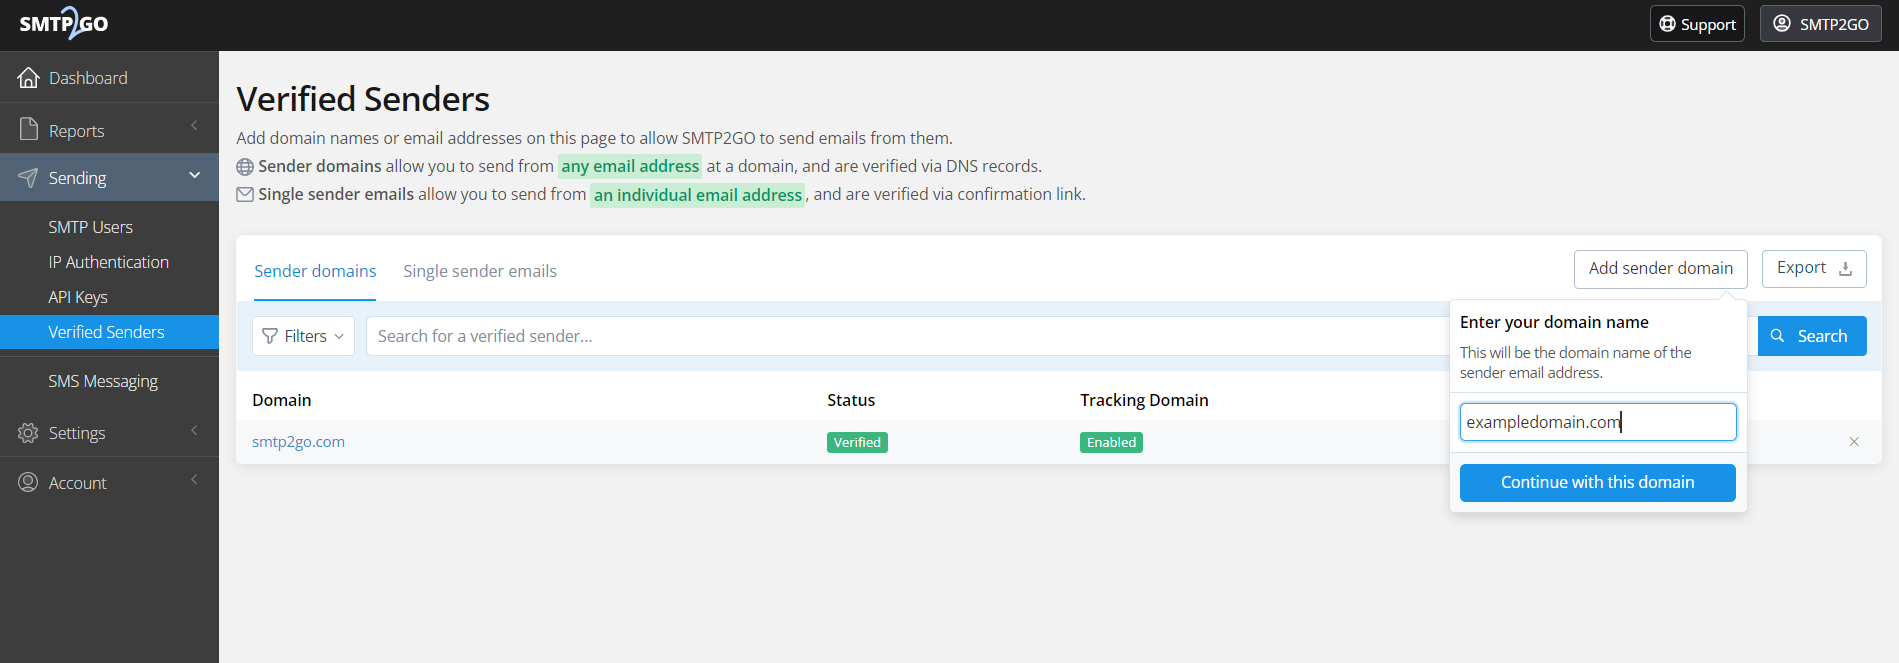
Verifying your sender identity is essential for authorisation to send emails. You have two options:
Option A (Recommended): Verify your domain(s) as Sender Domains under 'Sending > Verified Senders'. This ensures SPF and DKIM alignment with your domain for best deliverability. Contact your email provider or IT team to set this up.
Option B: Verify individual email addresses as Single Sender Emails under the 'Sending > Verified Senders' section.
For more information, see the SMTP2GO Verified Senders guide.
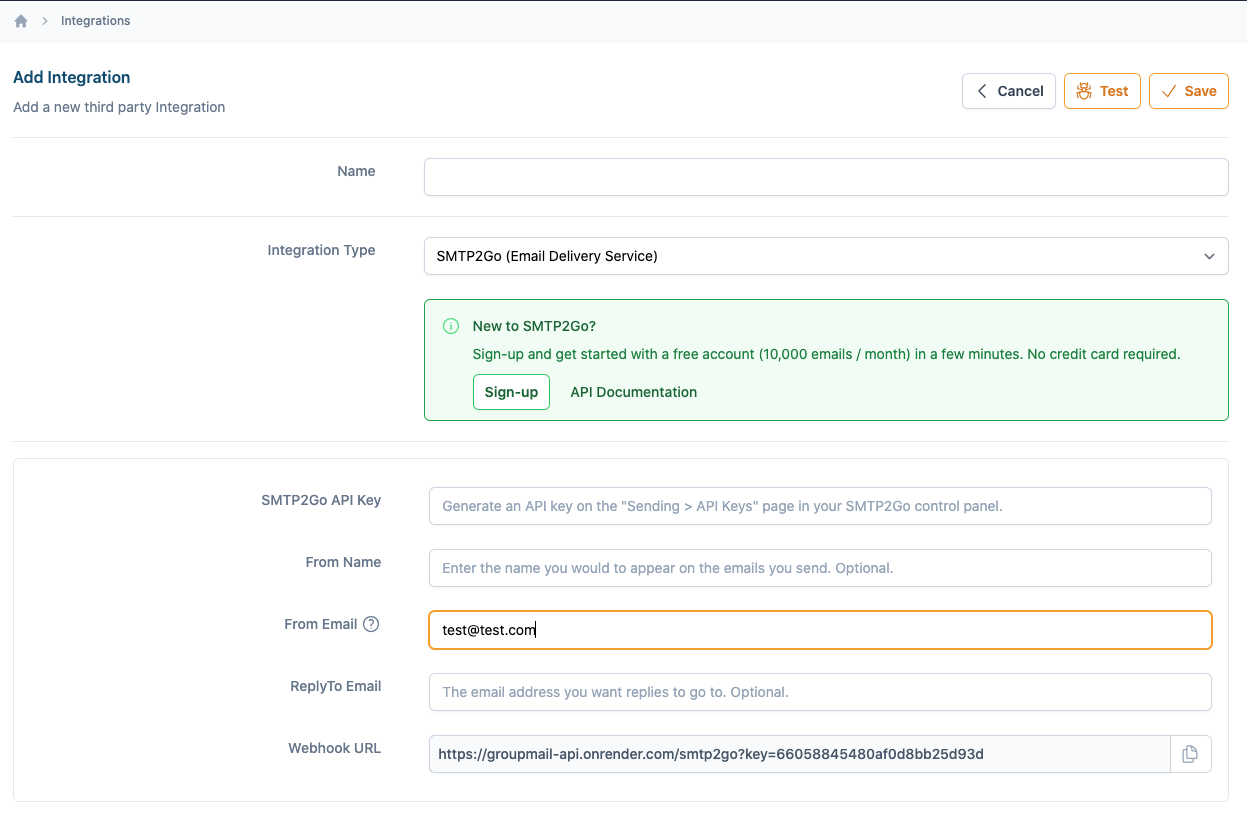
Once verified, add your sender email to the From Email field within Groupmail.
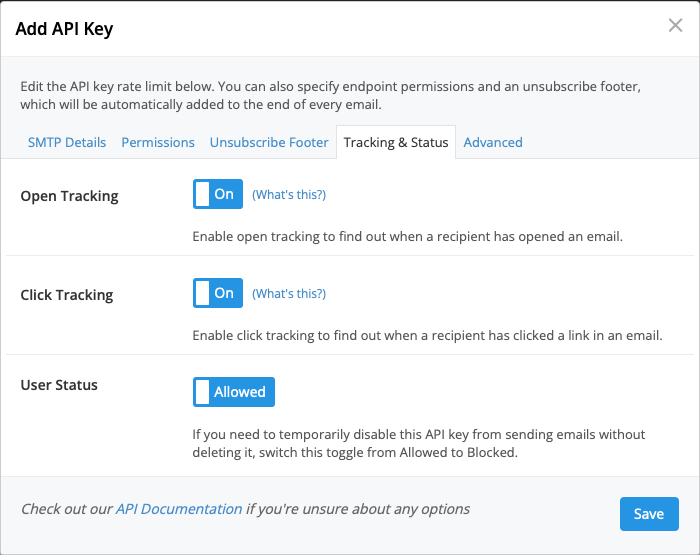
2. Create an API Key
An API Key routes your email from Groupmail to SMTP2GO. Navigate to Sending > API Keys in your SMTP2GO dashboard.
Click Add API Key, set your desired permissions, then click Save.
Once created, add your API Key to the SMTP2GO API section within Groupmail.
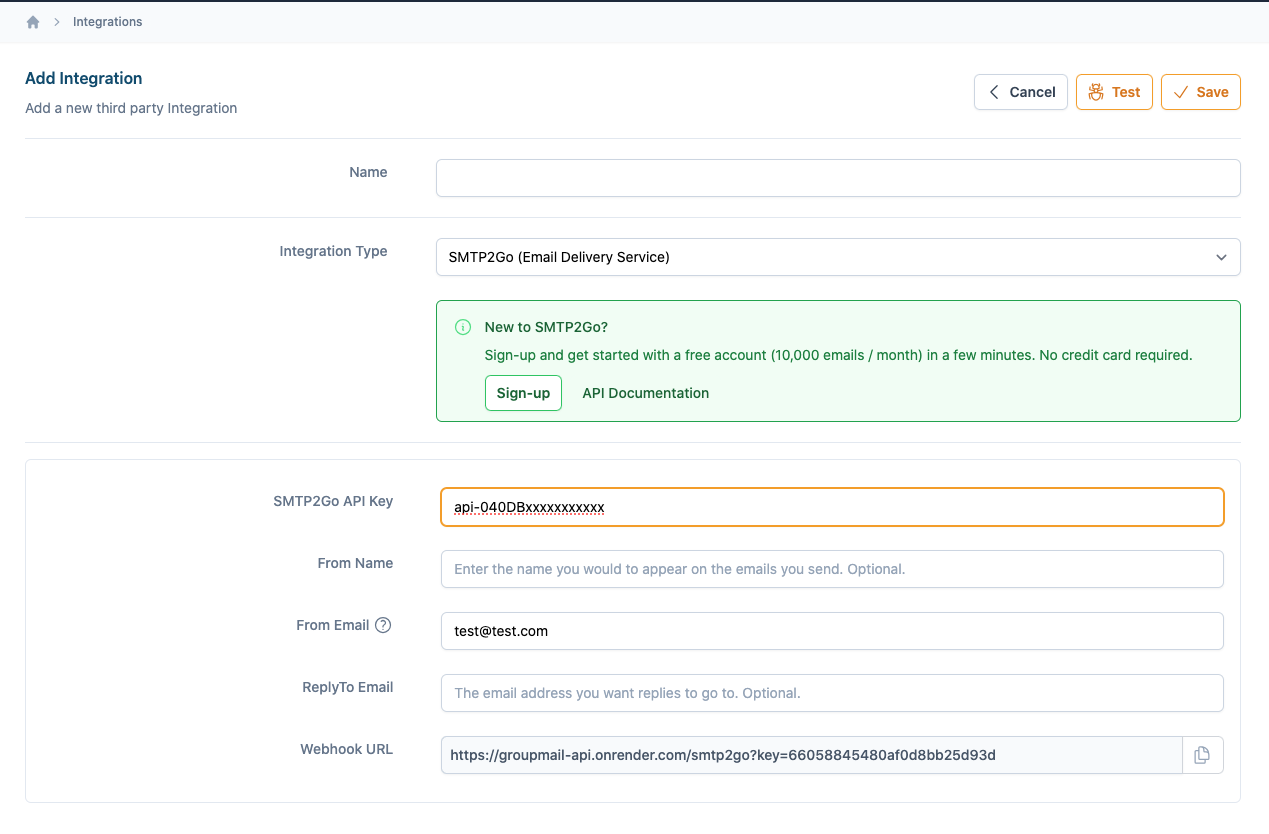
Add a name to the Integration and a Reply-To Email if required, then click Save. You can test the integration by clicking the Test button.
3. Add the Groupmail Webhook URL
The webhook sends event data (Sent, Delivered, Opened, Clicked, Bounced, etc.) back to Groupmail for processing.
Open the Groupmail Integration page and copy the Webhook URL at the bottom of the screen.
In SMTP2GO, go to Settings > Webhooks and click Add Webhook. Paste your webhook URL into the URL field.
Select the API key you created above under Users. Choose all events you wish to track — we recommend selecting them all. Set Output type to "Form Encoded".
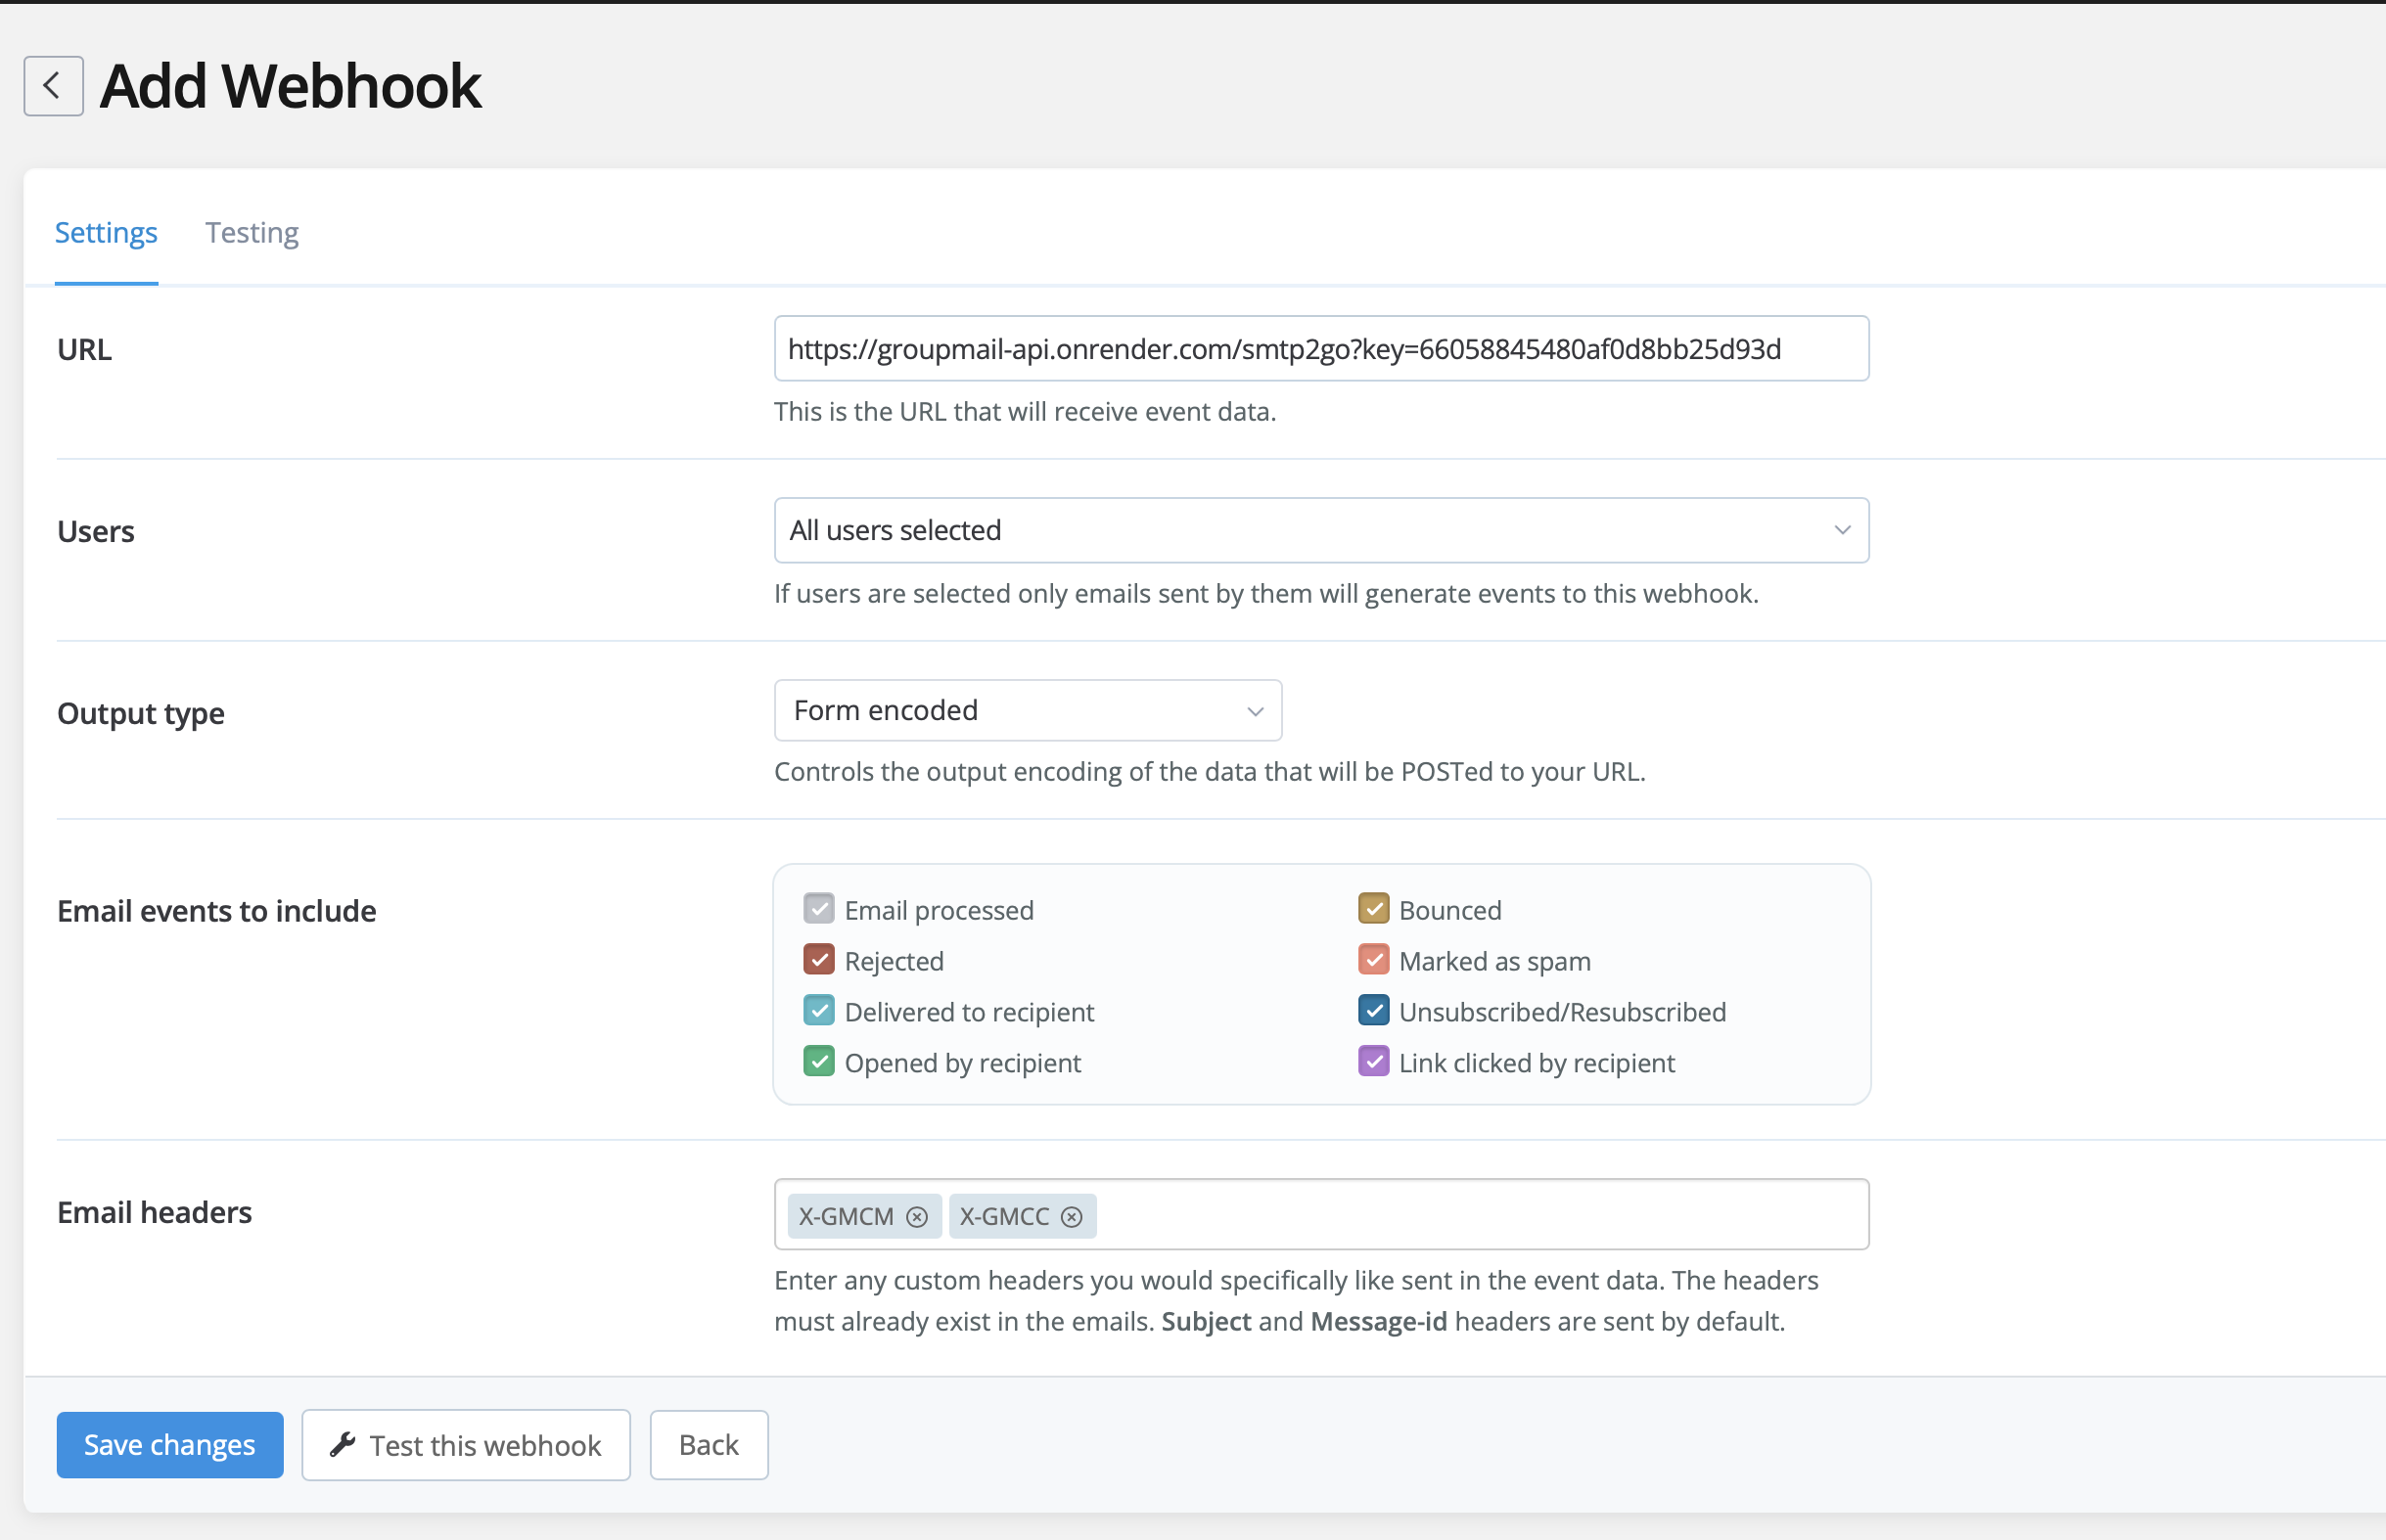
Click Save changes to save your settings. You're now set to send email through SMTP2GO from Groupmail!
Need Help?
If you have any questions or need help getting started, reach out to us at hello@groupmail.io.