Whether you're adding a single subscriber or importing thousands from a spreadsheet, Groupmail makes it easy to get contacts into your group and ready for campaigns.
Add a Contact Manually
From your group's Contacts page, click Add Contact in the top right corner. The contact form has everything you need to capture subscriber details.
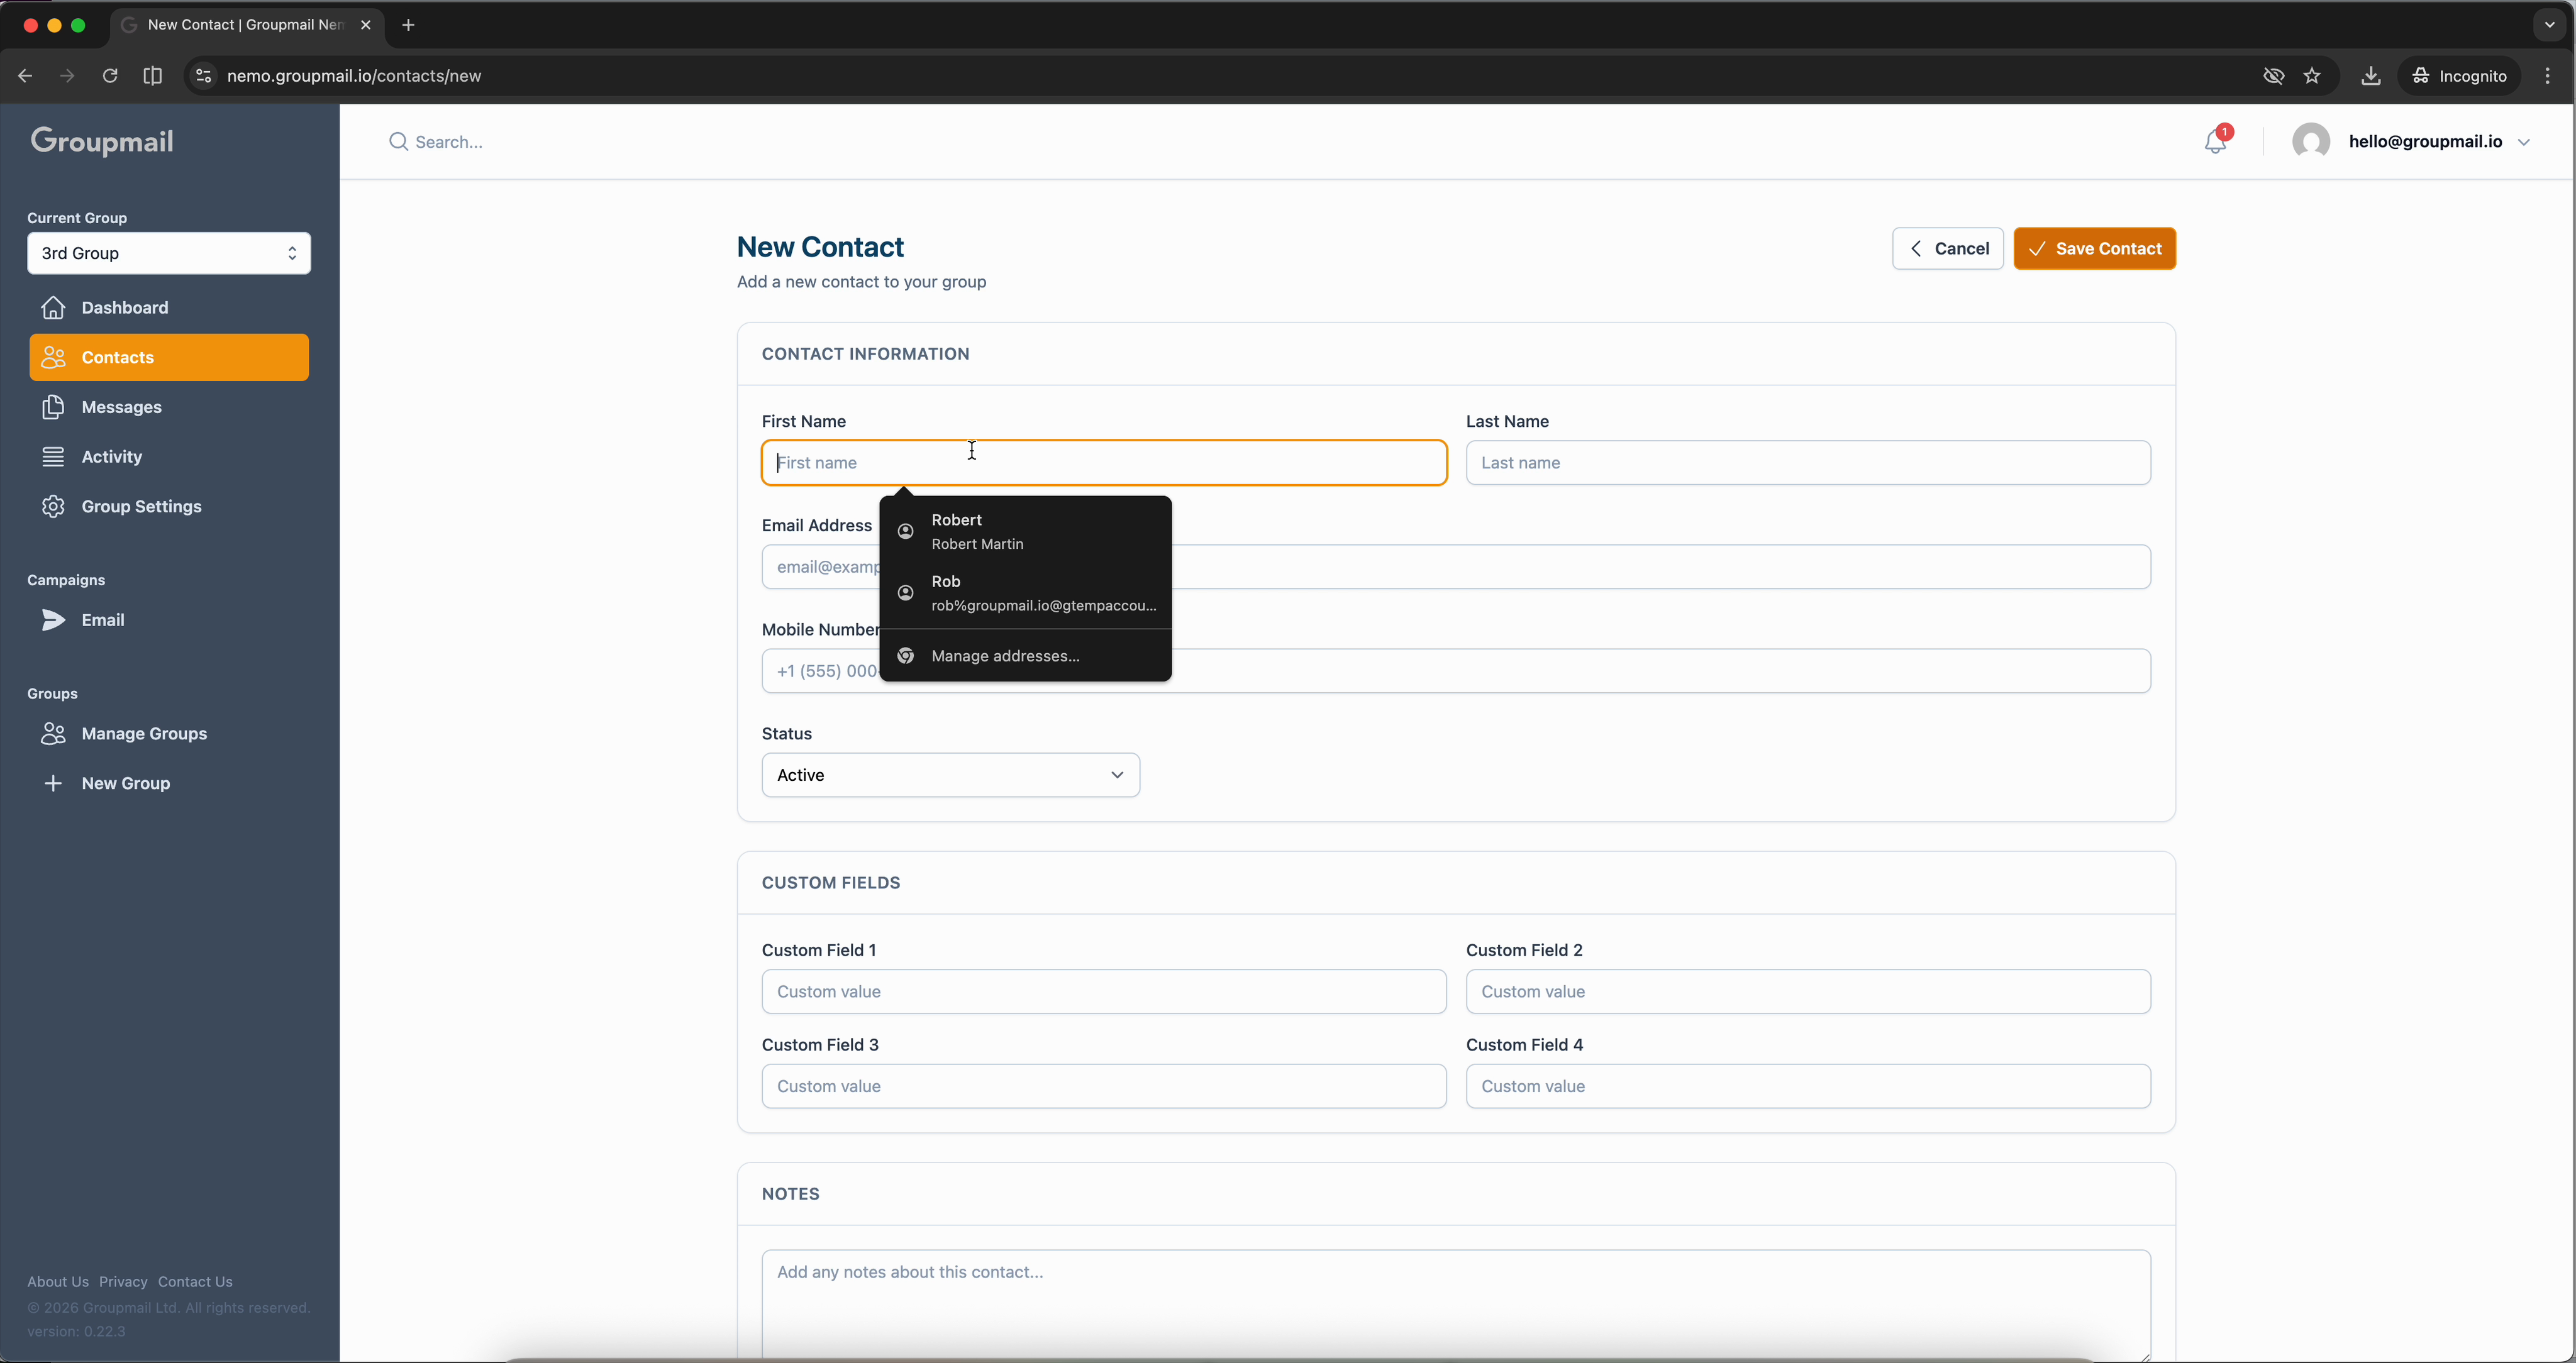
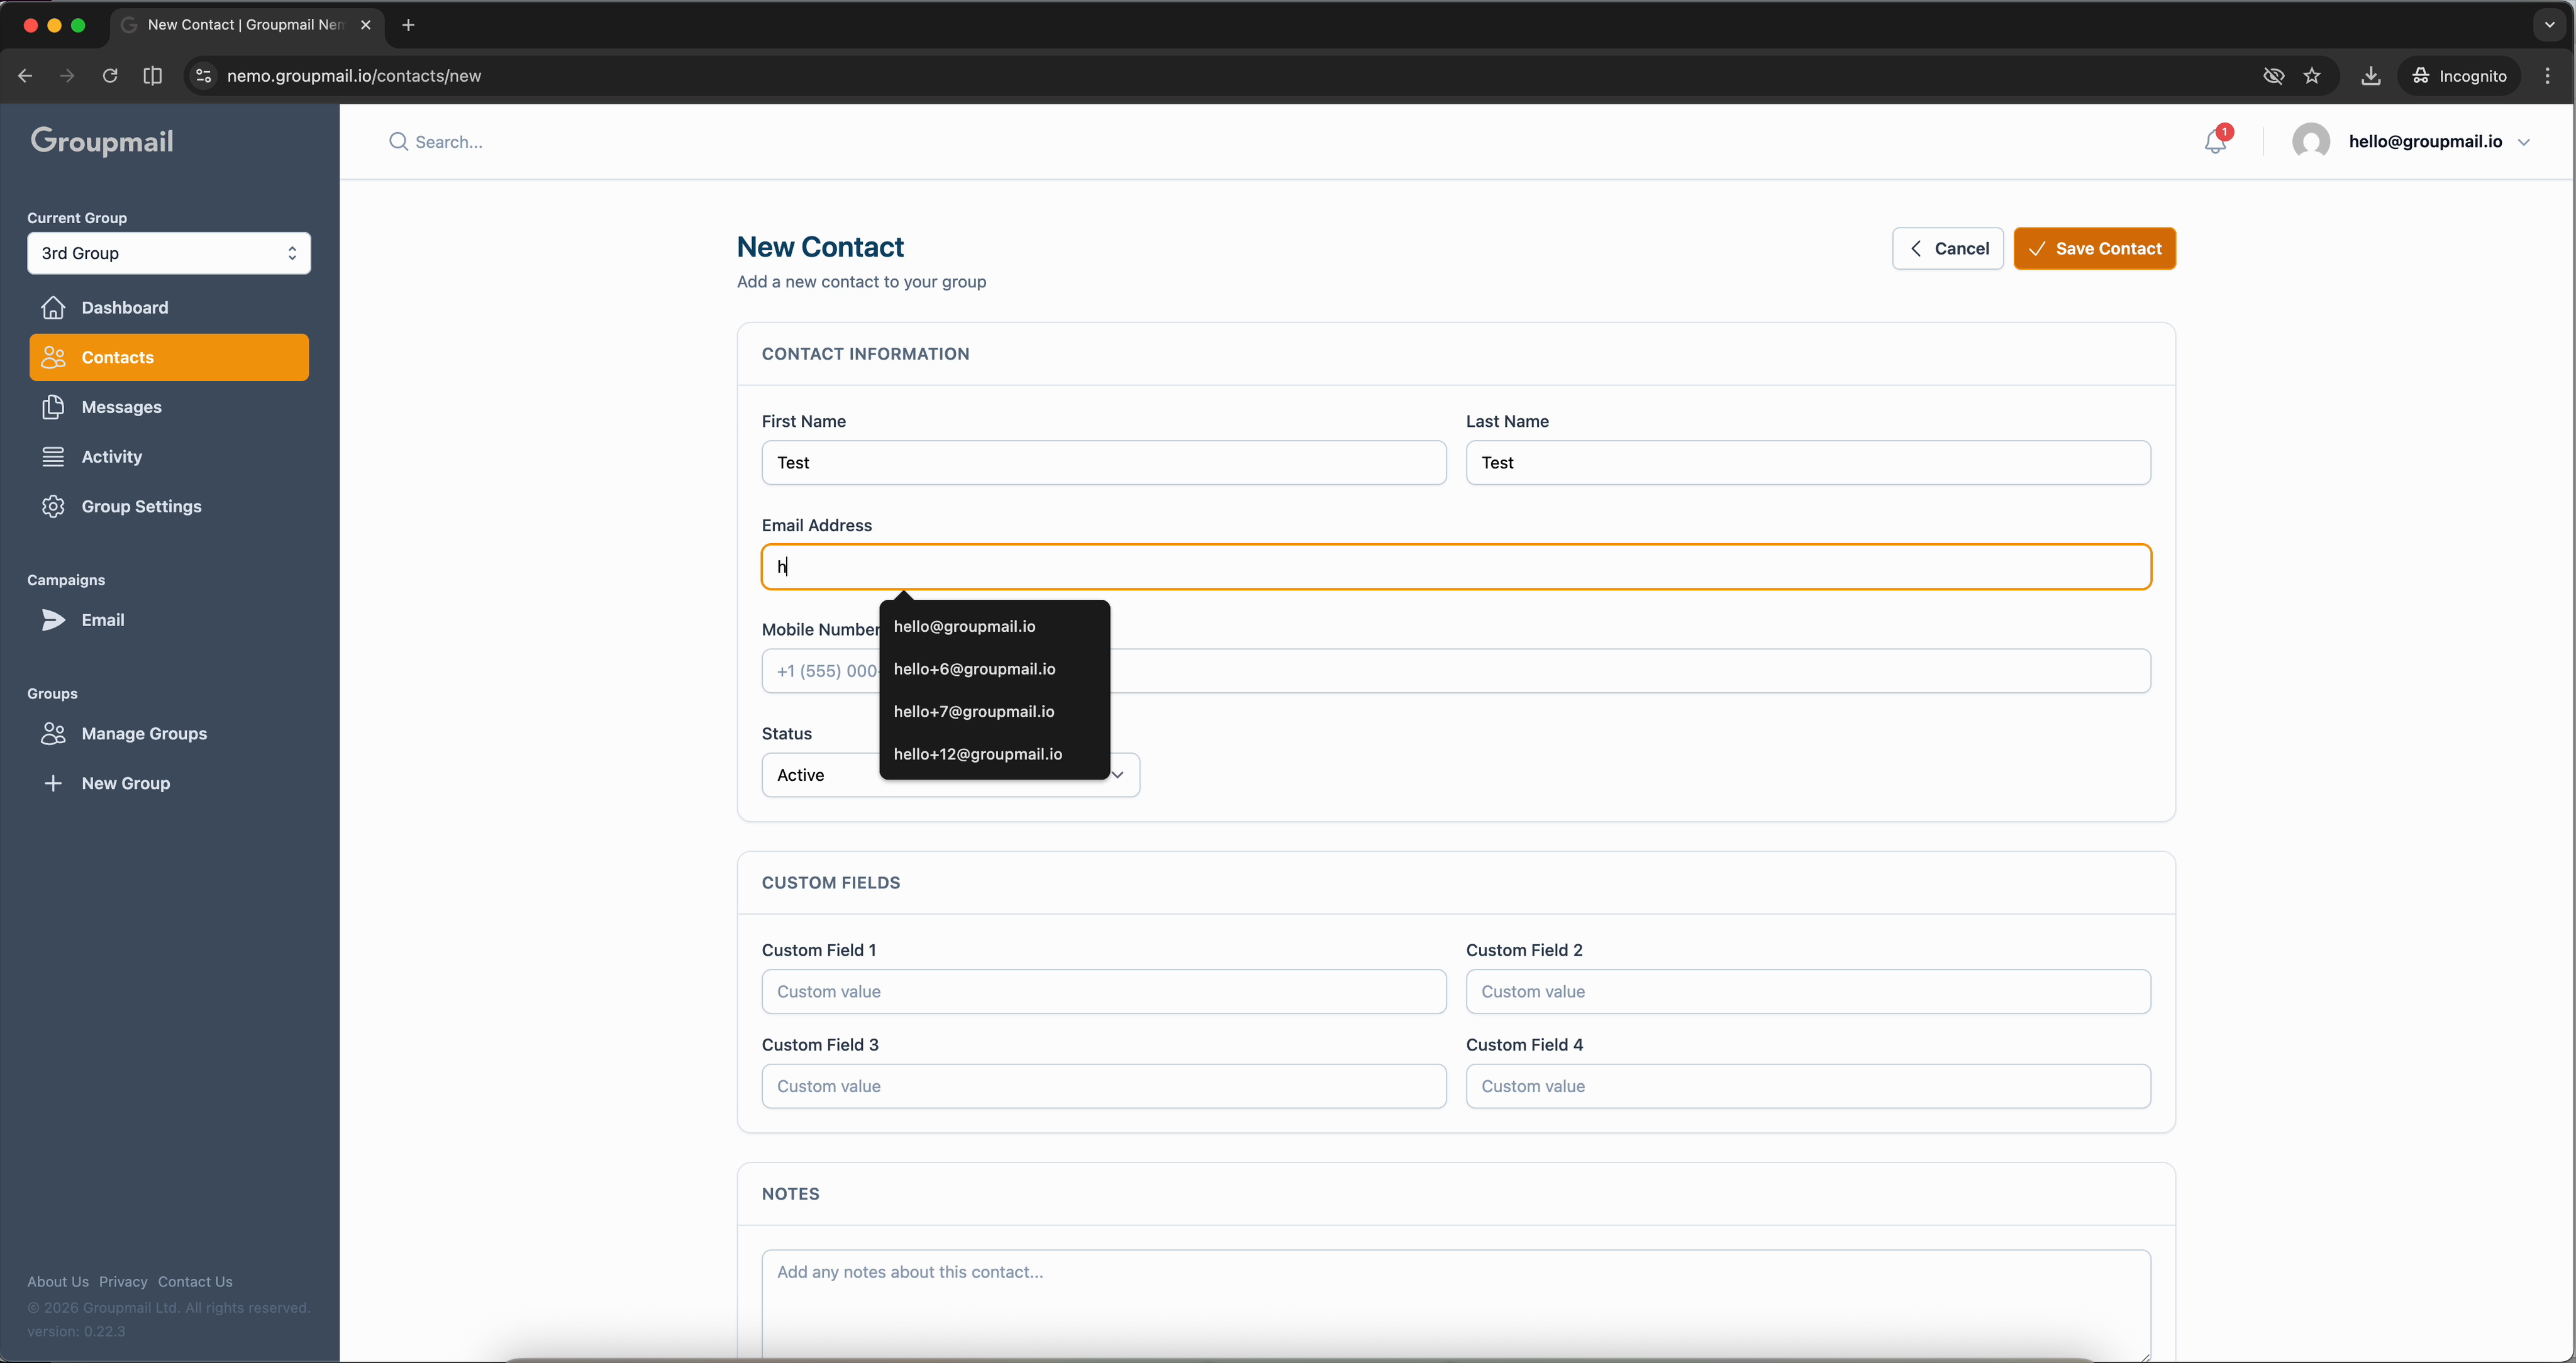
Fill in the First Name, Last Name, and Email Address. As you type the email, Groupmail suggests addresses from your existing contacts — handy if you're adding someone you've corresponded with before. You can also add a mobile number, set the status (Active by default), and fill in up to four custom fields and a notes section.
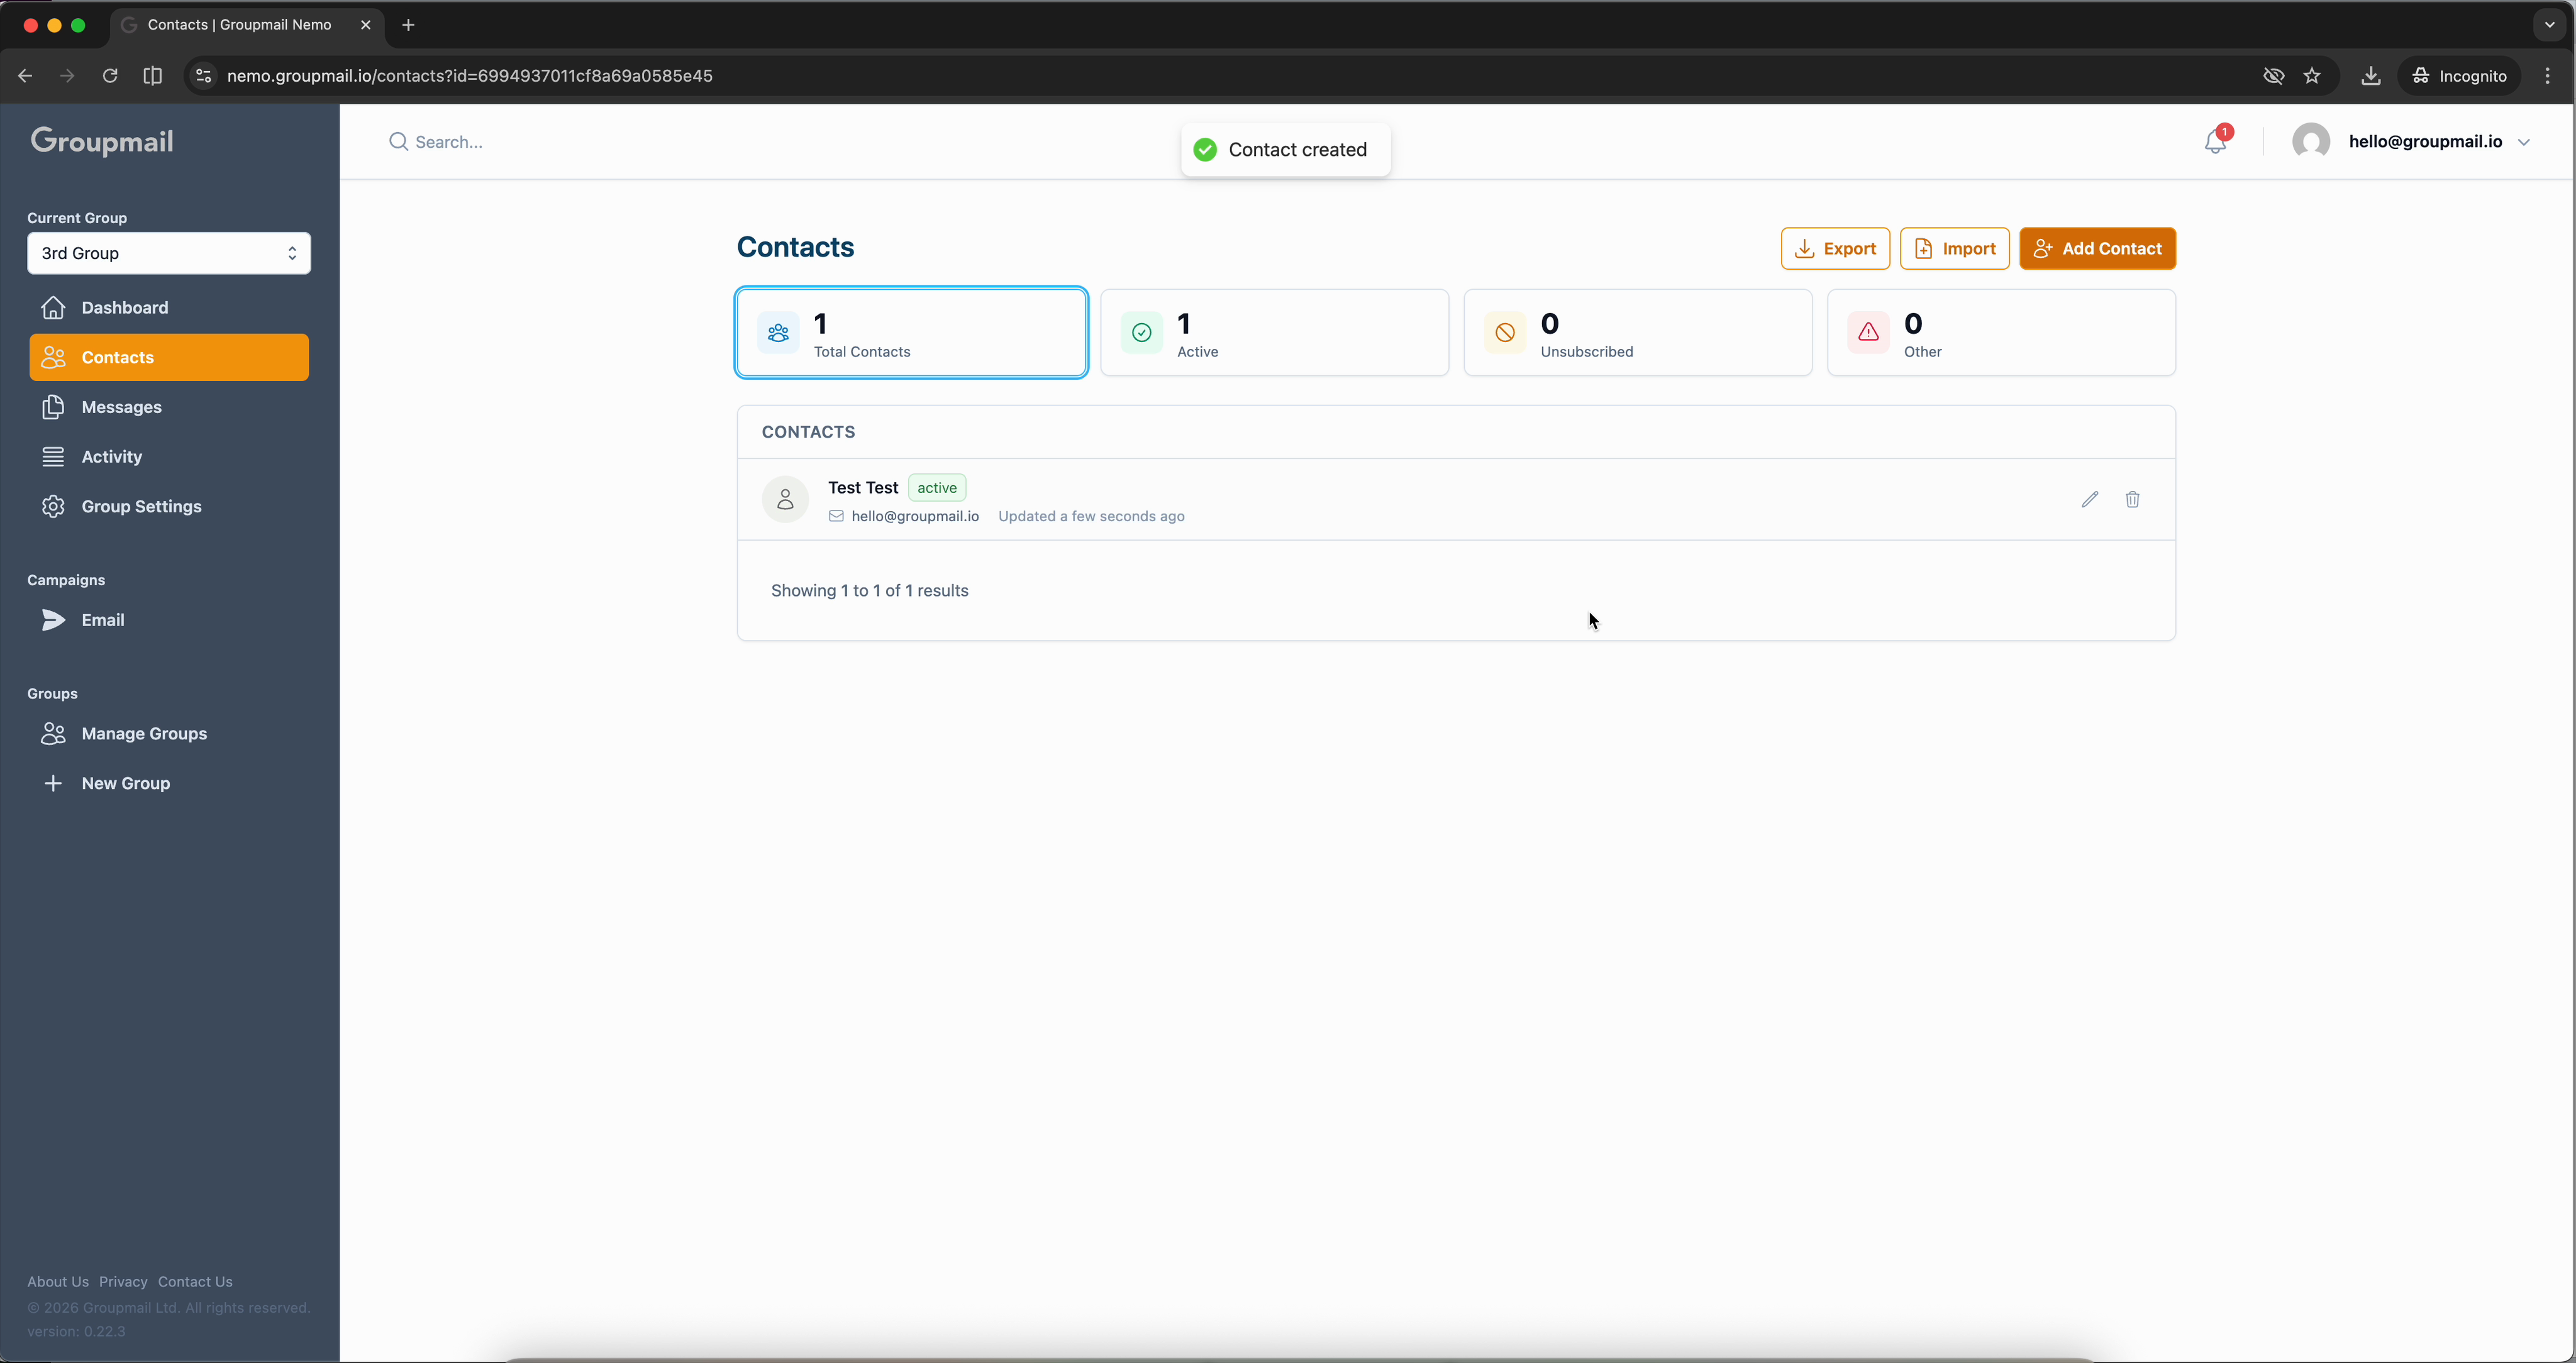
Click Save Contact and the contact is verified and added to your list immediately.
Every contact is verified automatically when saved — Groupmail checks the email format, domain, and MX records in real time.
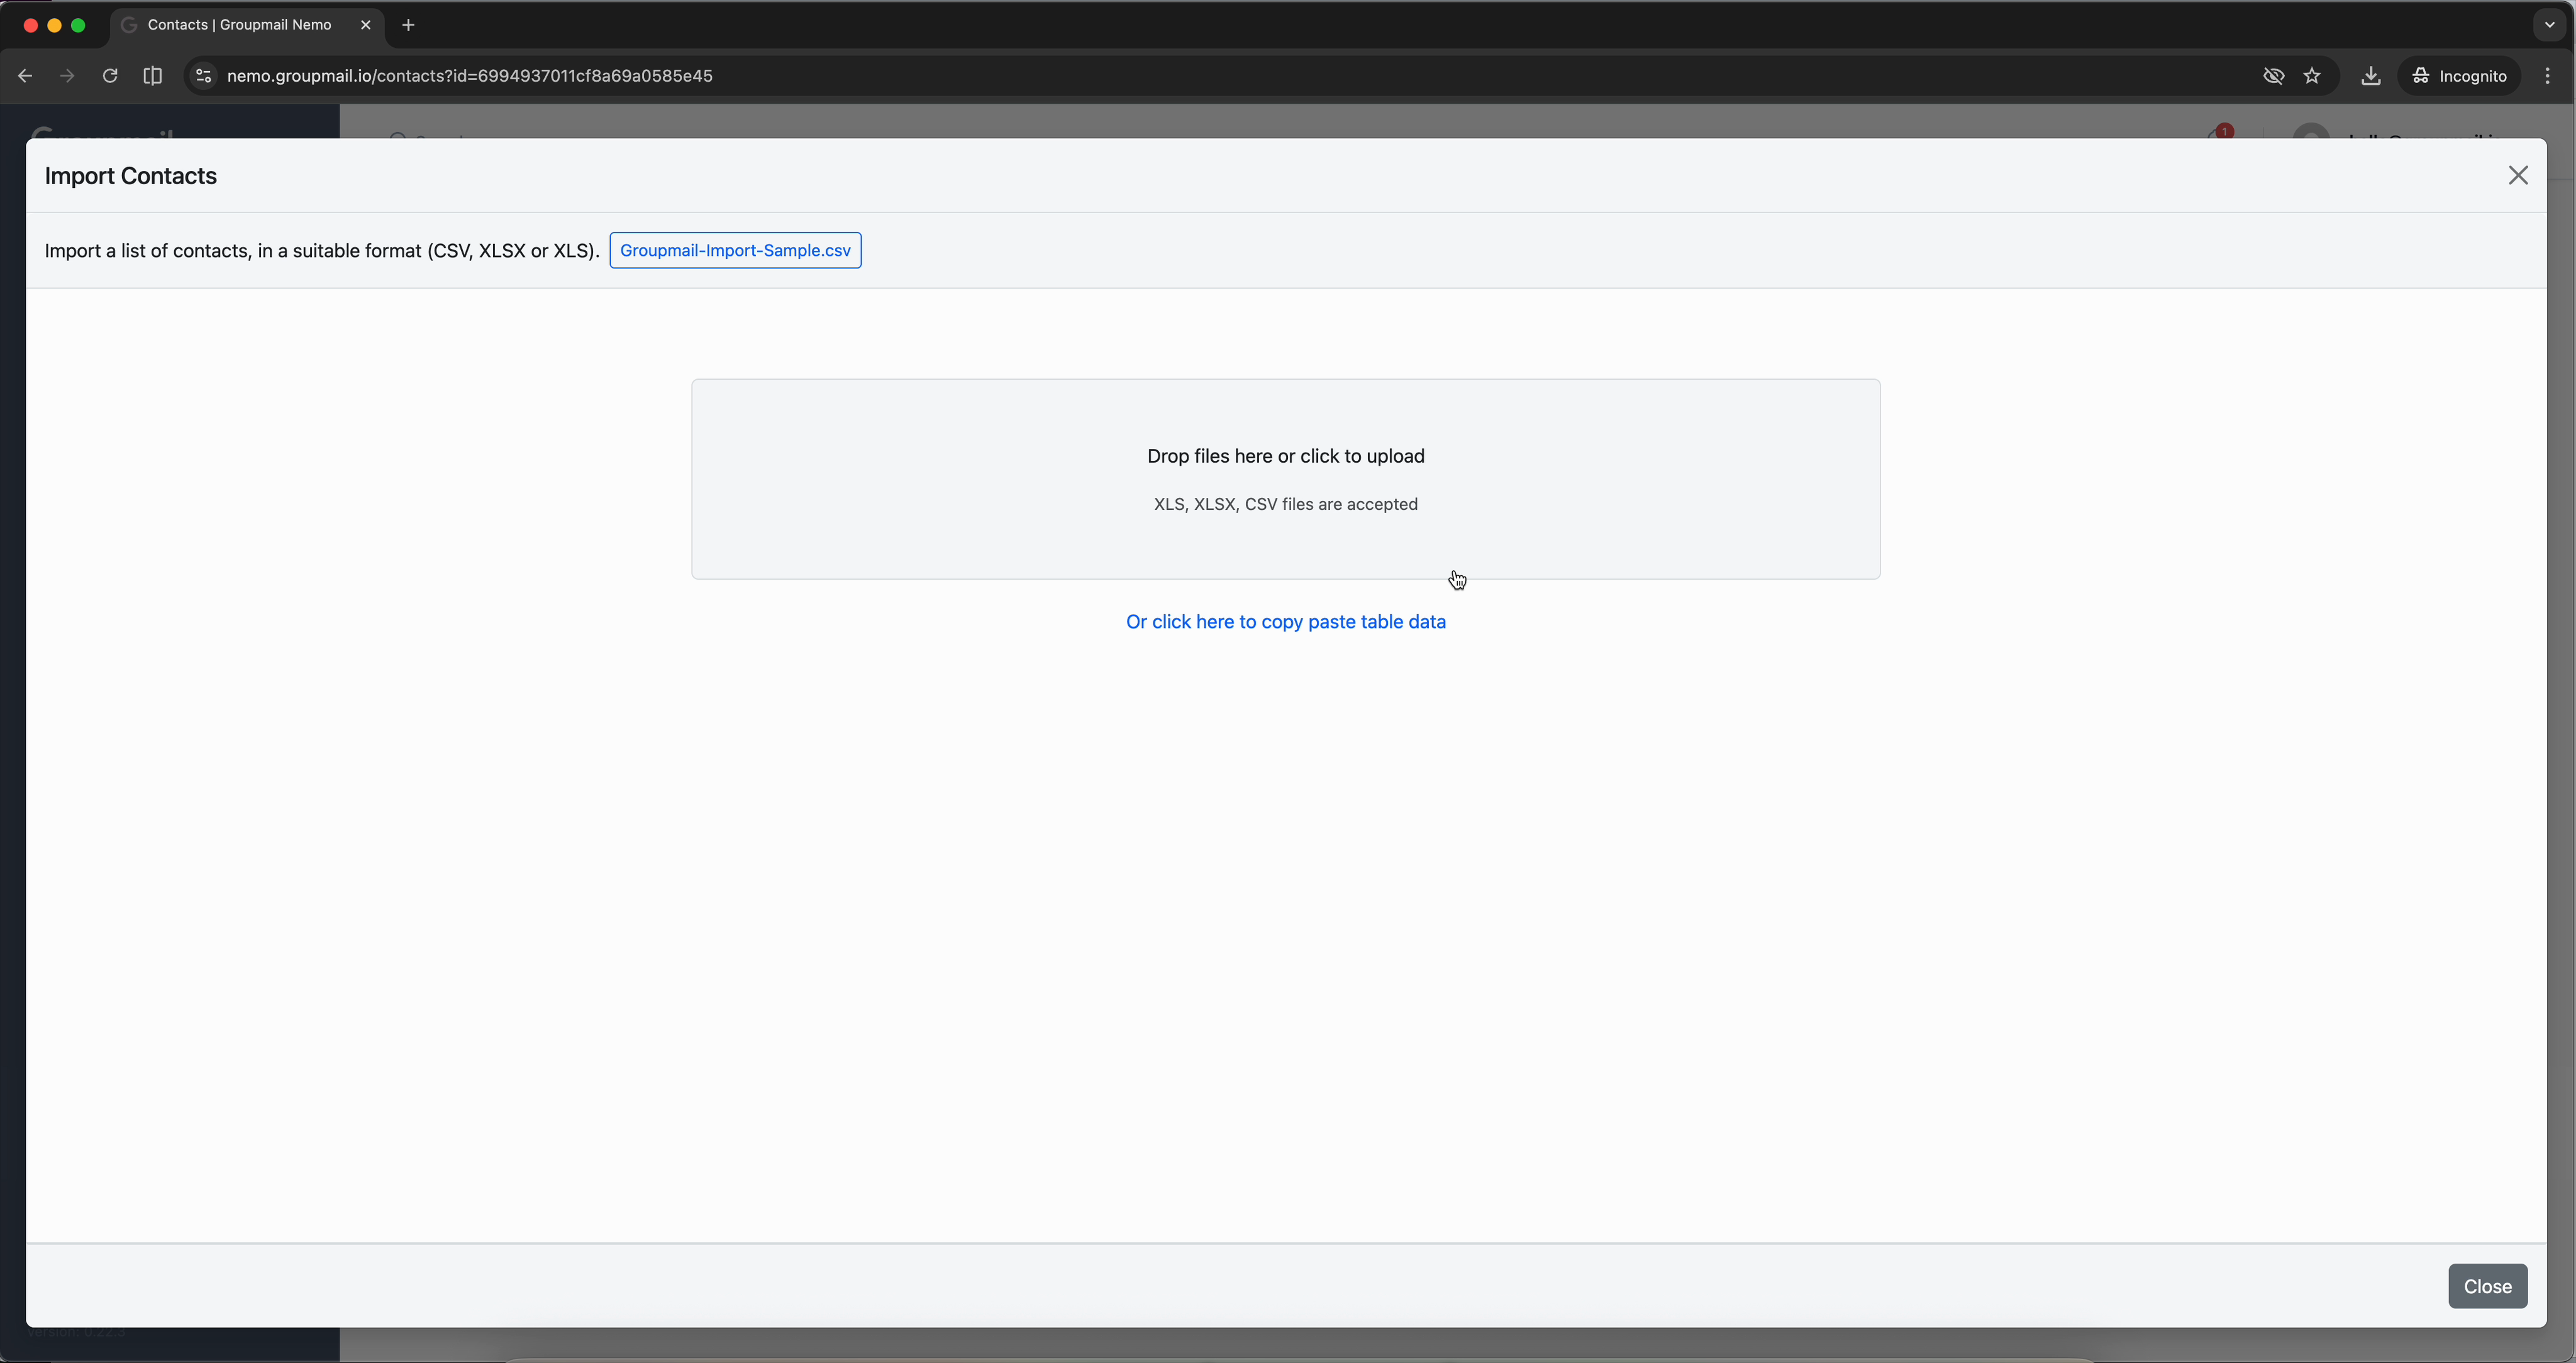
Import Contacts from a Spreadsheet
For bulk imports, click Import on the Contacts page. Groupmail accepts CSV, XLSX, and XLS files. You can drag and drop a file into the upload area, browse your computer, or paste tabular data directly.
Select the Header Row
After uploading, Groupmail previews your data and asks you to confirm which row contains your column headers. Select row 1 (or whichever row has your headers) and click Next.
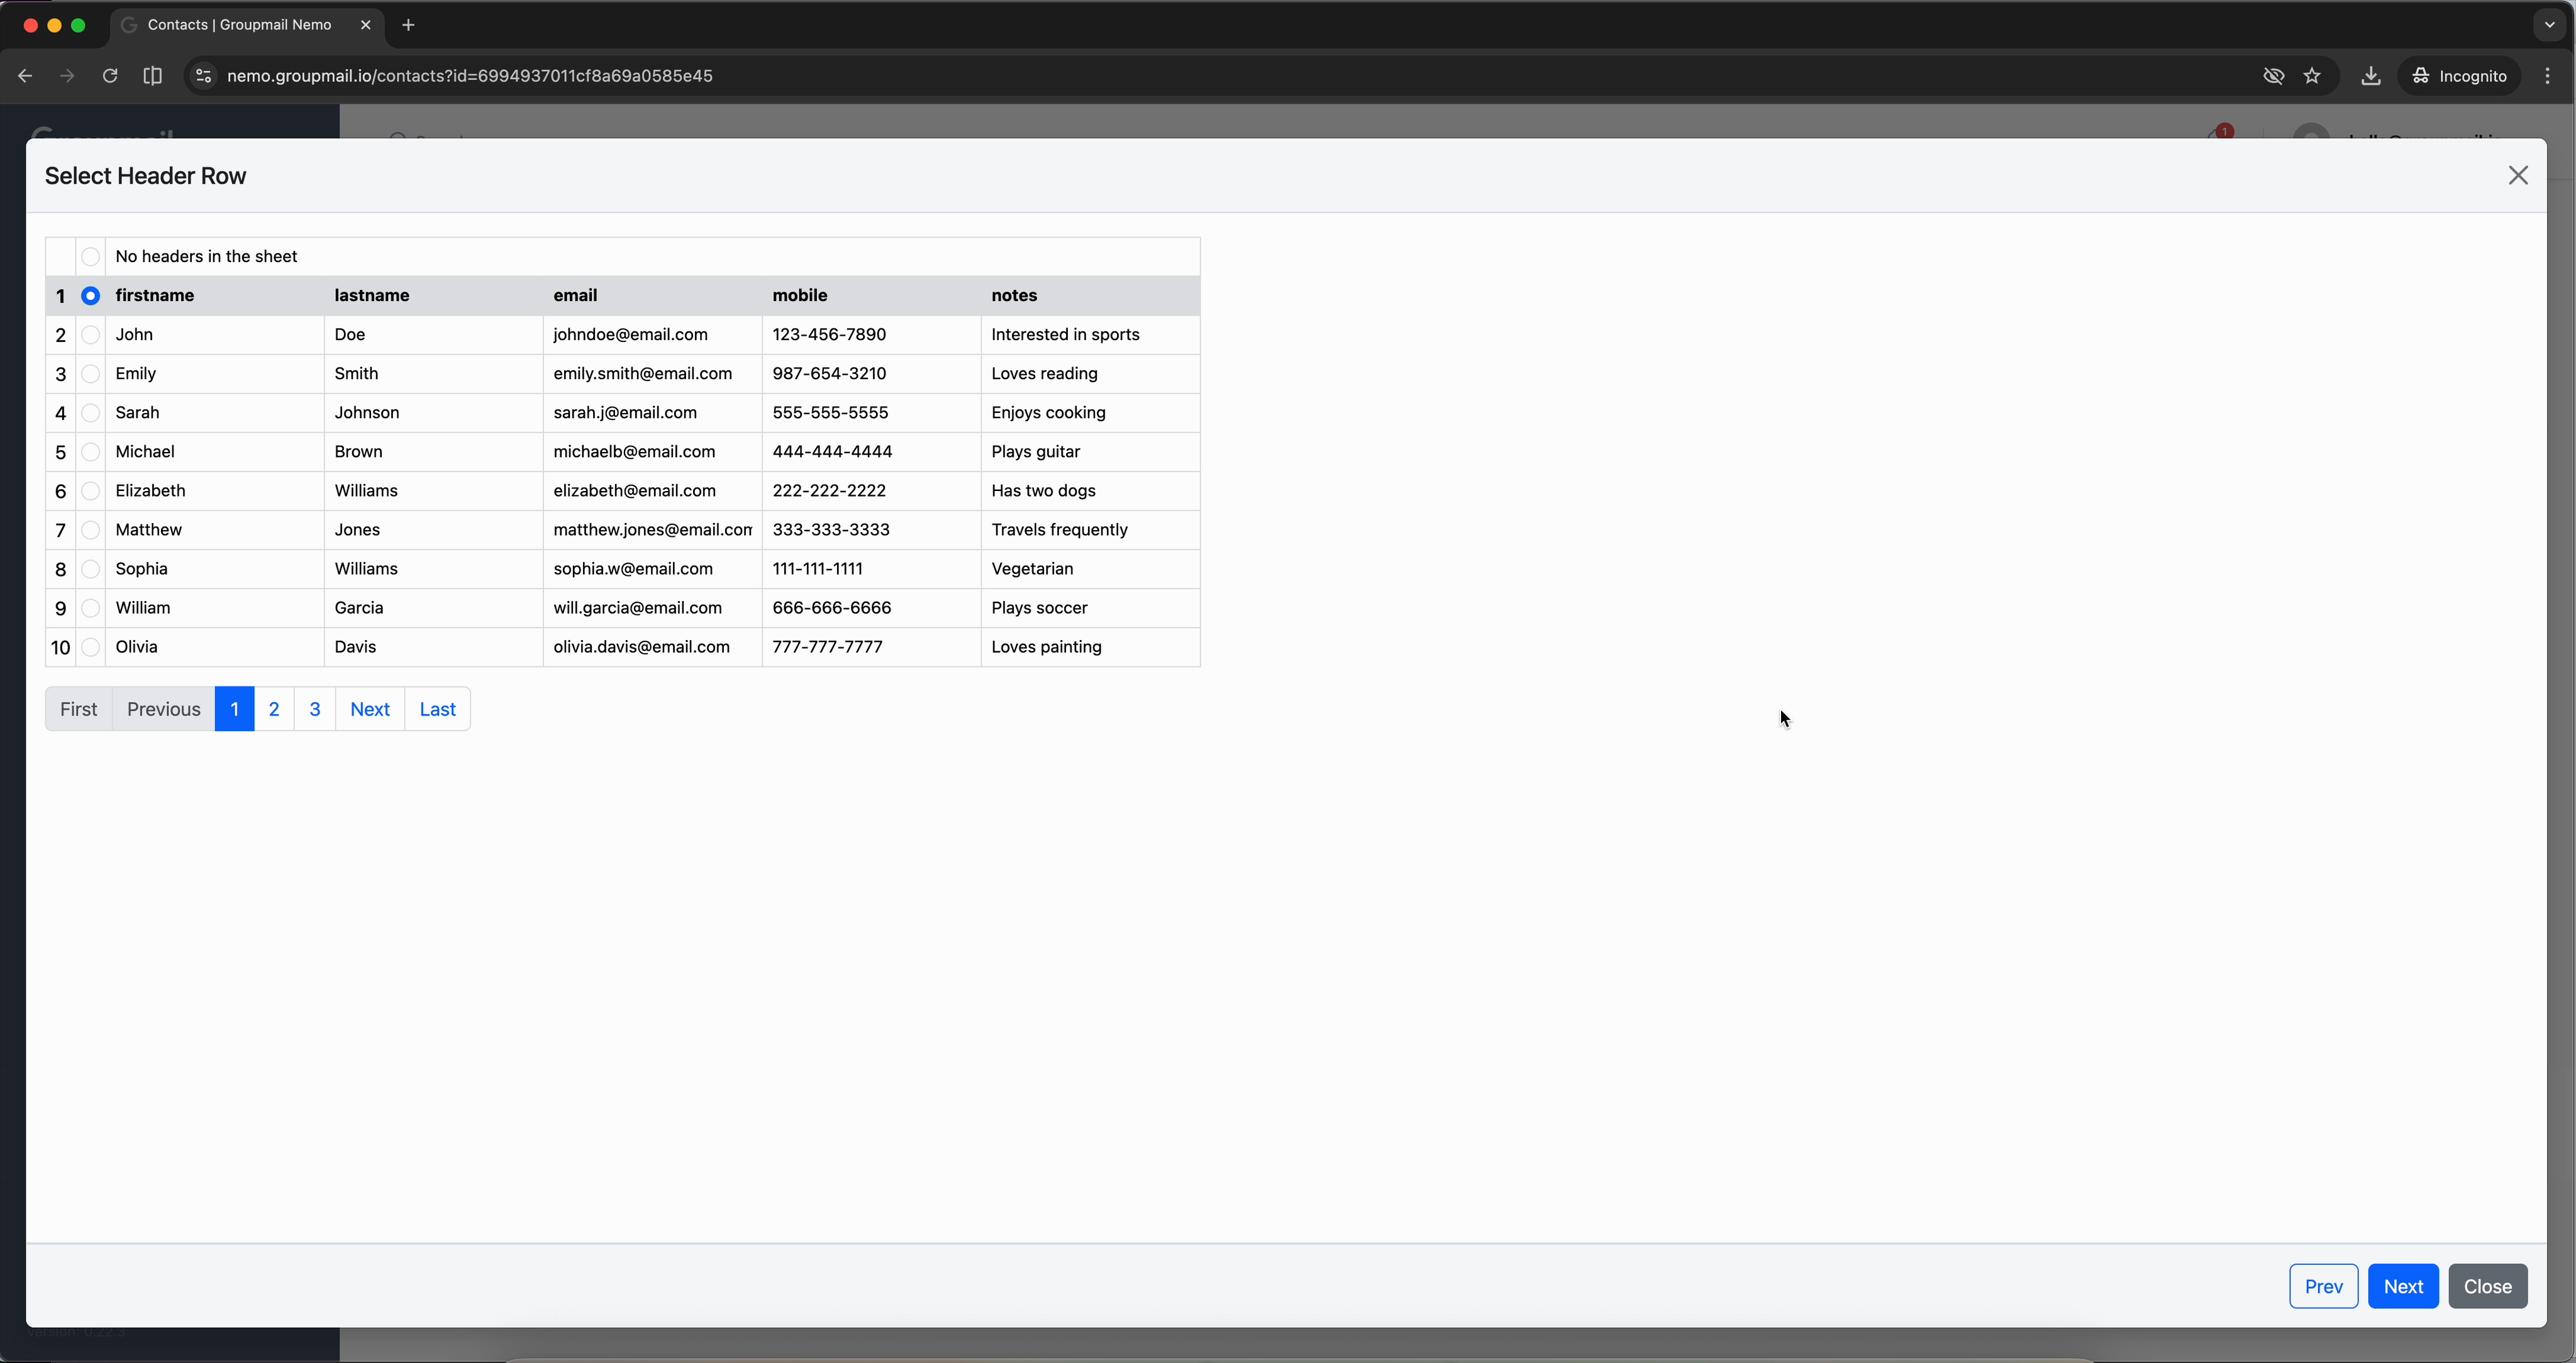
The preview shows your data in a paginated table so you can verify it looks correct before proceeding.
Map Your Columns
Groupmail auto-matches your file's columns to its built-in contact fields. Common column names like "firstname," "lastname," "email," and "mobile" are mapped automatically.
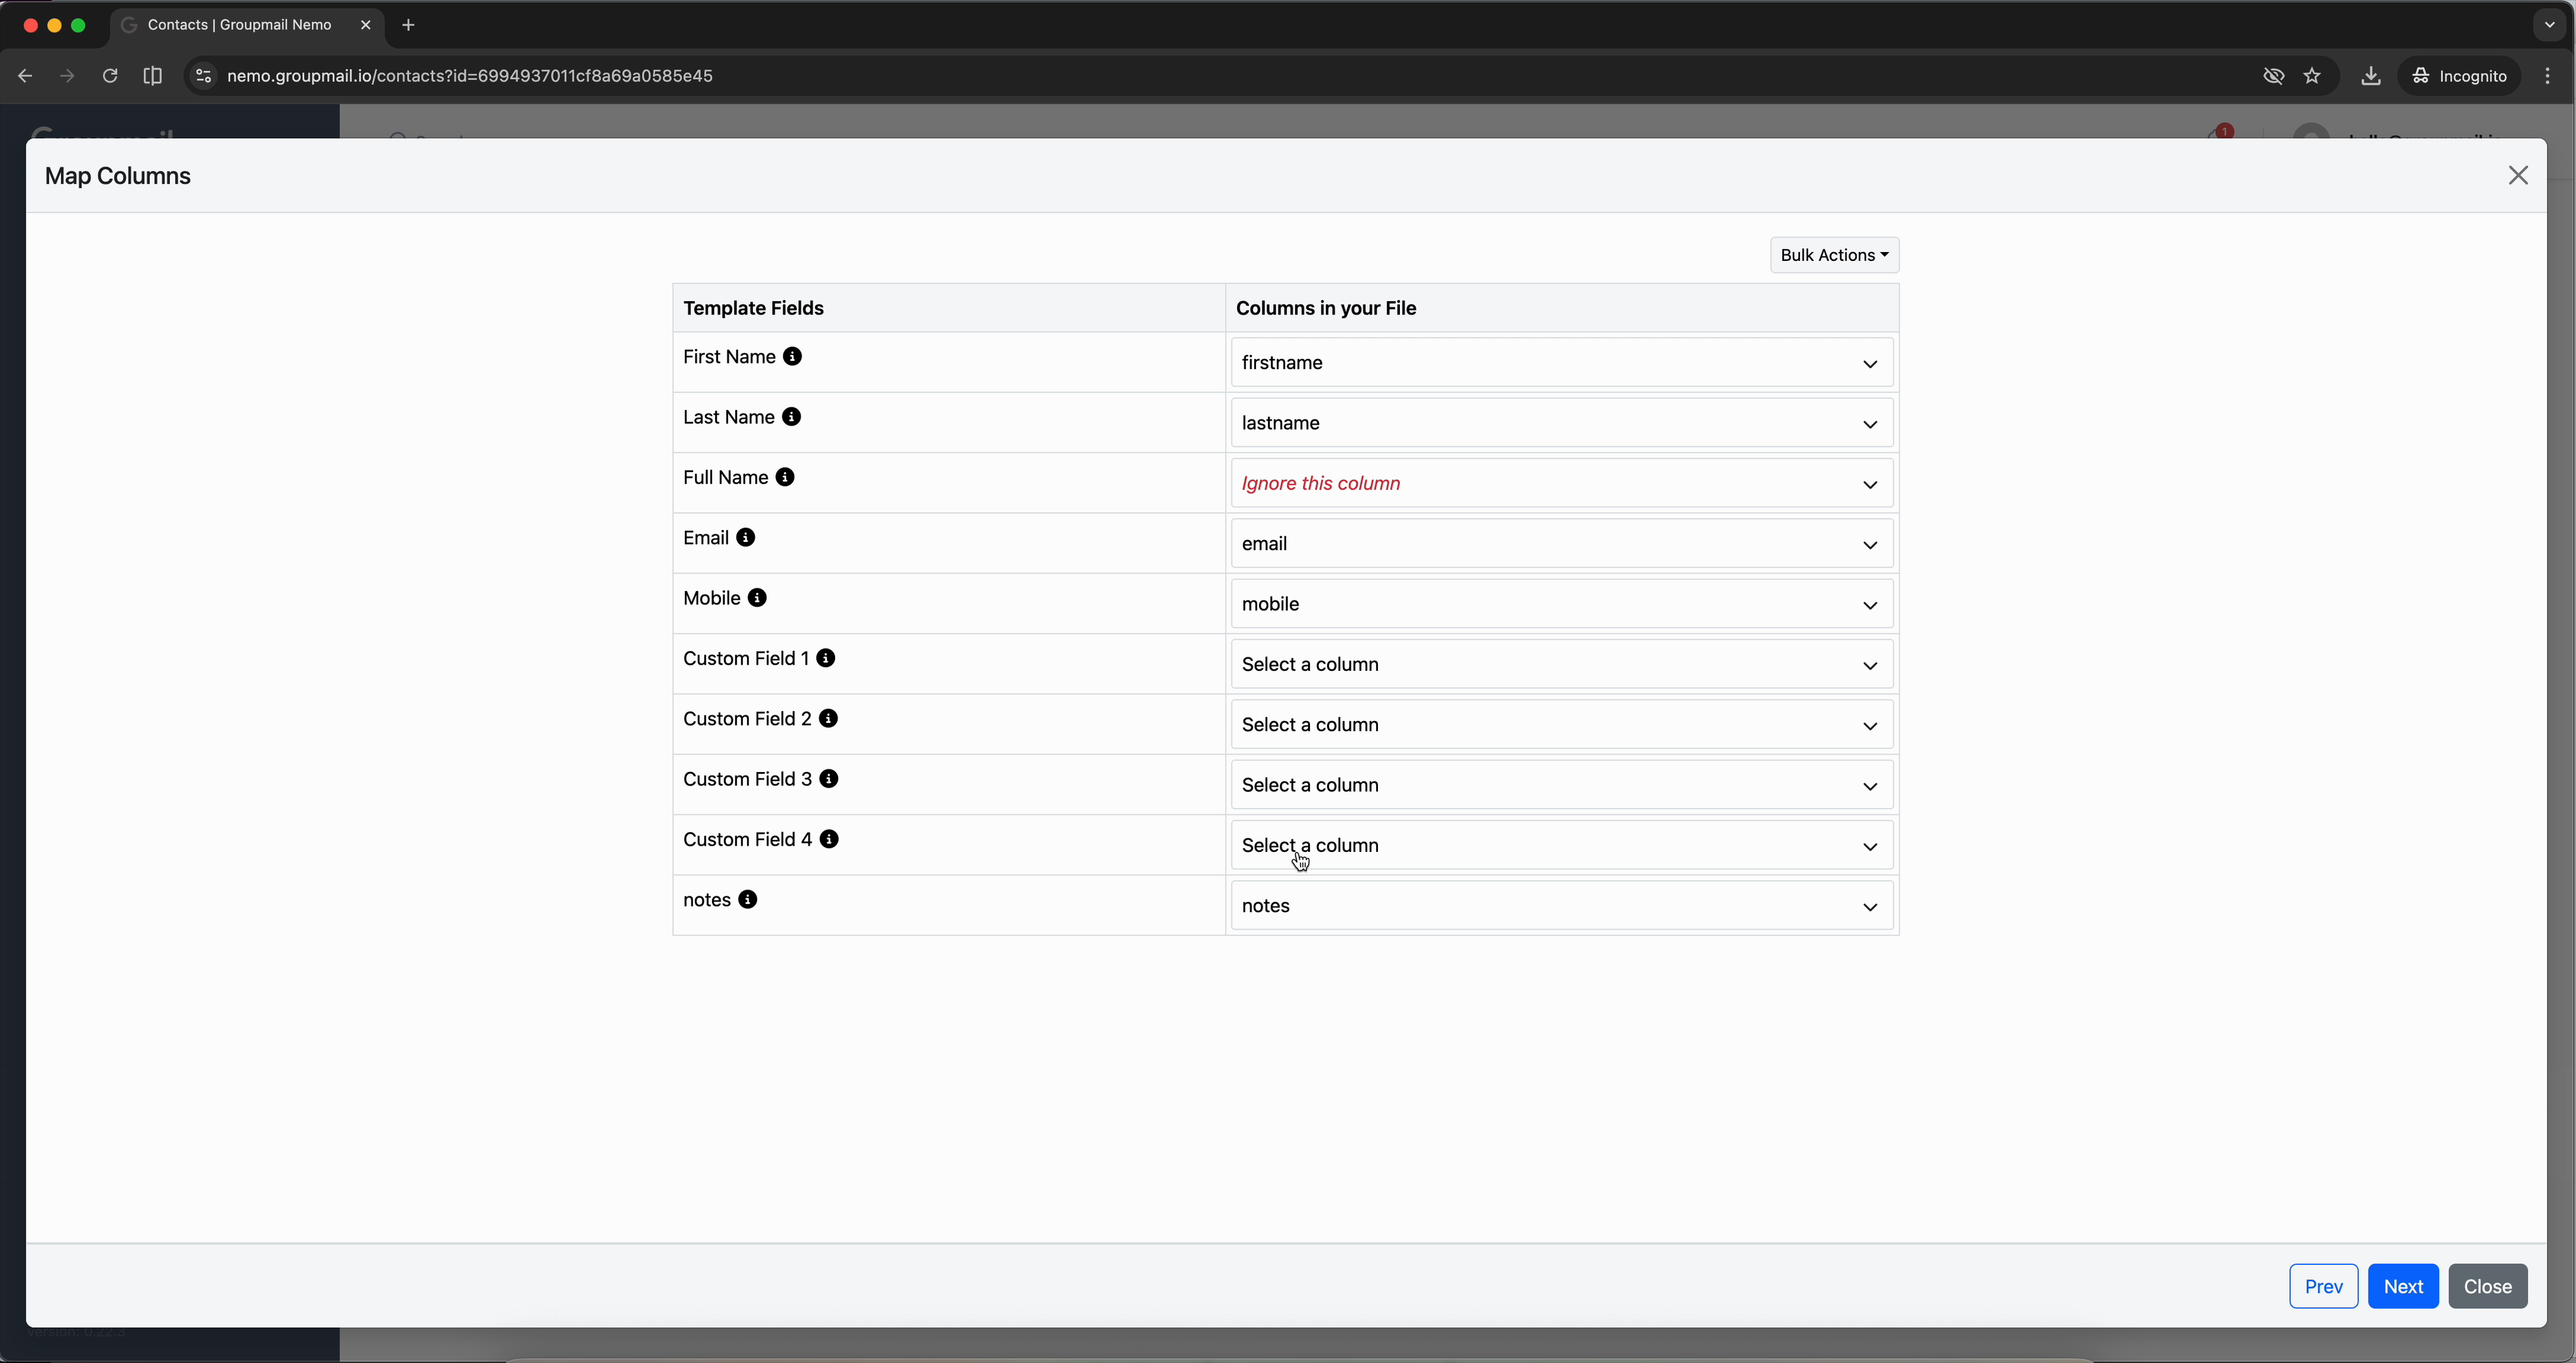
For any column that doesn't auto-match, use the dropdown to assign it to the right field — or choose Ignore this column to skip it. You can map data to custom fields and the notes field as well.
Review Your Imported Contacts
Click Next to start the import. Groupmail processes and verifies each contact — you'll see a progress bar while it works through your file.
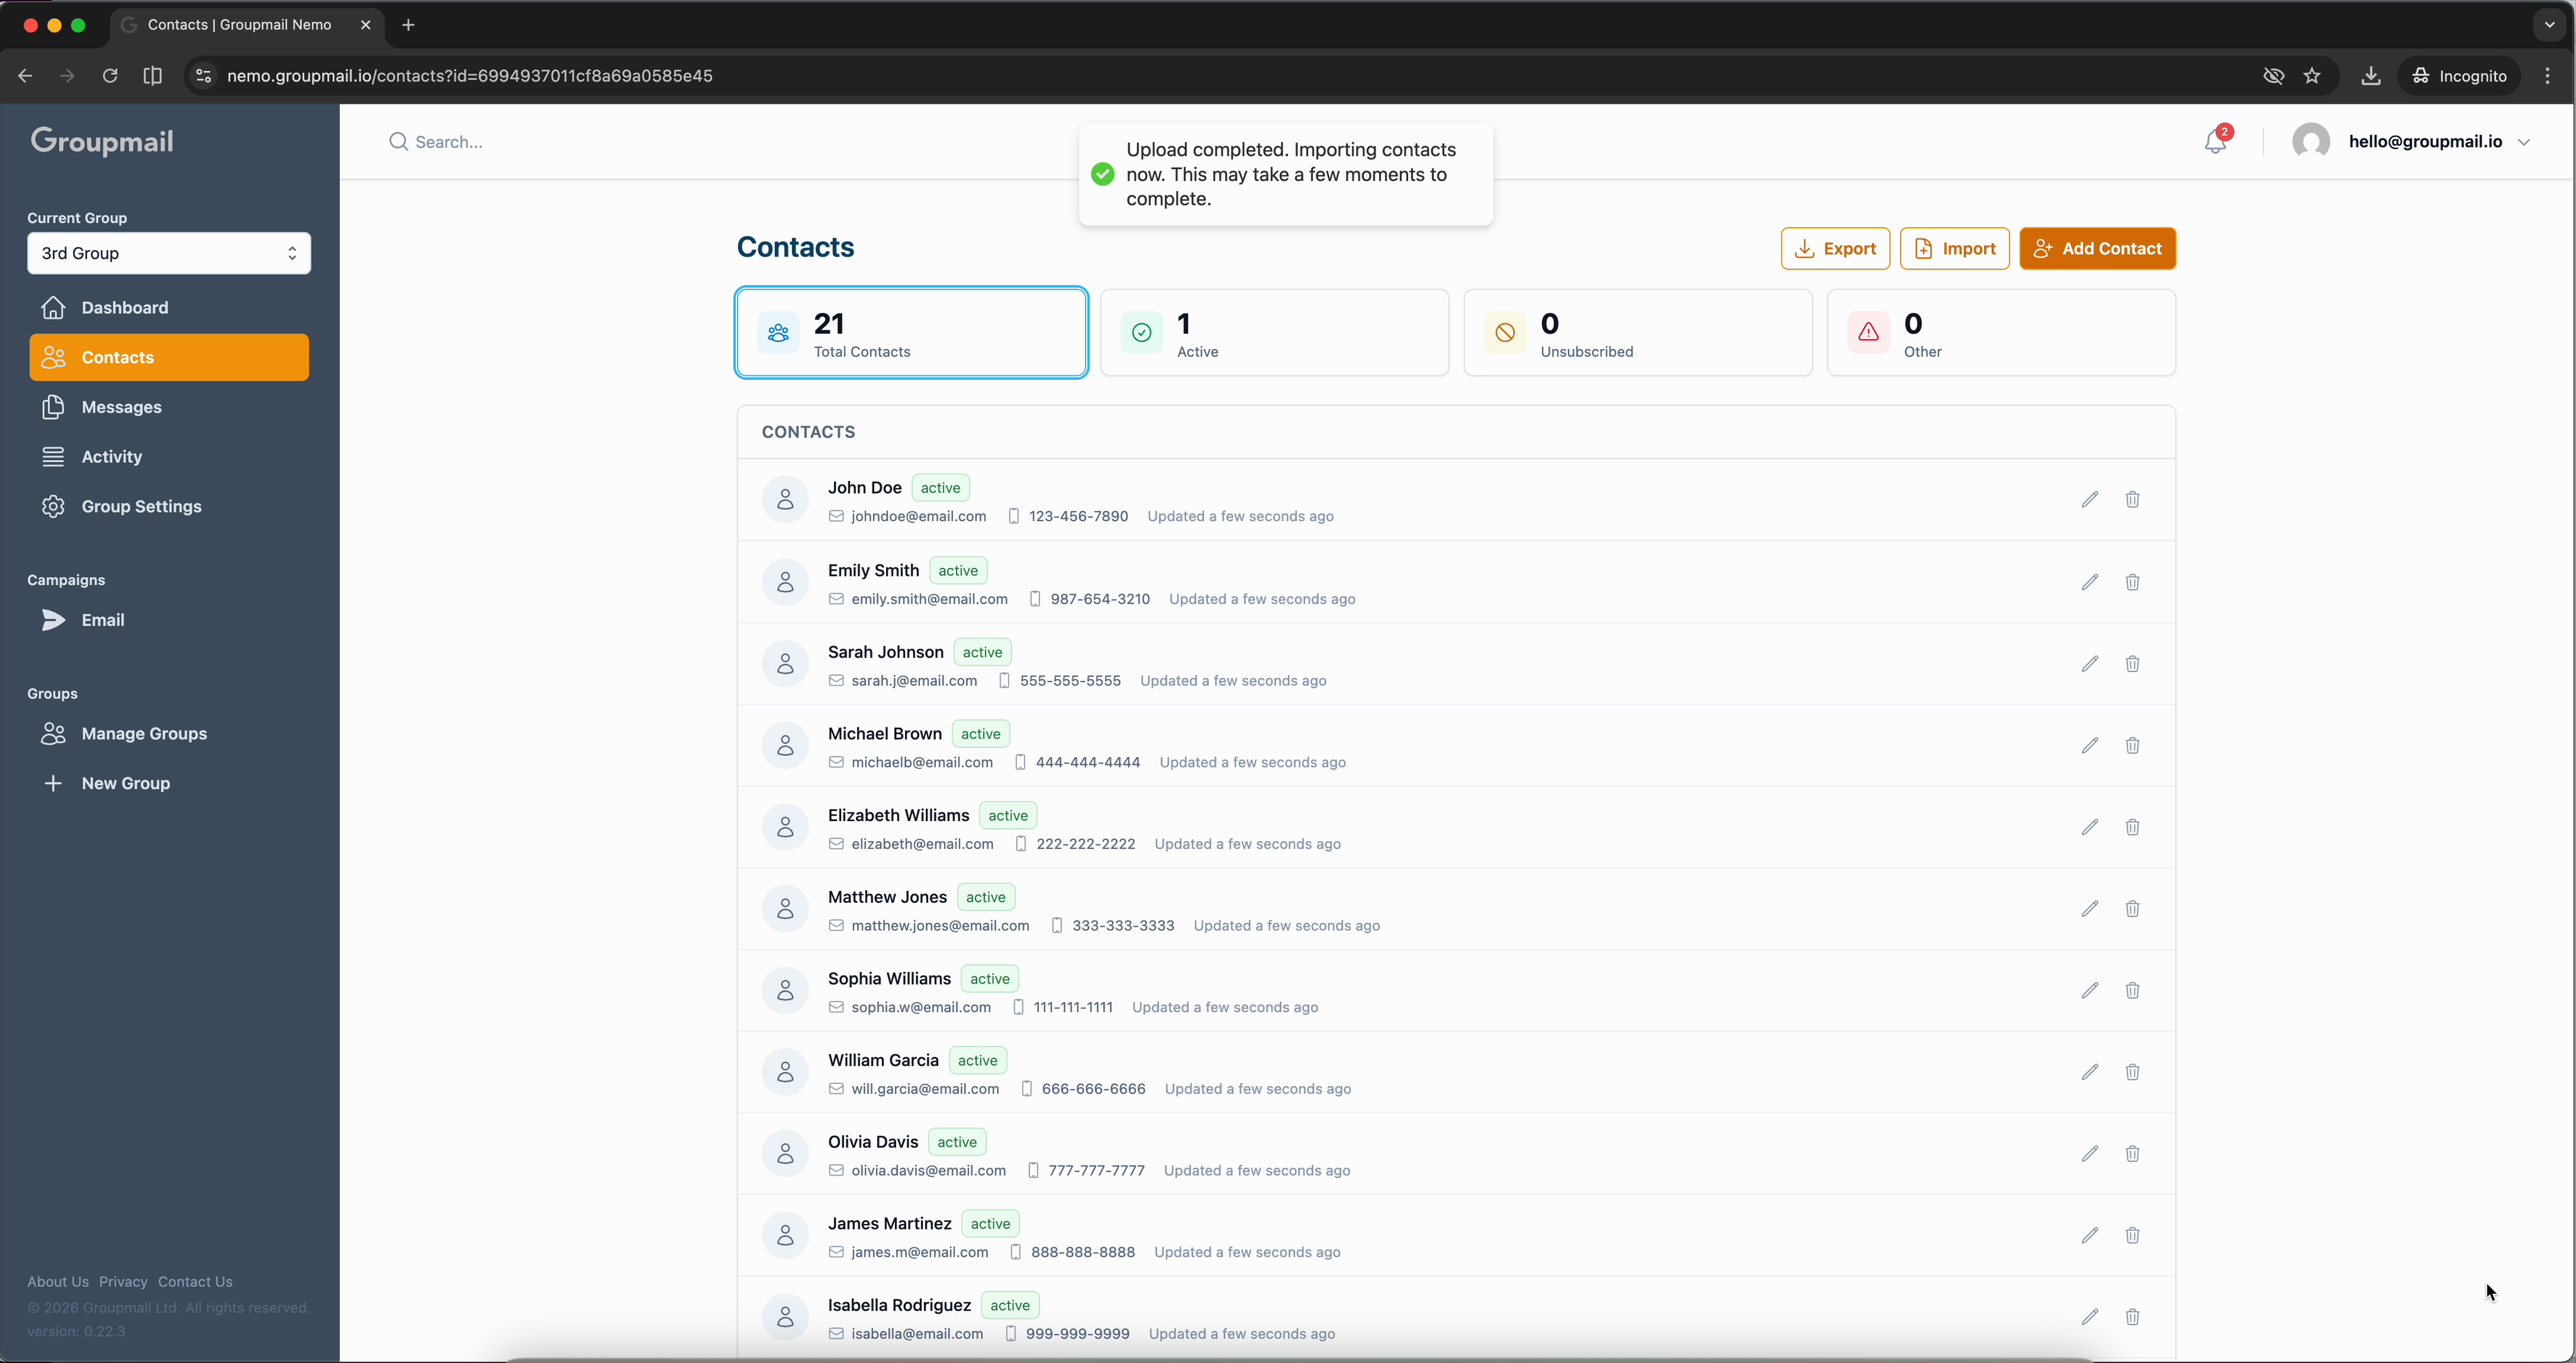
Once complete, you'll land back on the Contacts page with all your new contacts listed and ready to go.
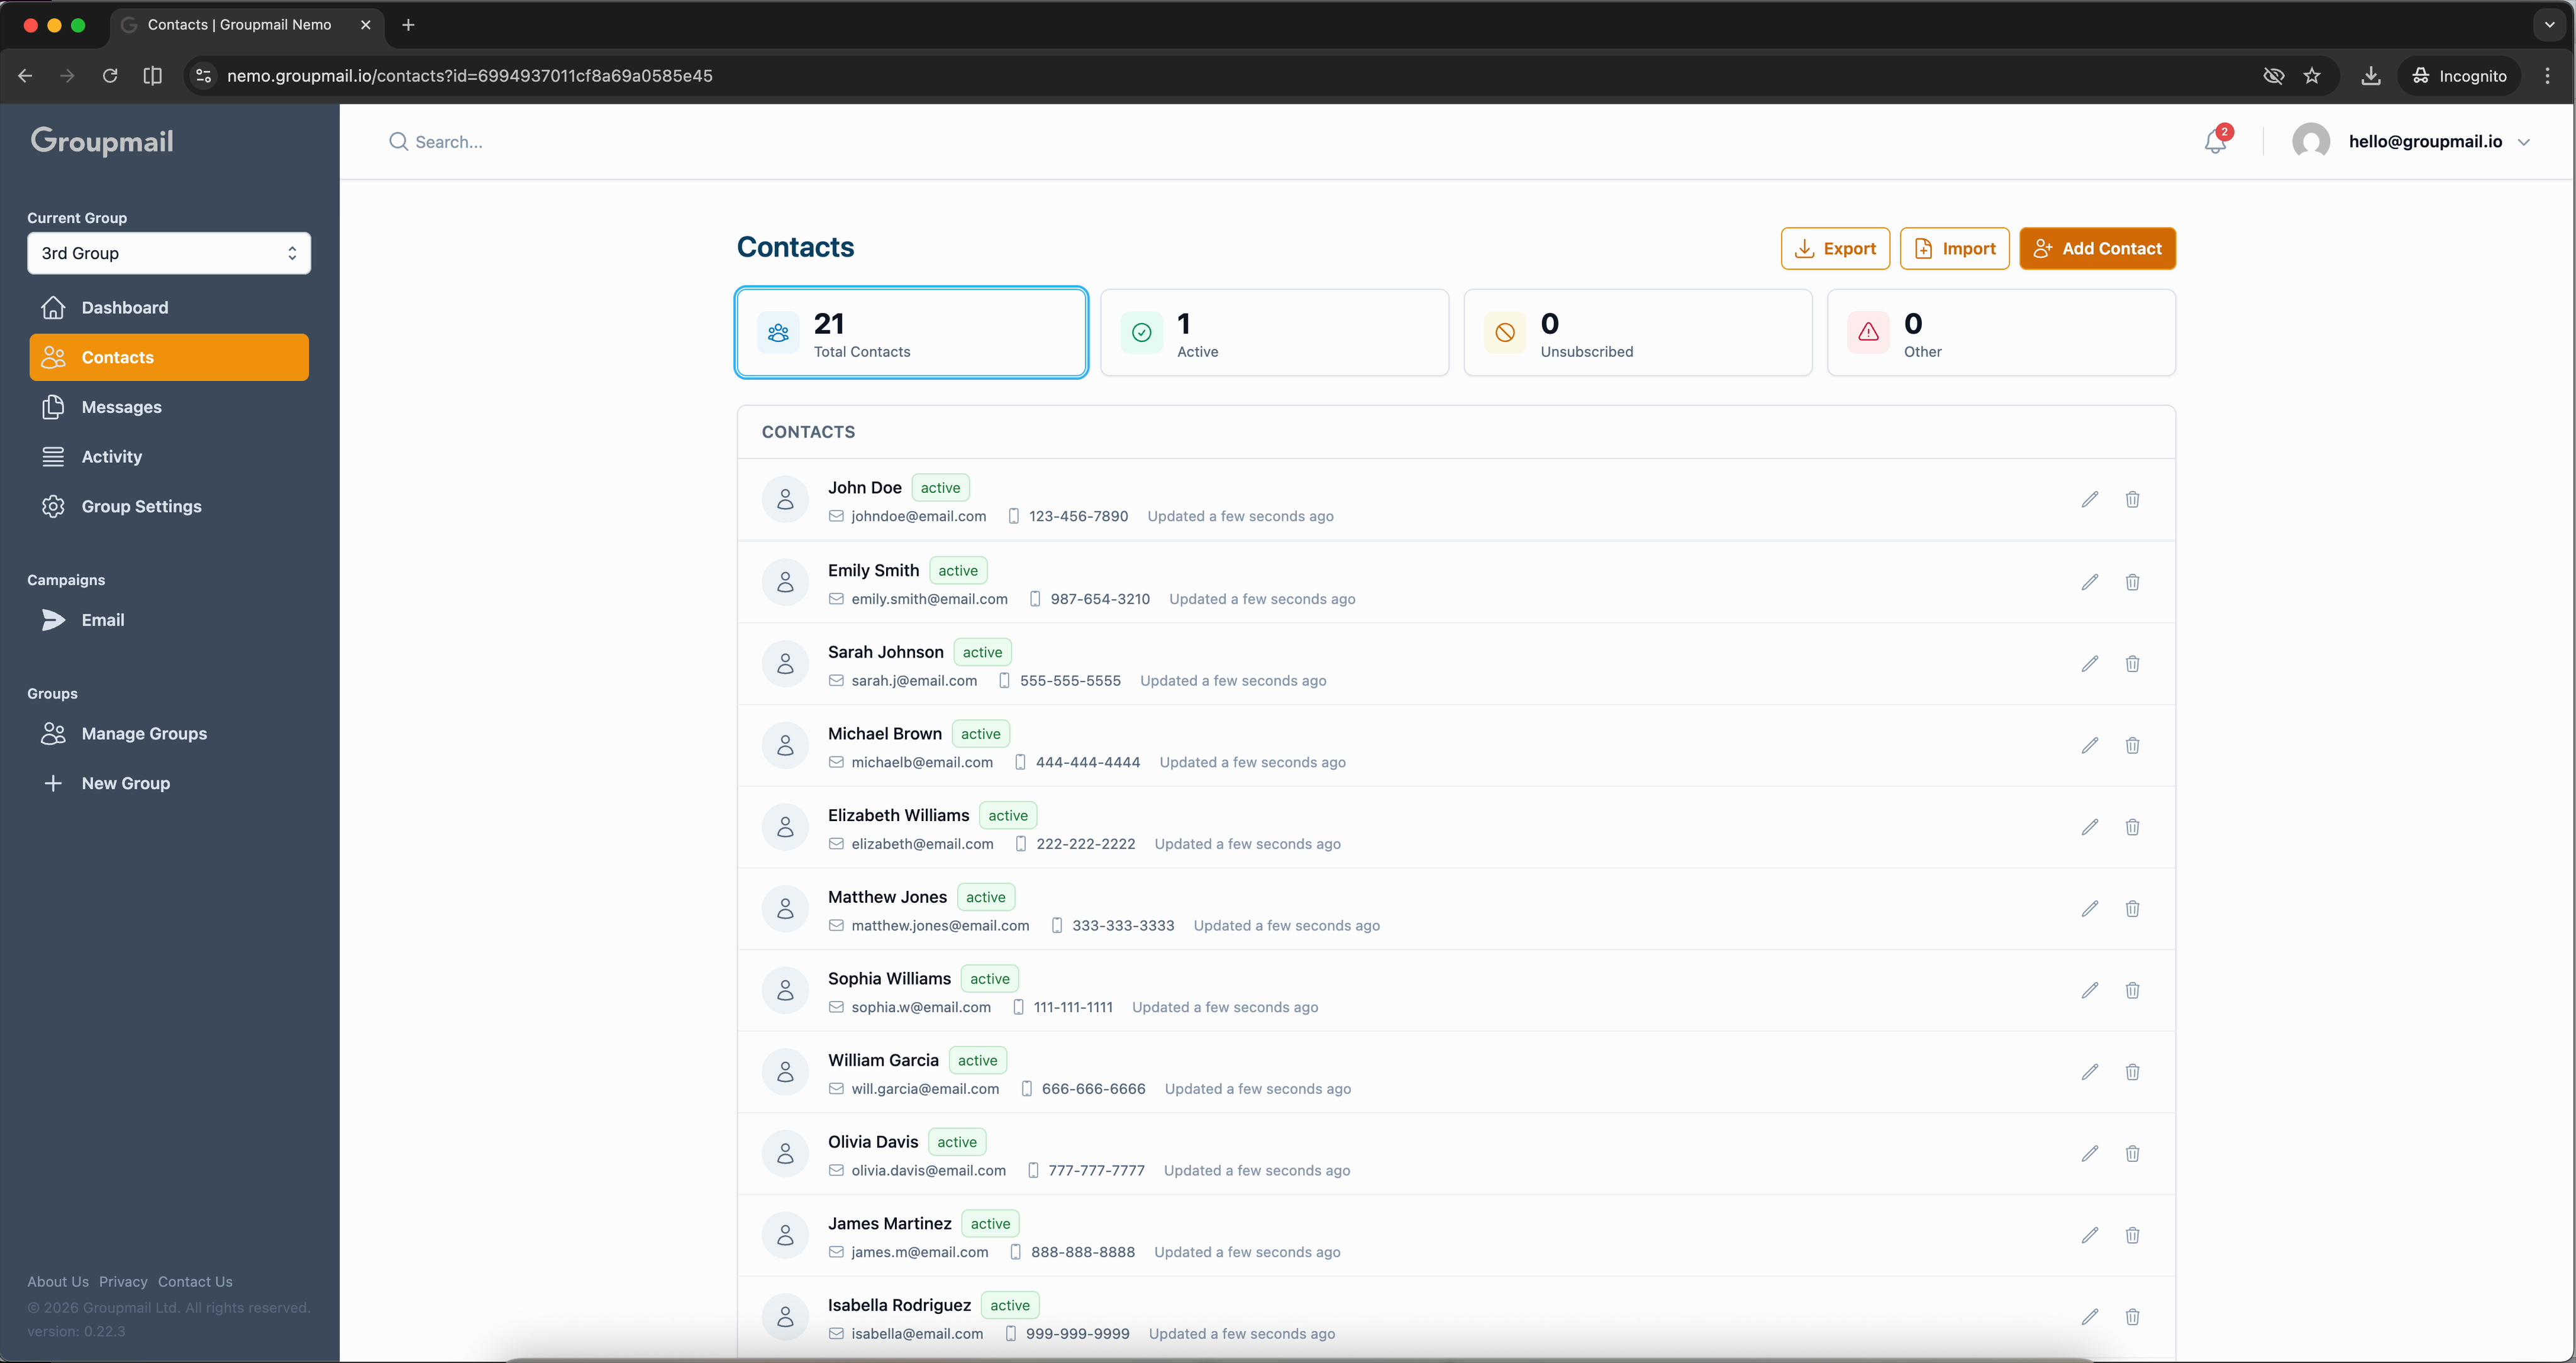
From one contact to thousands — your group is now ready to send campaigns.
What's Next?
- Set Up a Subscription Form — Let visitors subscribe to your group directly from your website.
- Create a Newsletter — Write and send your first message to your contacts.
- Send a Campaign — Learn about campaign options, scheduling, and delivery settings.