Sending your first newsletter with Groupmail takes less than three minutes. This guide walks you through every step — from creating your account to watching your campaign land in inboxes — so you can hit the ground running.
Sign Up and Verify Your Account
Head to groupmail.io and click Start for Free. Create your account with an email address and password. You'll receive a verification code by email — enter it to confirm your account and you'll be taken straight into the setup wizard.
Create Your First Group
A group is the foundation of everything in Groupmail. It holds your contacts, messages, and campaigns together in one place. Think of it as a mailing list — you might have one for newsletter subscribers, another for VIP customers.
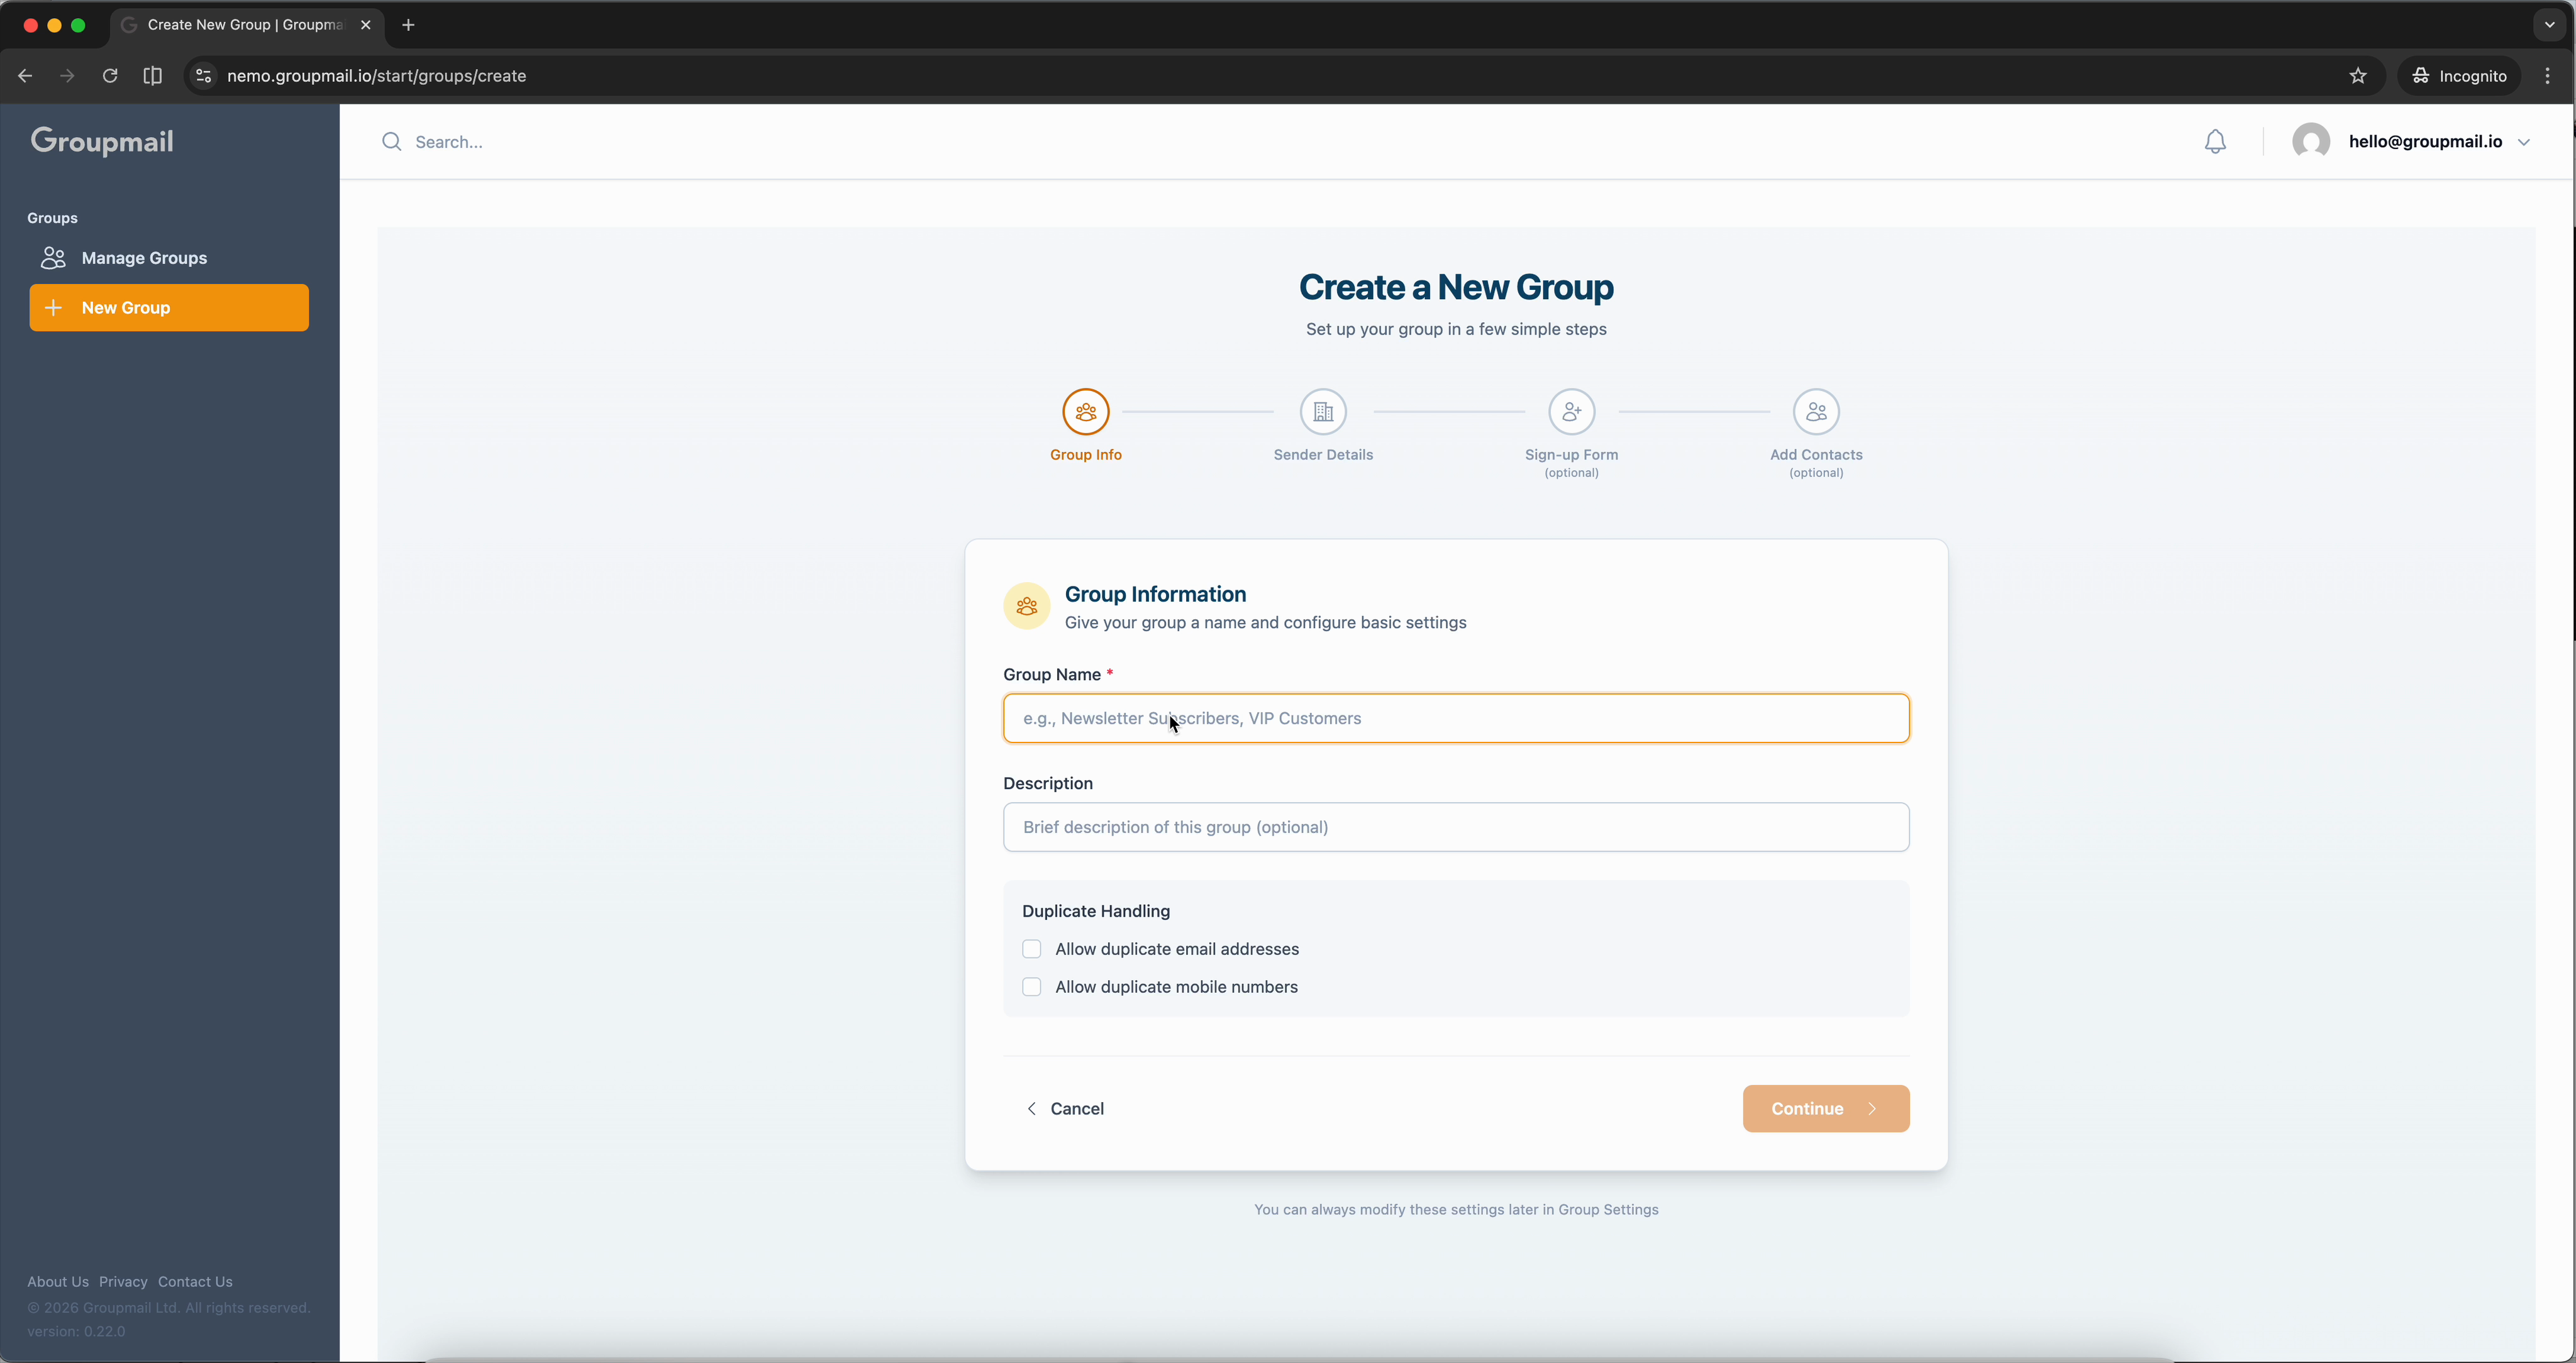
Give your group a name and click Continue. You can leave the duplicate handling defaults as they are for now.
Add Your Sender Details
Every email you send needs to identify who it's from. This isn't just good practice — it's required by email regulations like CAN-SPAM and GDPR.
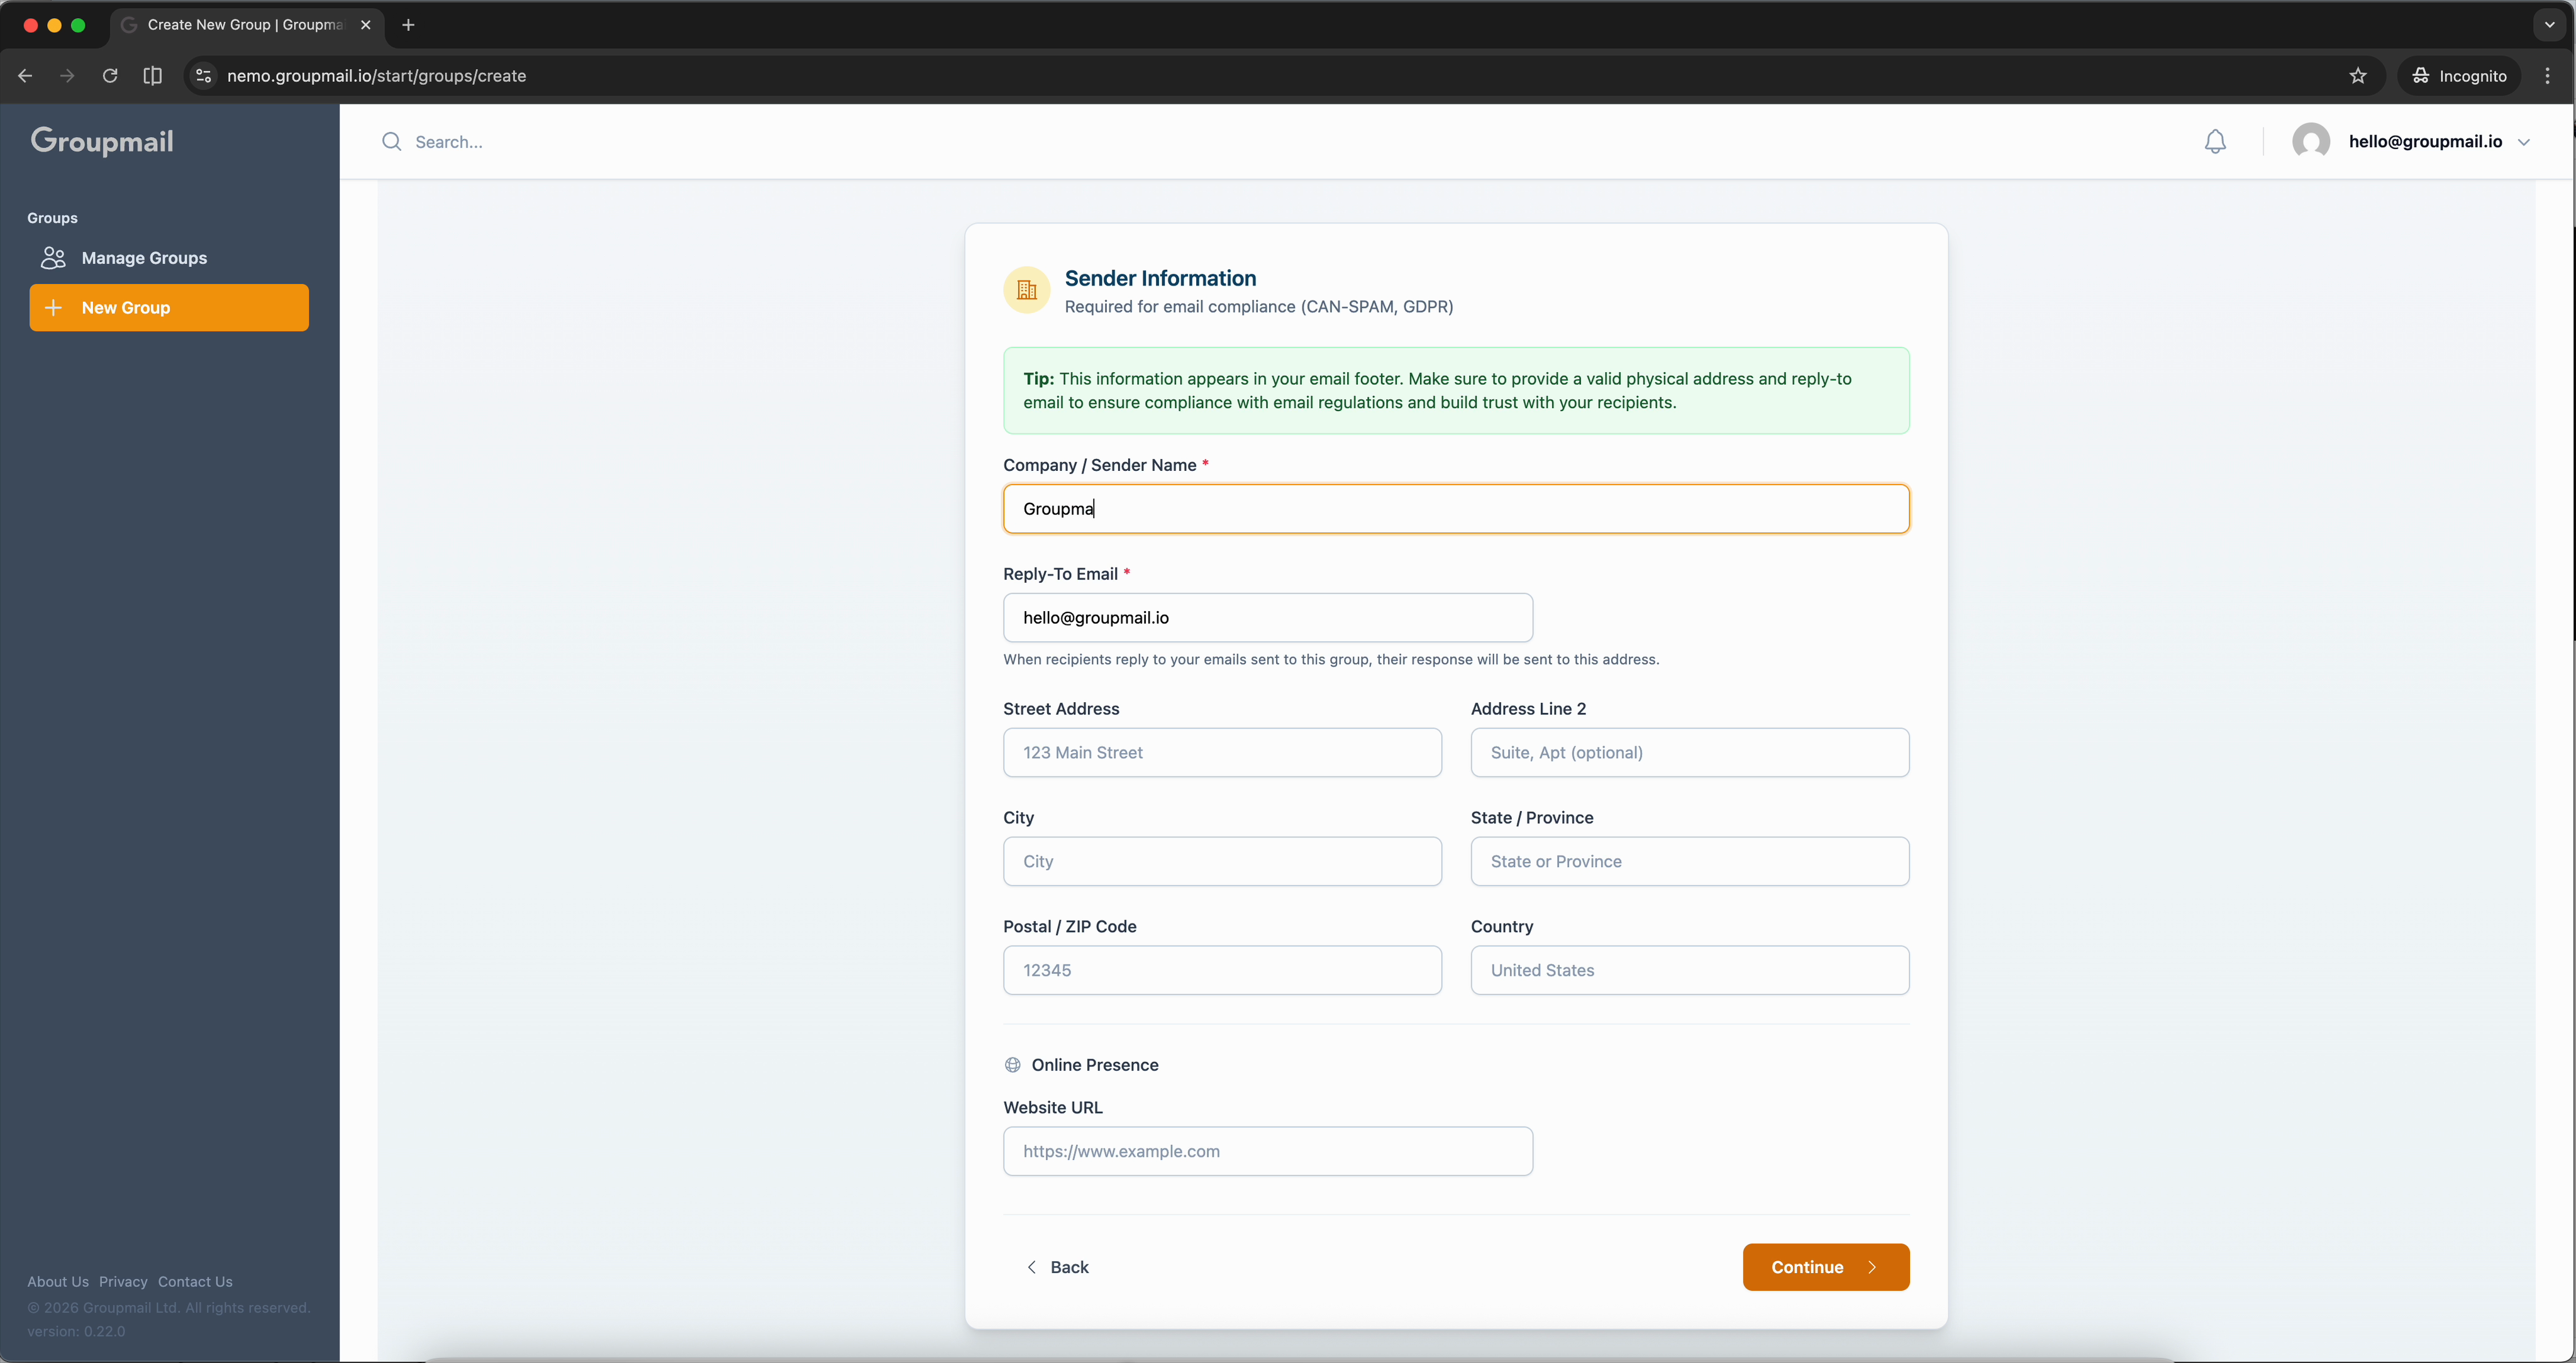
Fill in your company or sender name, reply-to email address, and a physical mailing address. This information appears in the footer of every email you send from this group.
The wizard also offers a Public Sign-up Form step — skip this for now. We cover subscription forms in a dedicated tutorial.
Add Your First Contact
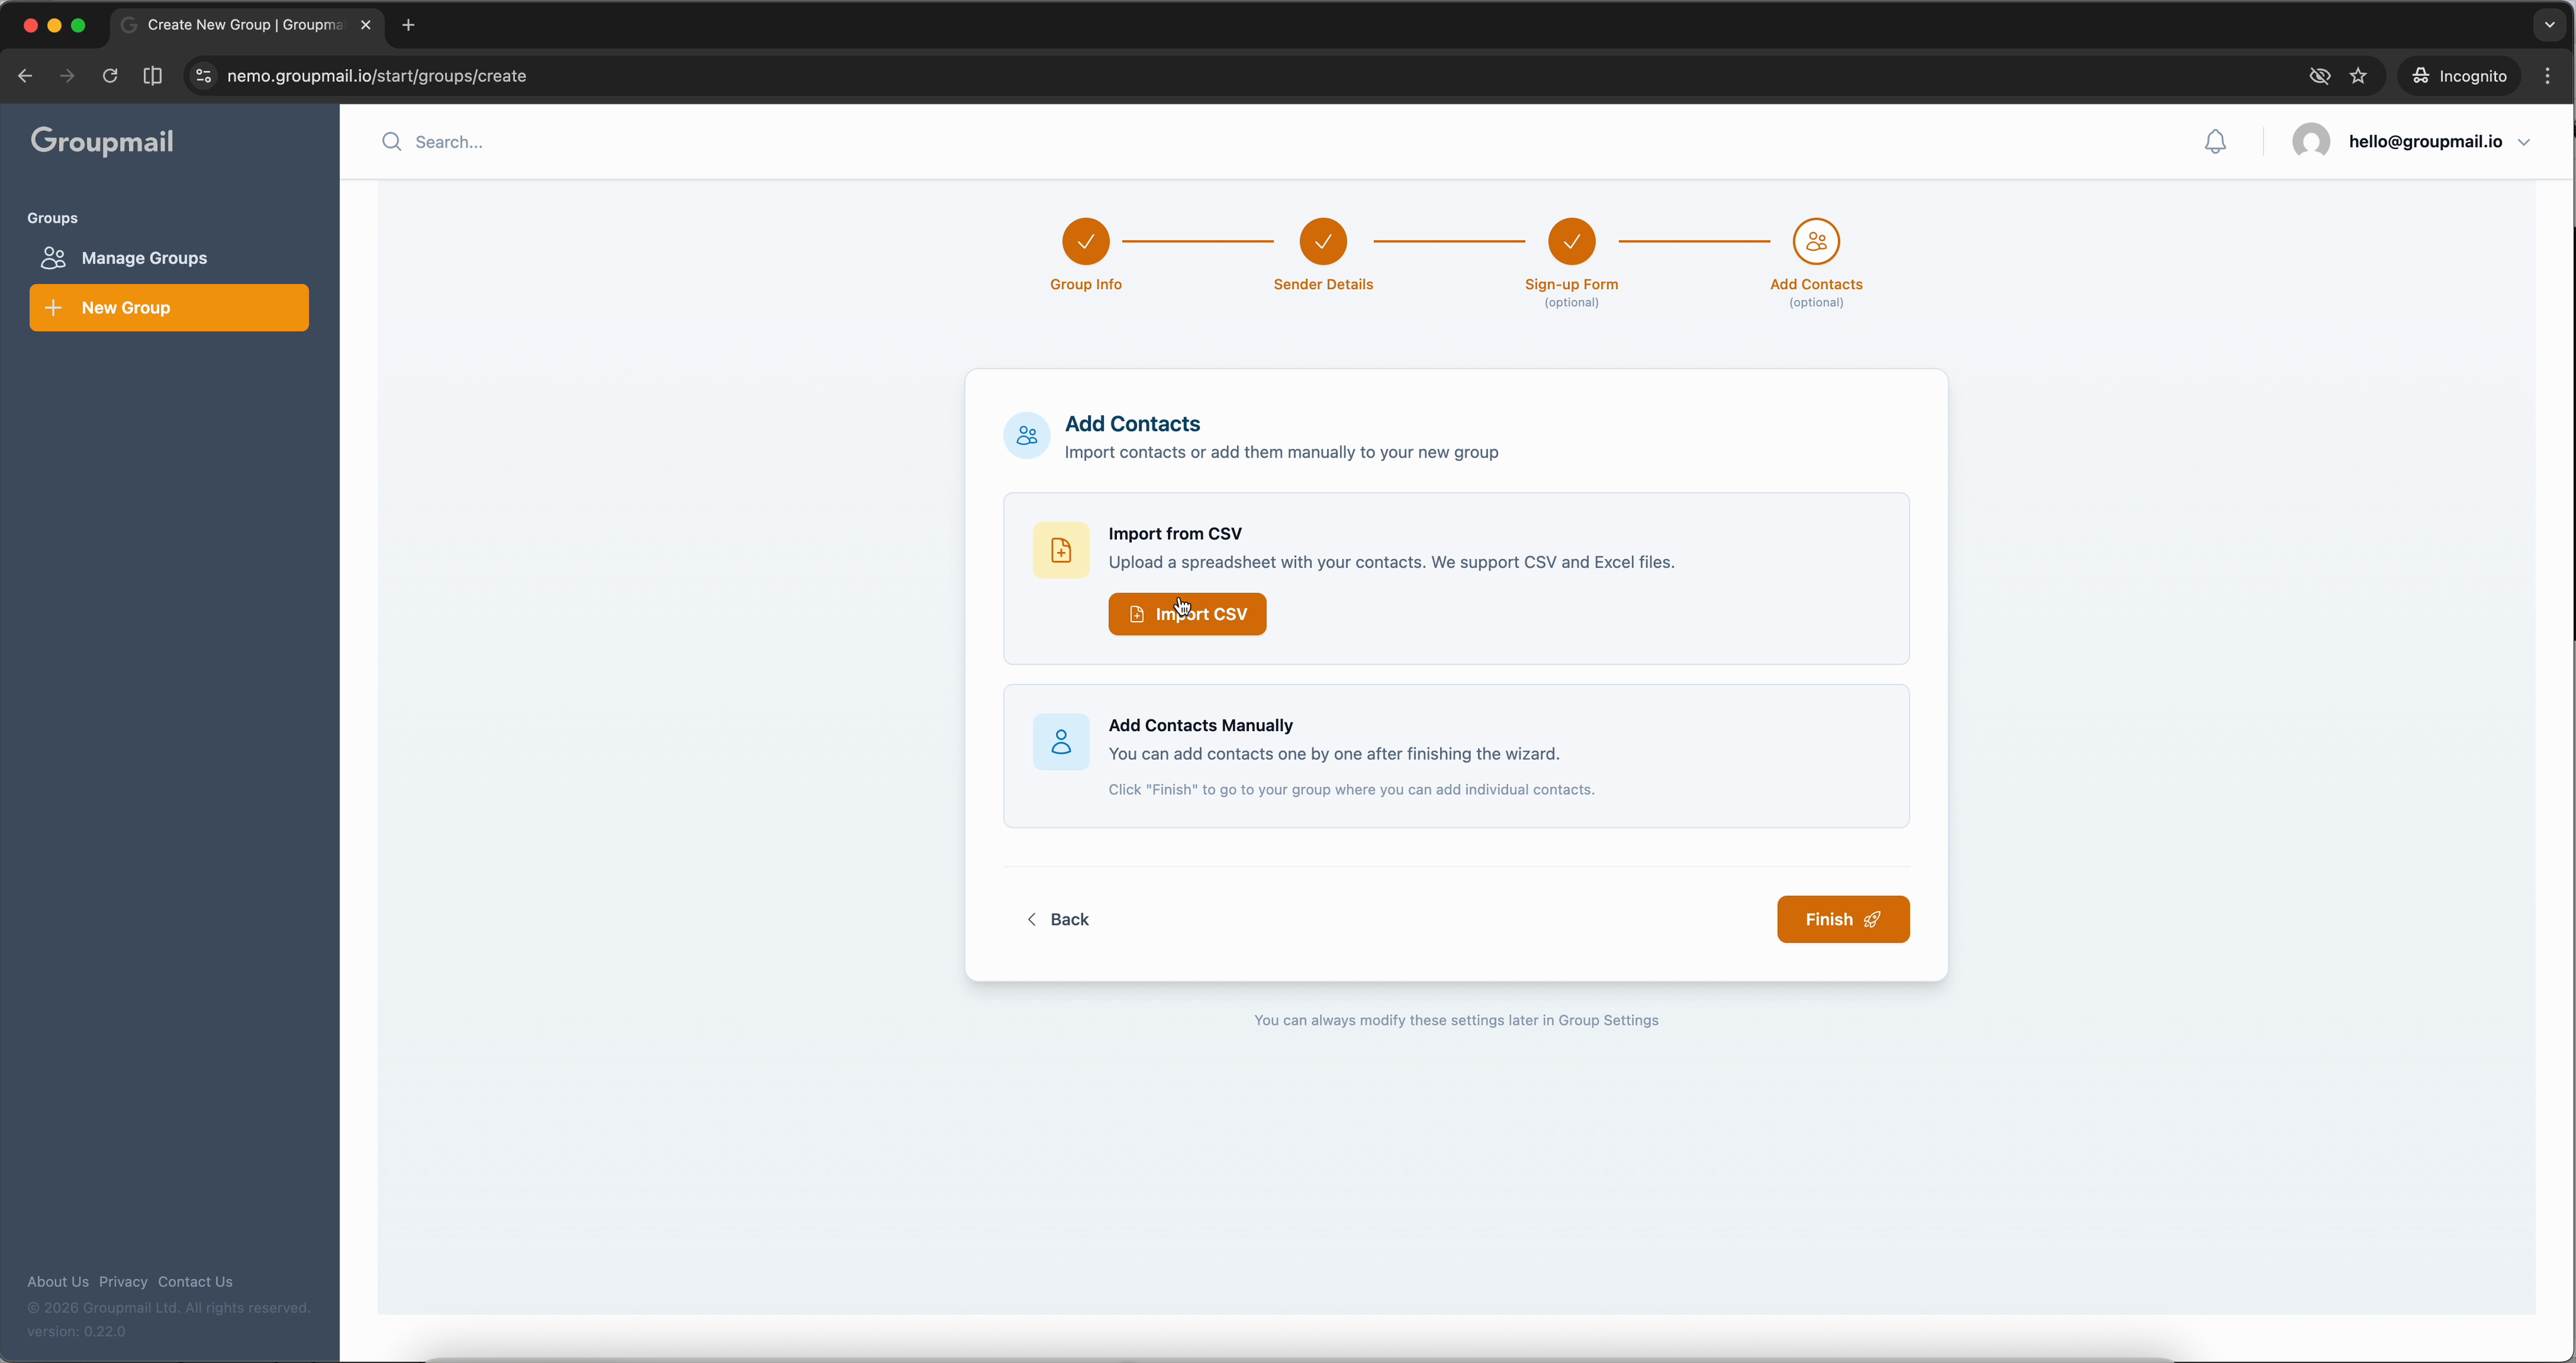
On the final wizard step, you can import contacts from a CSV or add them manually. Click Finish to complete the wizard, then add a contact from the Contacts page.
Click Add Contact and fill in a name and email address. When you save, Groupmail automatically verifies the email in real time — checking format, domain validity, spam databases, and MX records.
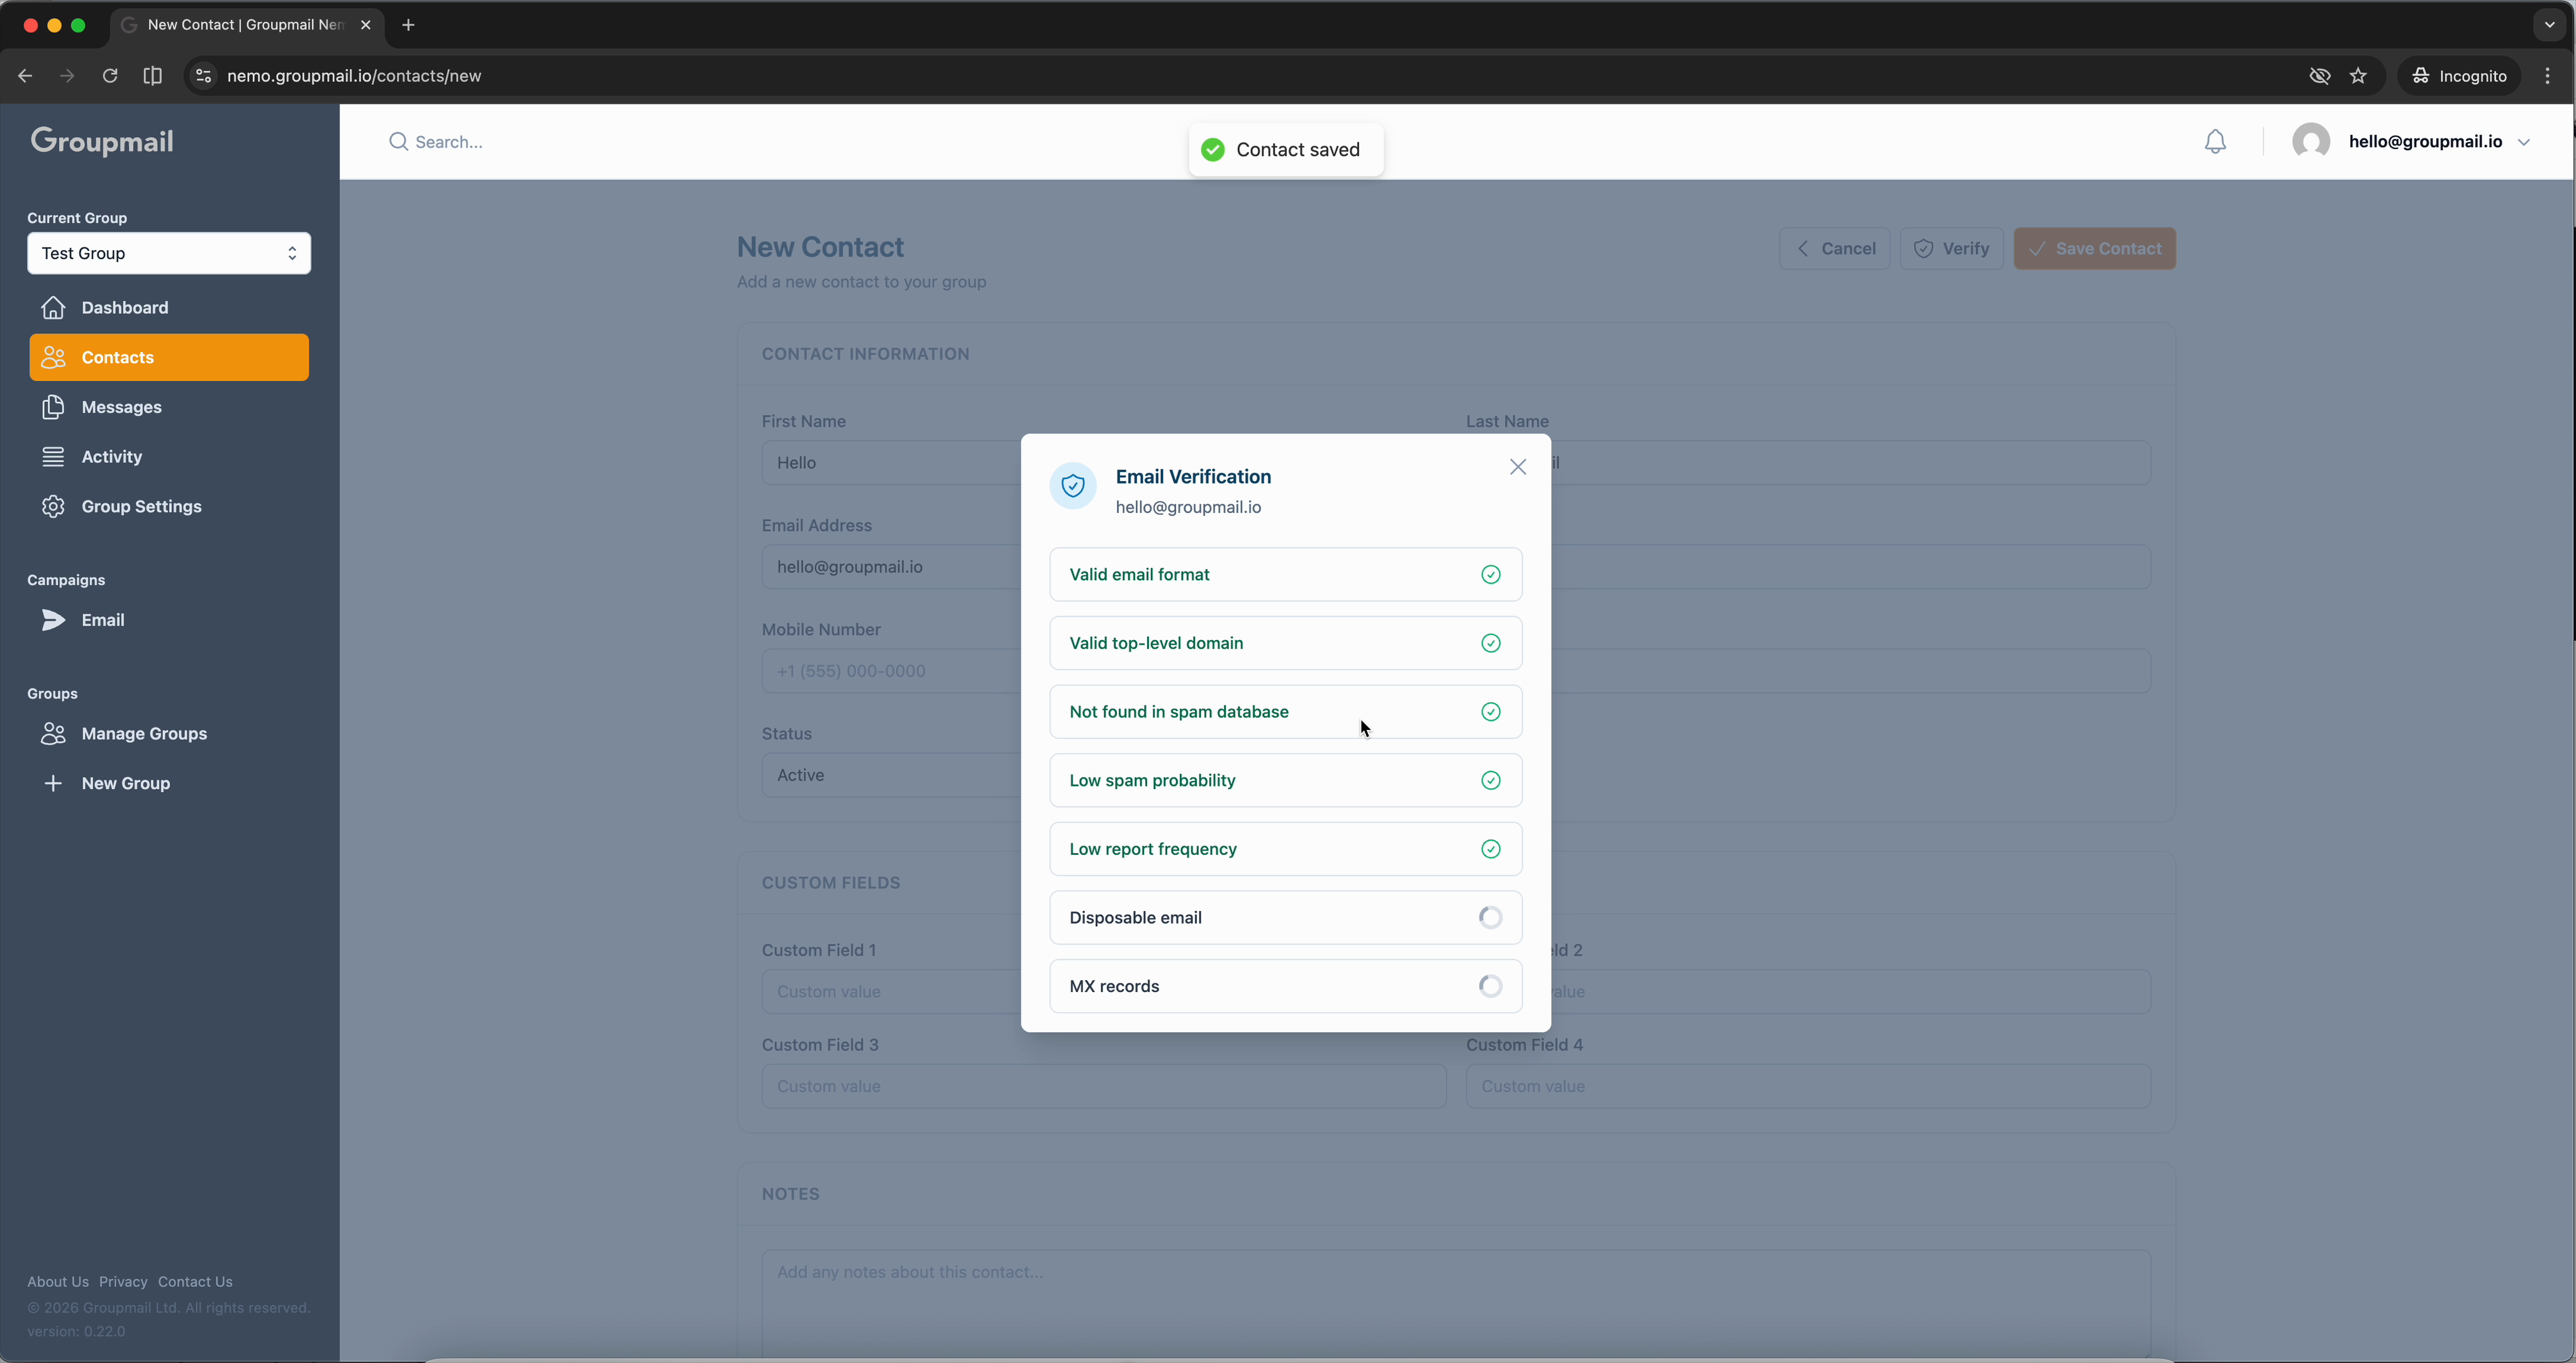
Built-in email verification means your list starts clean — no bounces, no wasted sends.
Create Your Newsletter
Navigate to Messages in the sidebar and click New Message. Choose Newsletter as your message type.
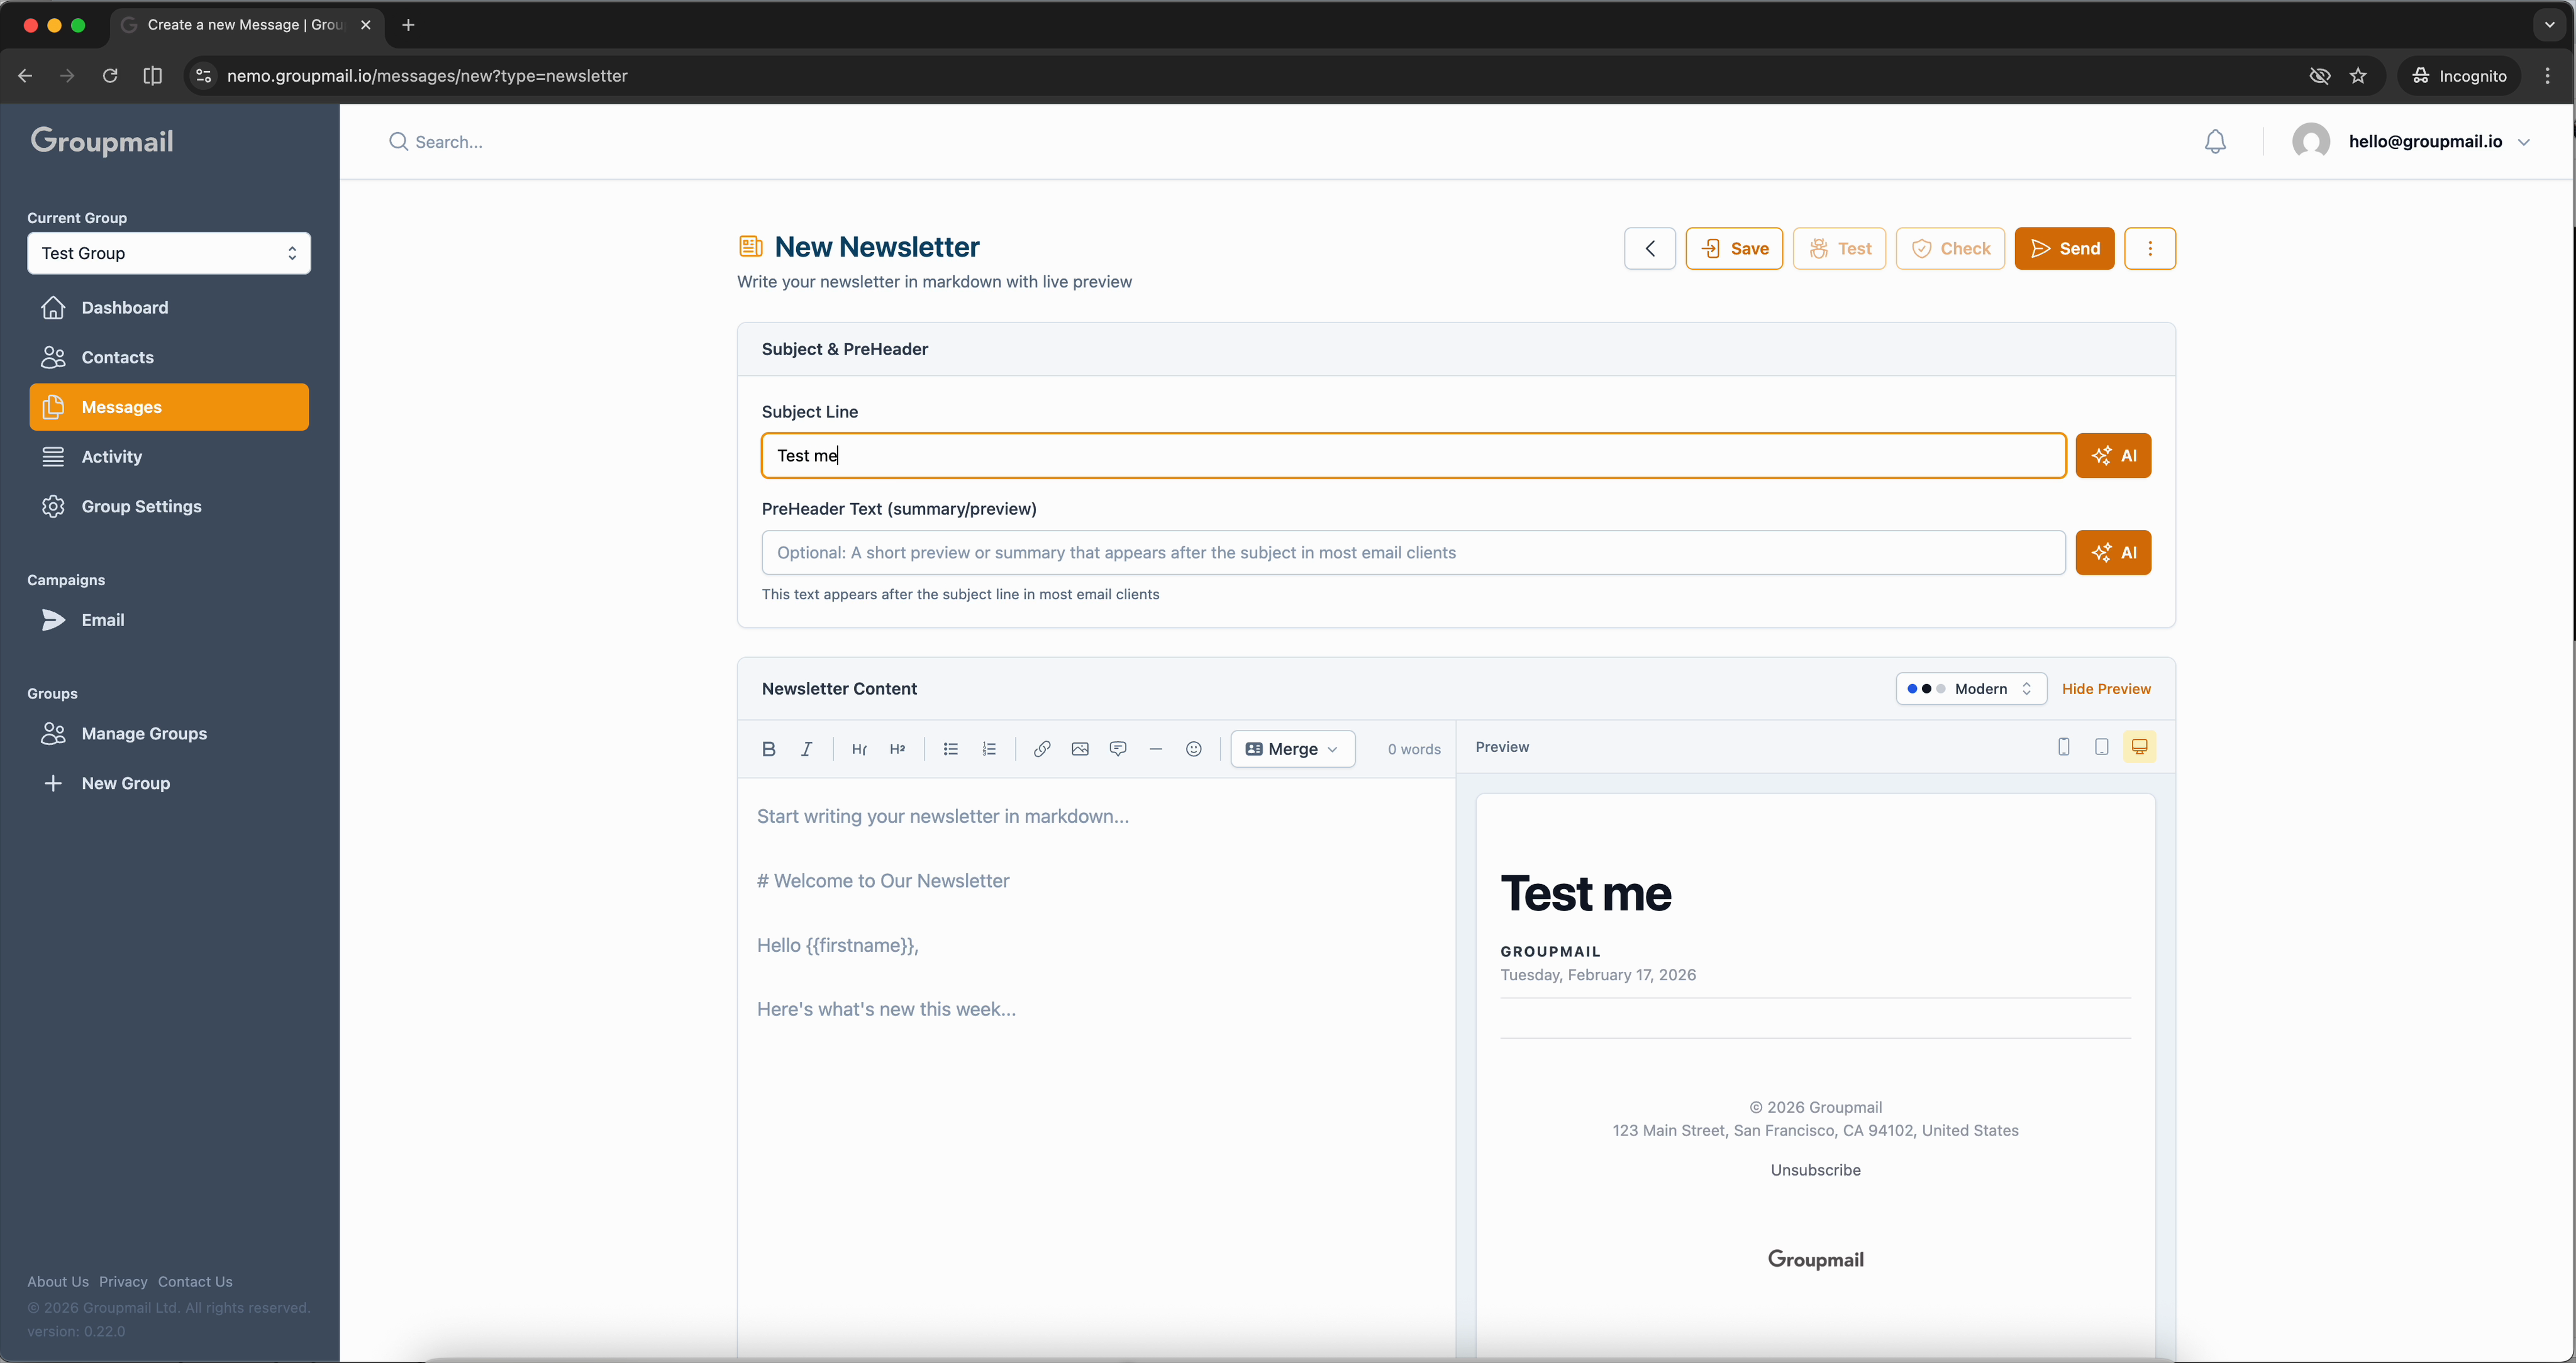
The editor is split into two panels. On the left, you write your content in markdown. On the right, a live preview shows exactly what your subscribers will see — updated in real time as you type.
Start by entering a Subject Line at the top. Then write your newsletter content in the editor. Even a single paragraph is enough to send your first campaign. The preview renders your content in a clean, professional template that includes your sender details and an unsubscribe link in the footer.
Send Your Campaign
When your message is ready, click Save and then Send. The send wizard walks you through a few quick steps.
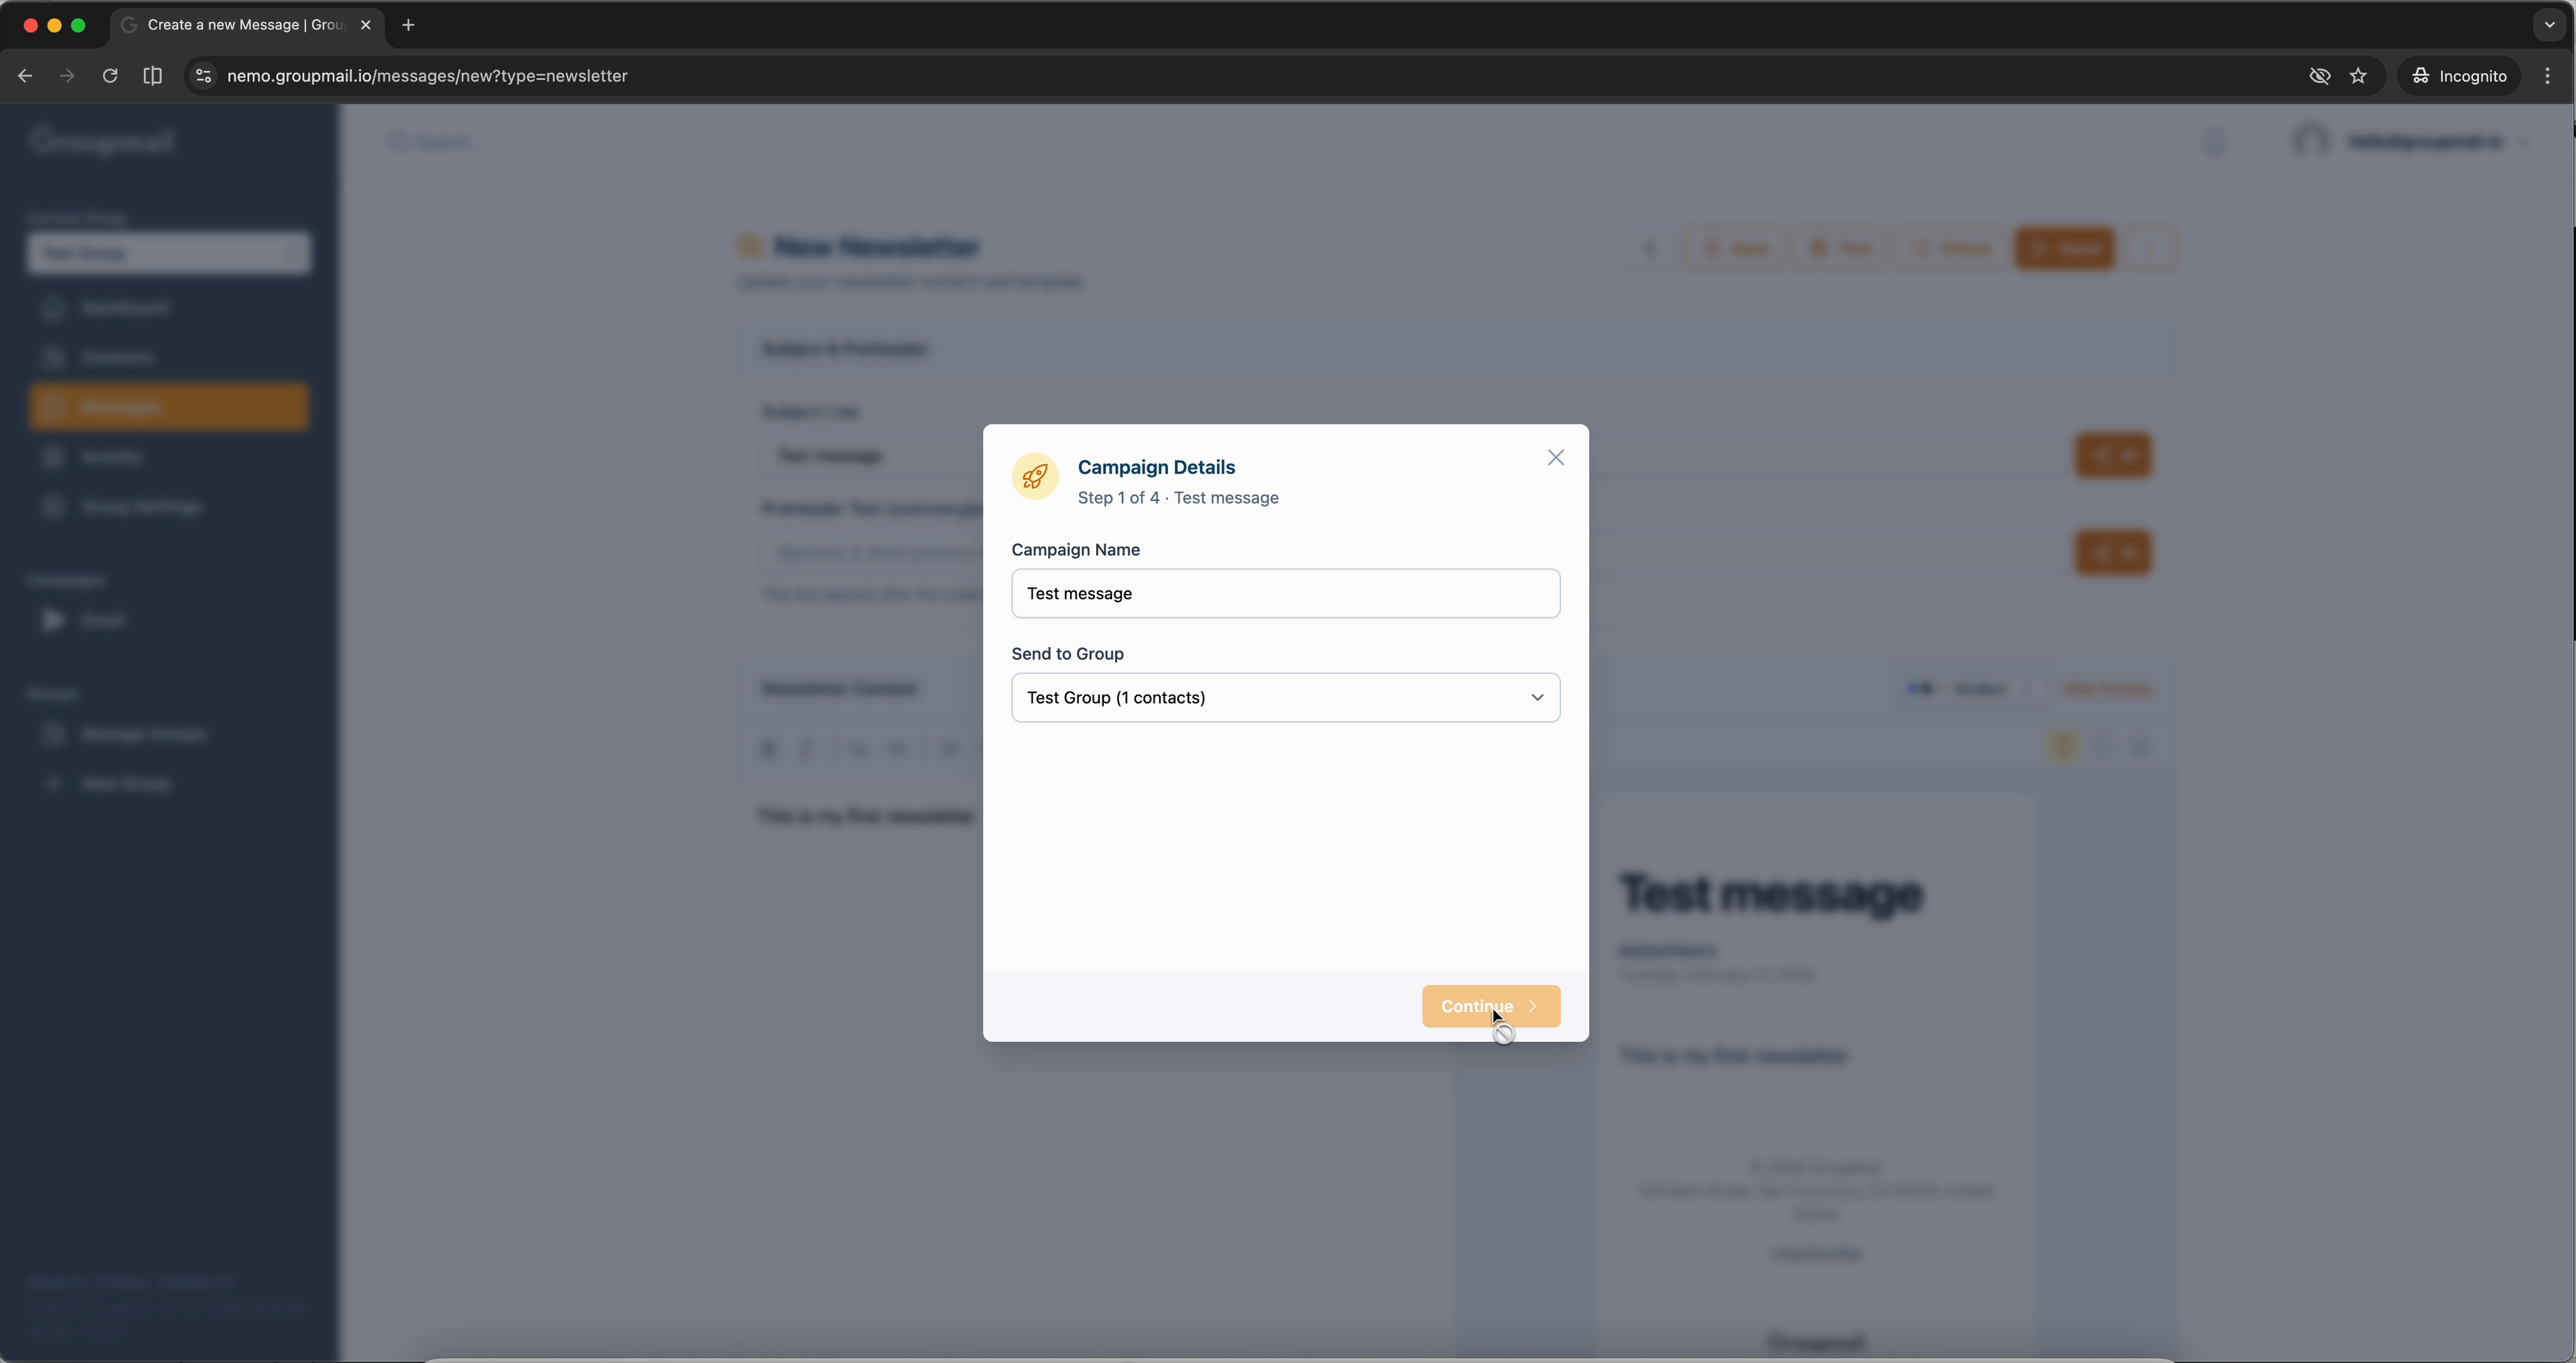
First, name your campaign — it defaults to your subject line. Your group is already selected. Next, confirm your audience (all contacts in the group). Finally, choose your delivery service and optionally schedule the send for later.
Click Continue on the final step and your campaign is on its way.
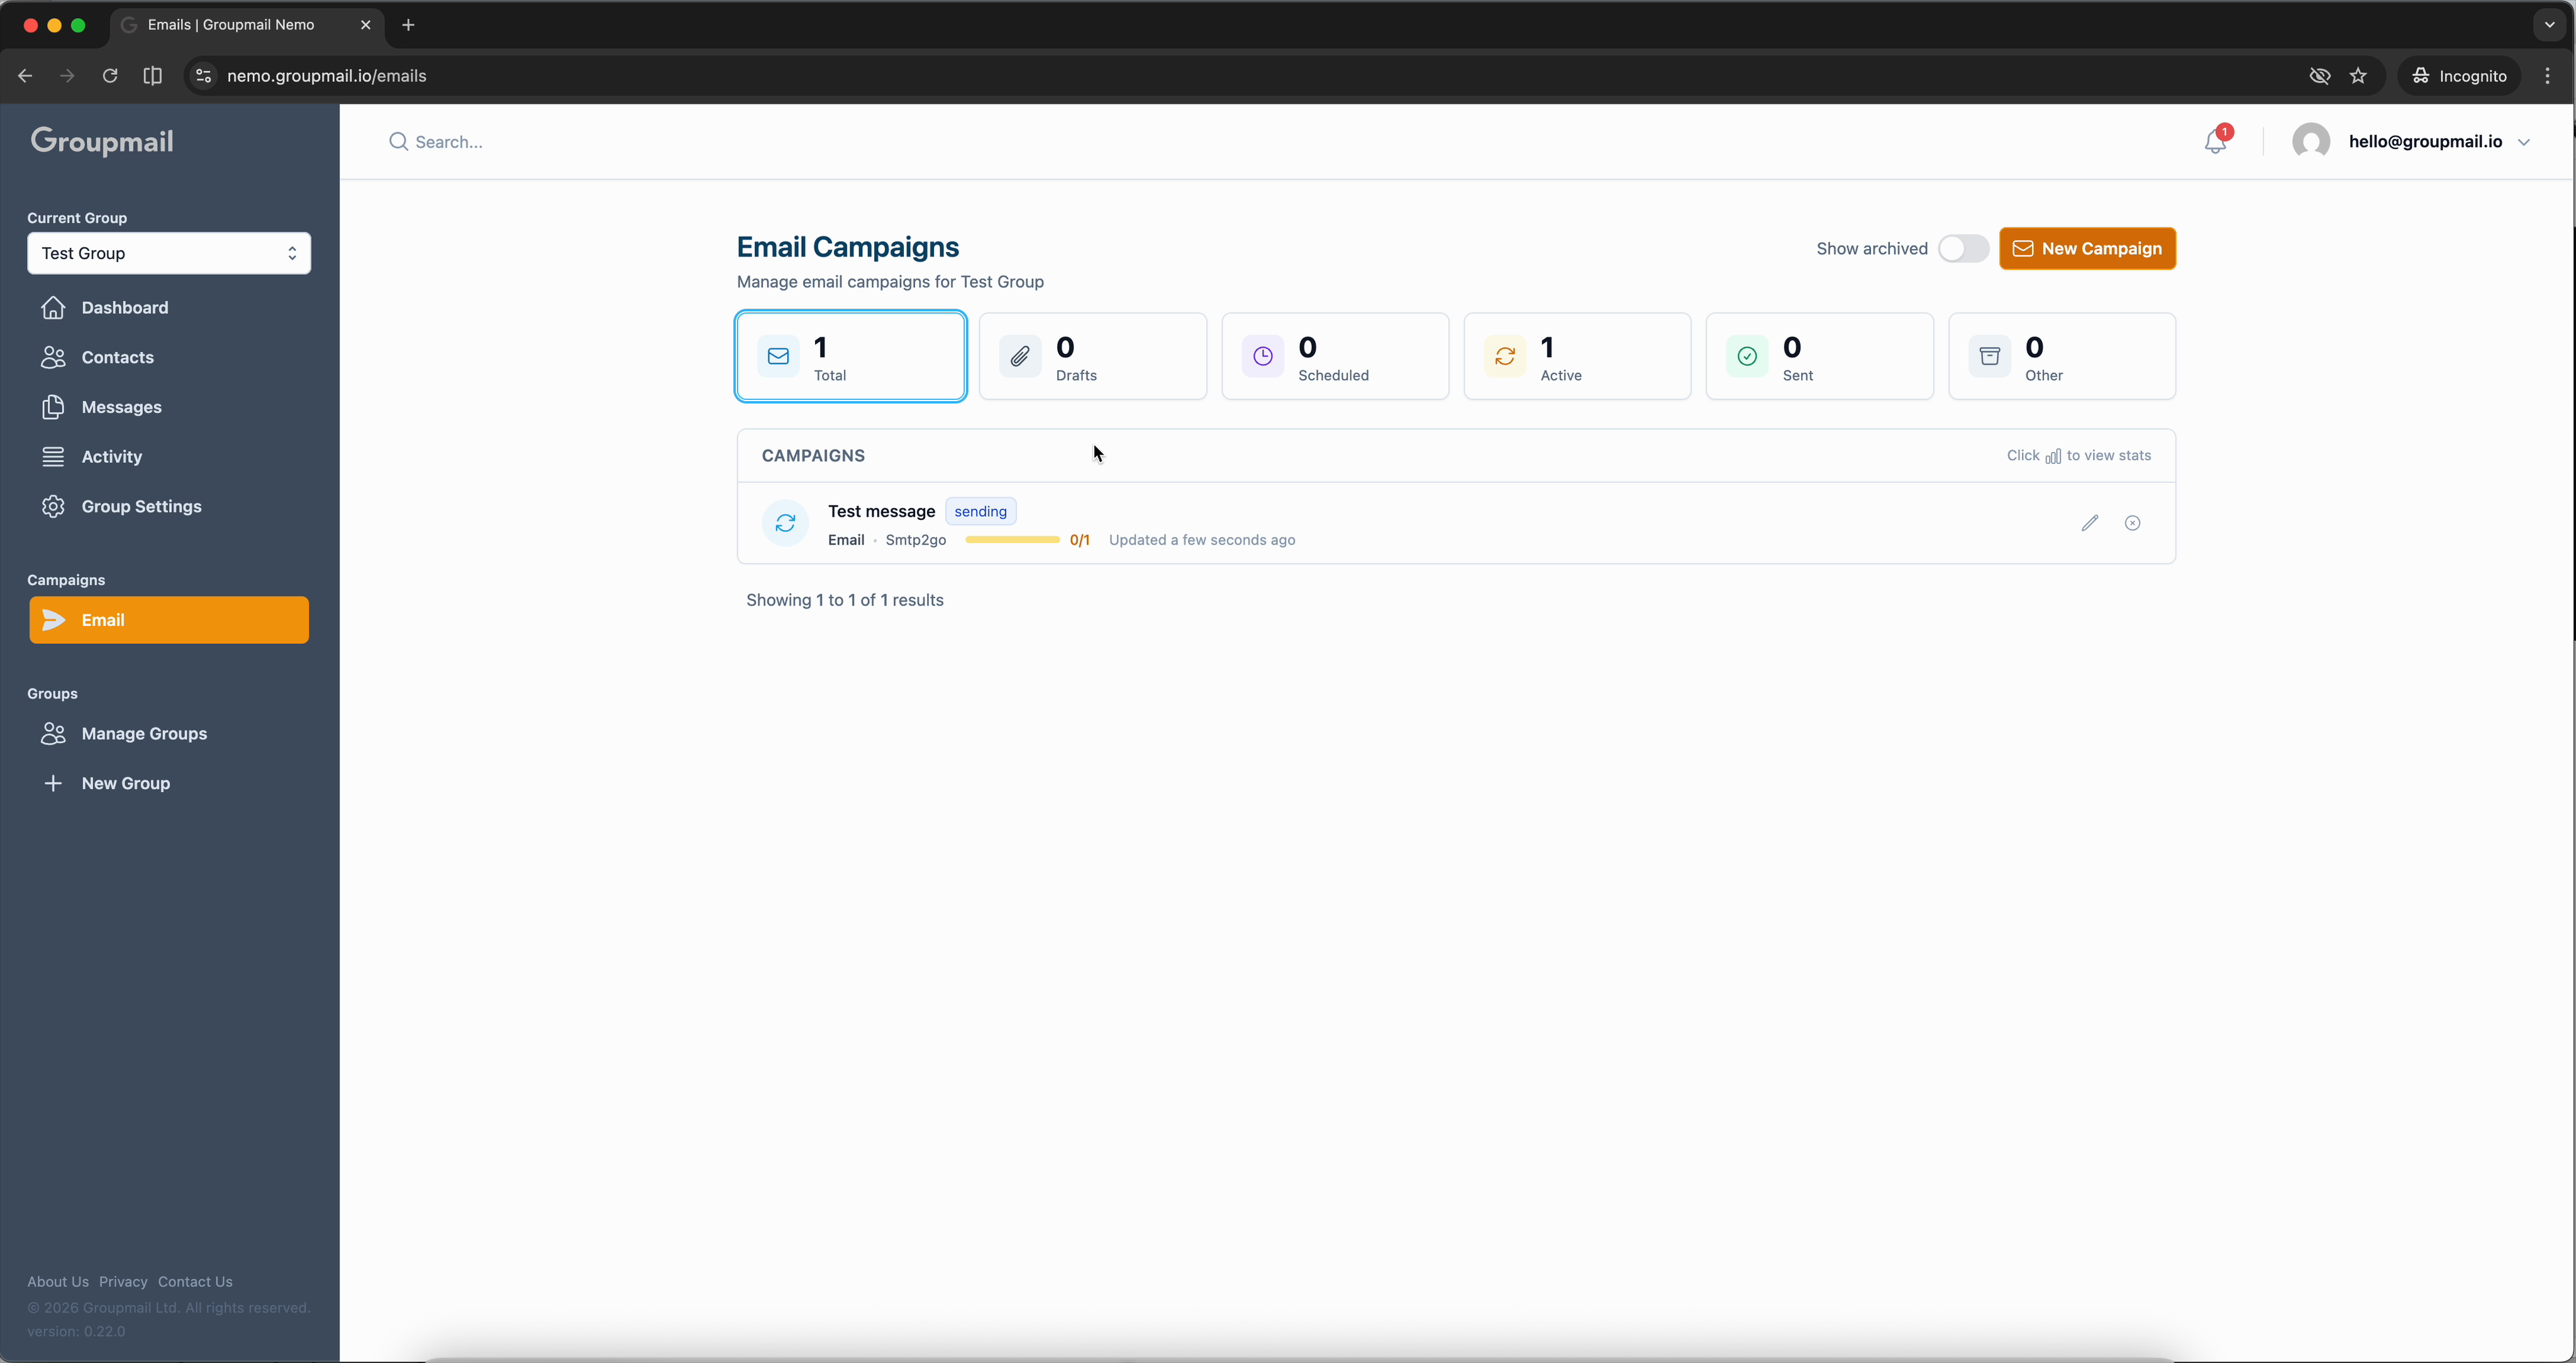
Track Your Results
You'll land on the Email Campaigns page where you can watch your campaign in action. The status moves from "sending" to "sent" within seconds.
Click on the campaign row to expand your stats — sent count, deliveries, opens, clicks, and bounces are all tracked automatically.
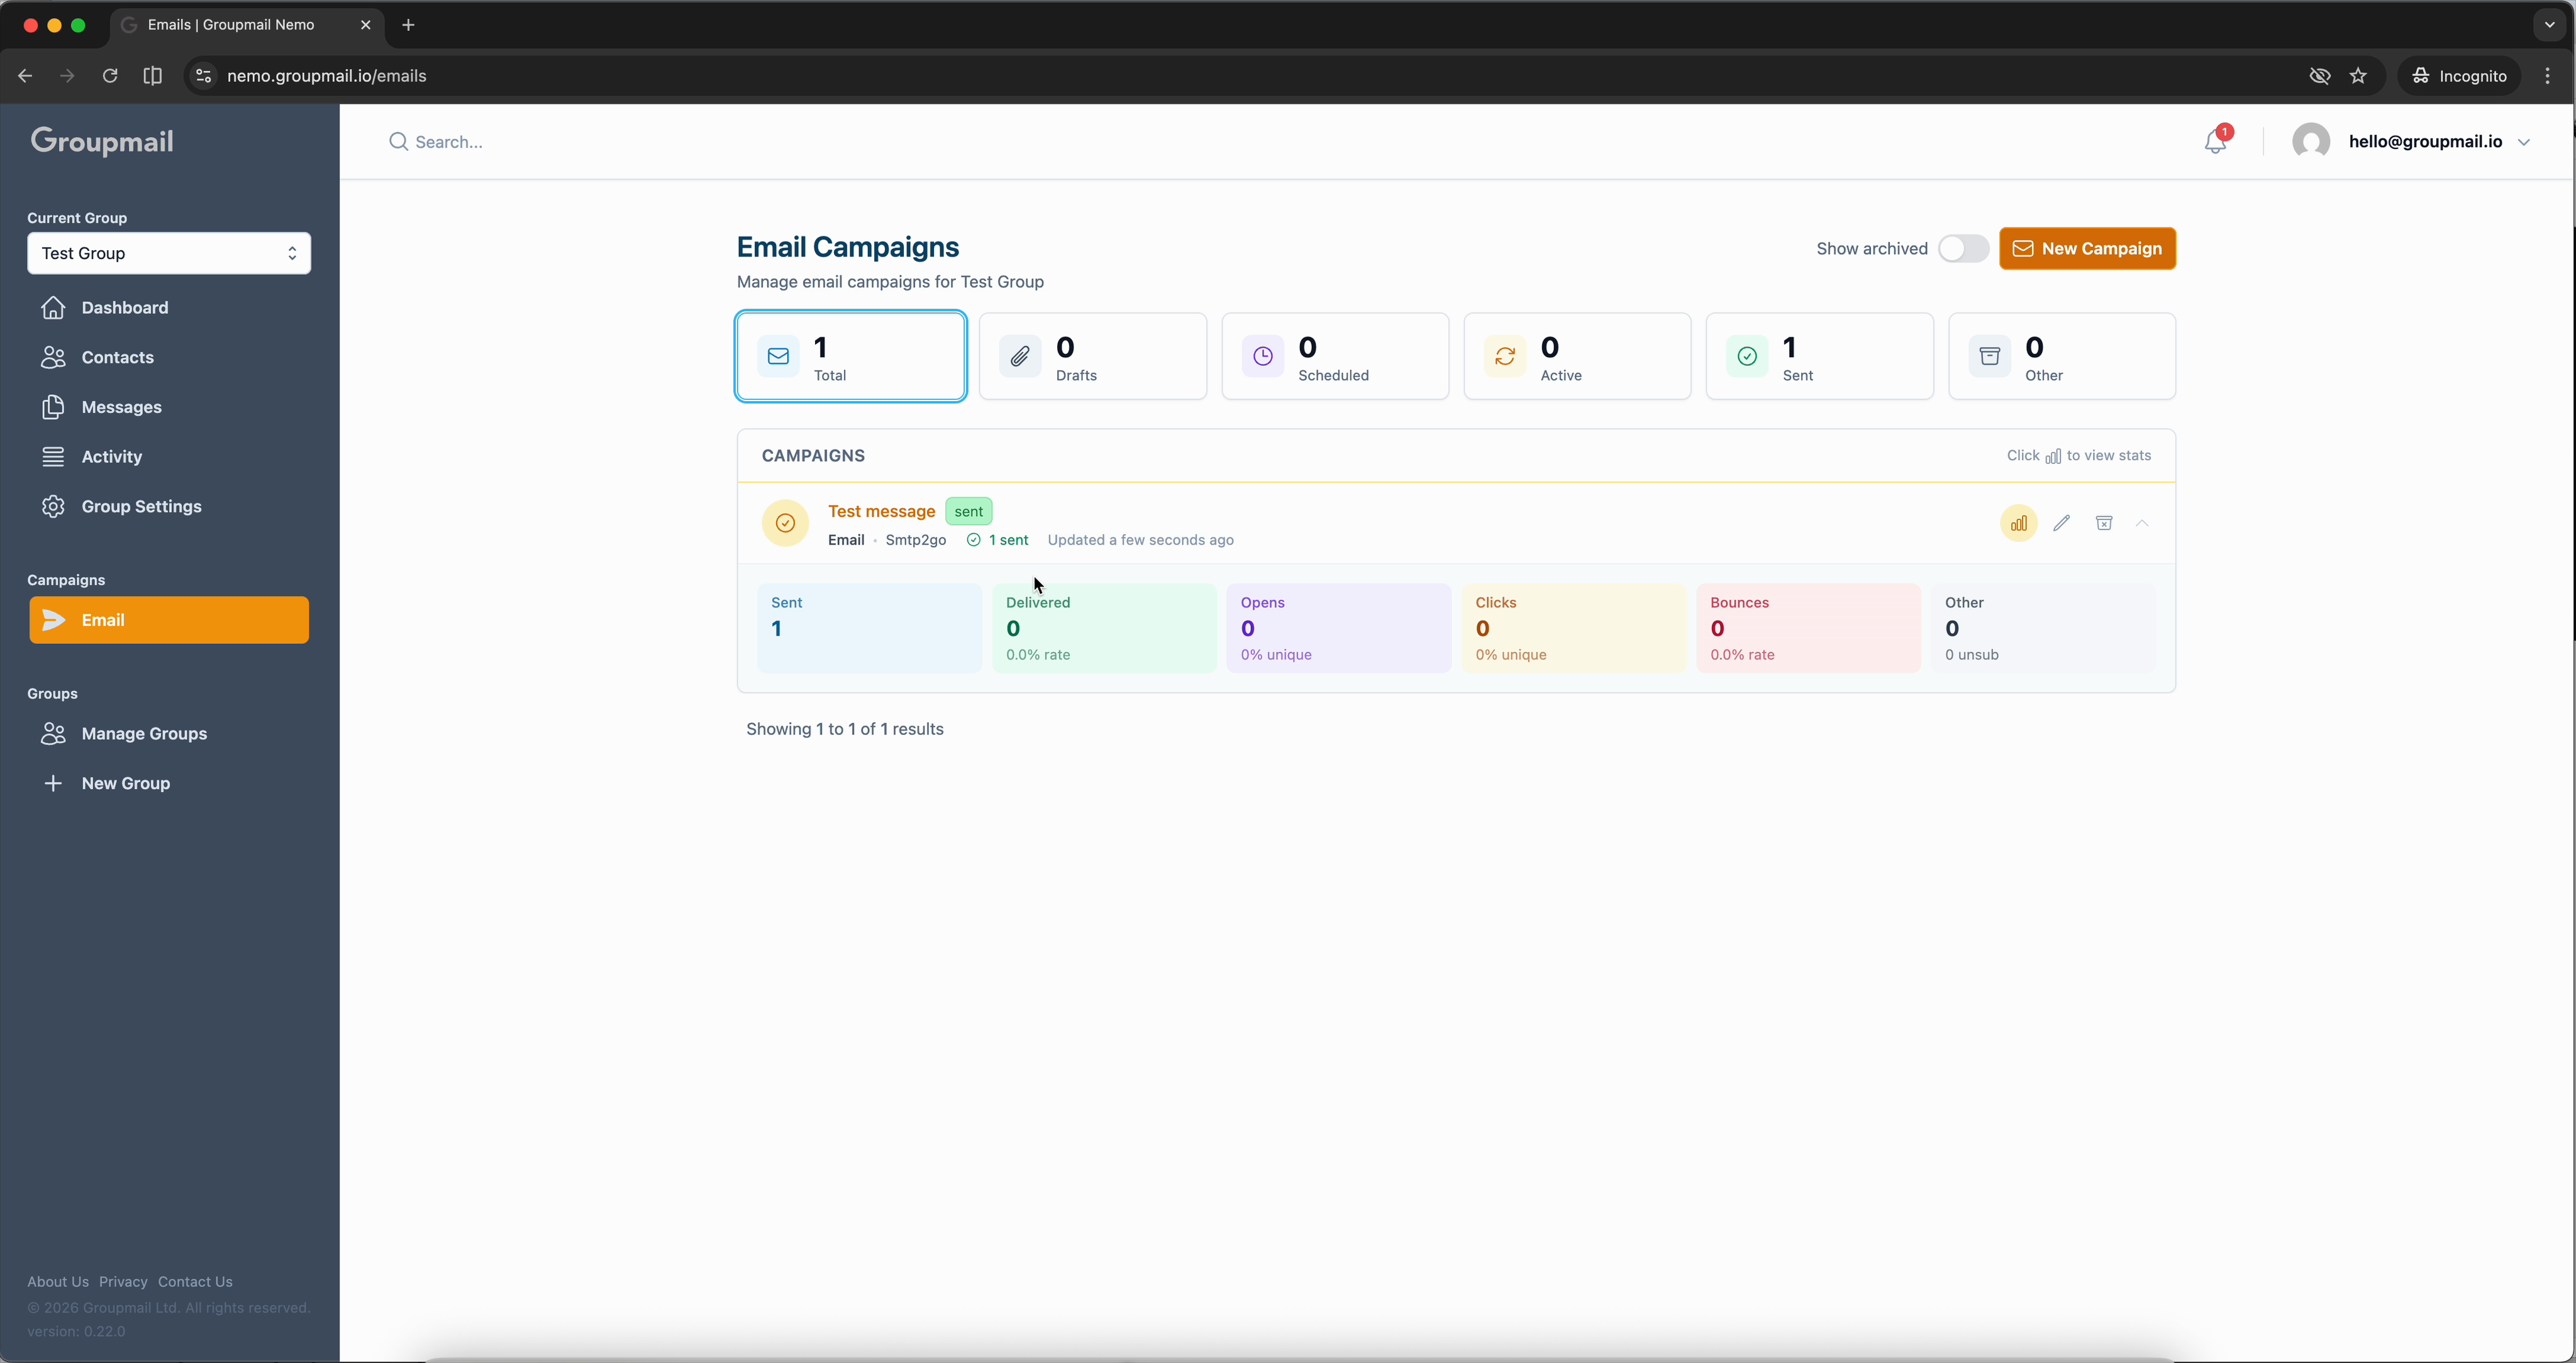
From signup to sent newsletter — all in under three minutes.
What's Next?
Now that you've sent your first campaign, here are some next steps to explore:
- Create a New Group — Organize contacts into multiple lists for targeted sending.
- Add Contacts — Import contacts in bulk from a CSV or Excel file.
- Set Up a Subscription Form — Let visitors subscribe directly from your website.
- Create with Templates — Use the drag-and-drop builder for richer designs.