Groups are the building blocks of Groupmail. Each group has its own contacts, messages, campaigns, and sender identity — making it easy to manage multiple mailing lists from a single account.
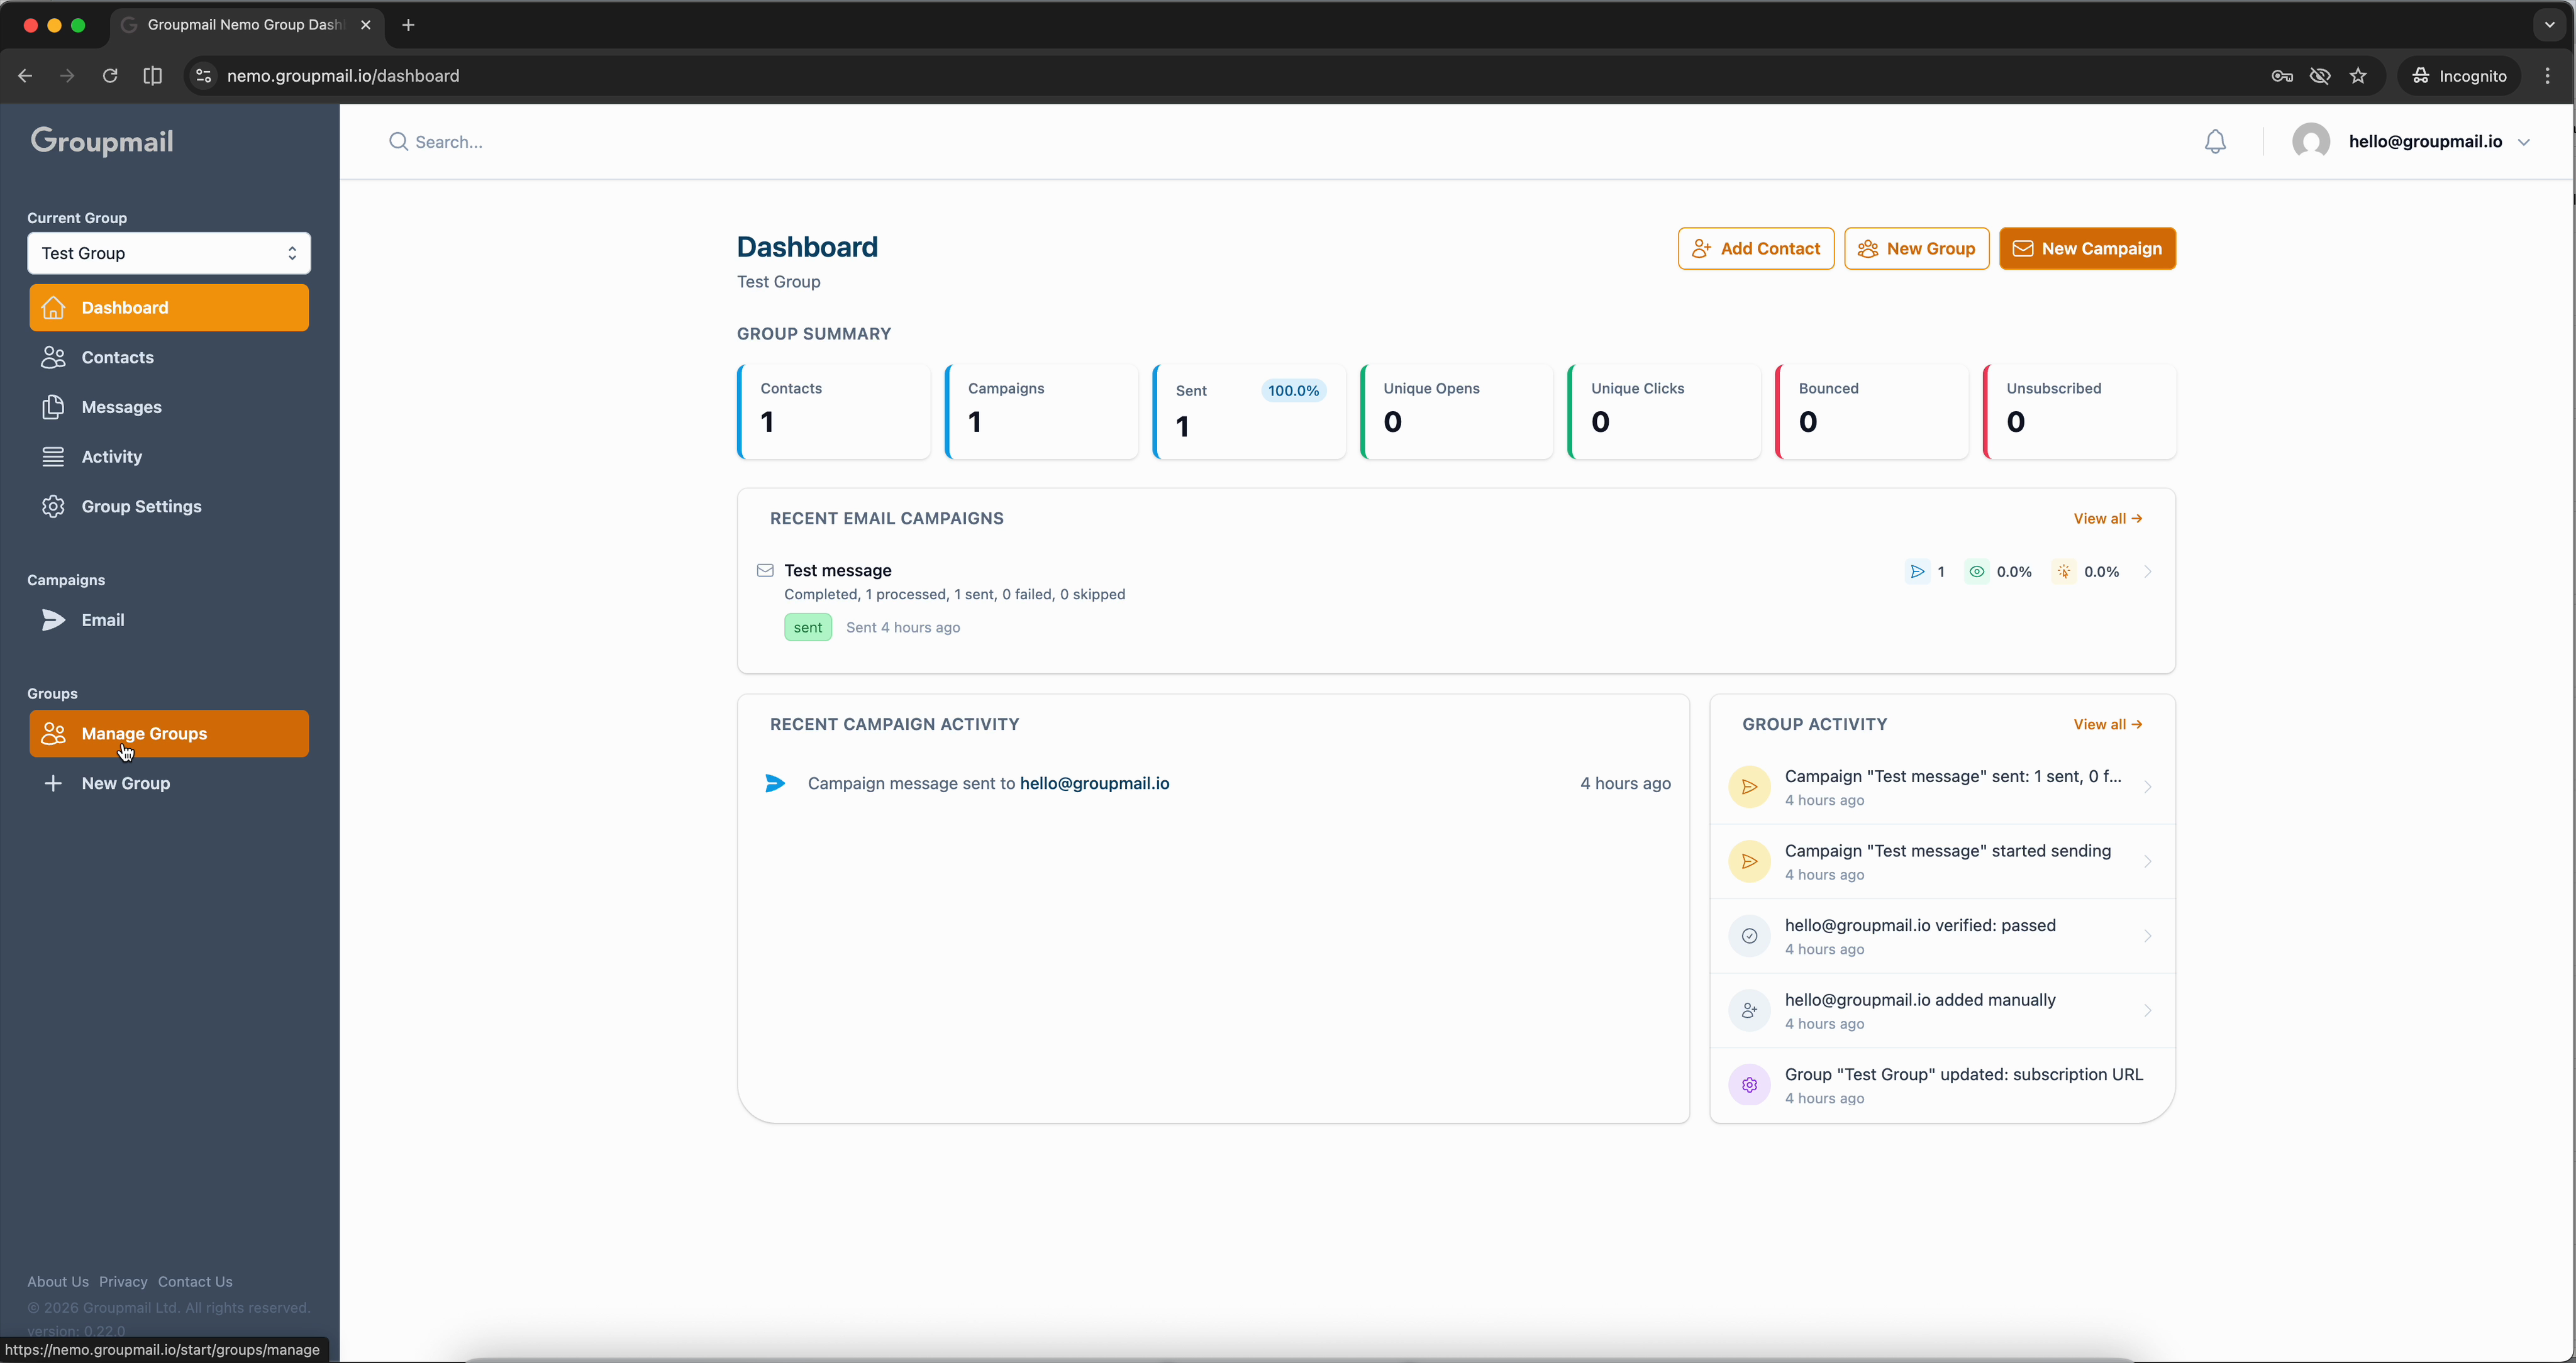
Start from the Dashboard
From any page in Groupmail, click Manage Groups in the sidebar under Groups, then click New Group. This opens the group creation wizard.
Name Your Group
Give your group a name that reflects its purpose — something like "Newsletter Subscribers," "VIP Customers," or "Product Updates." You can also add an optional description to help you remember what the group is for.
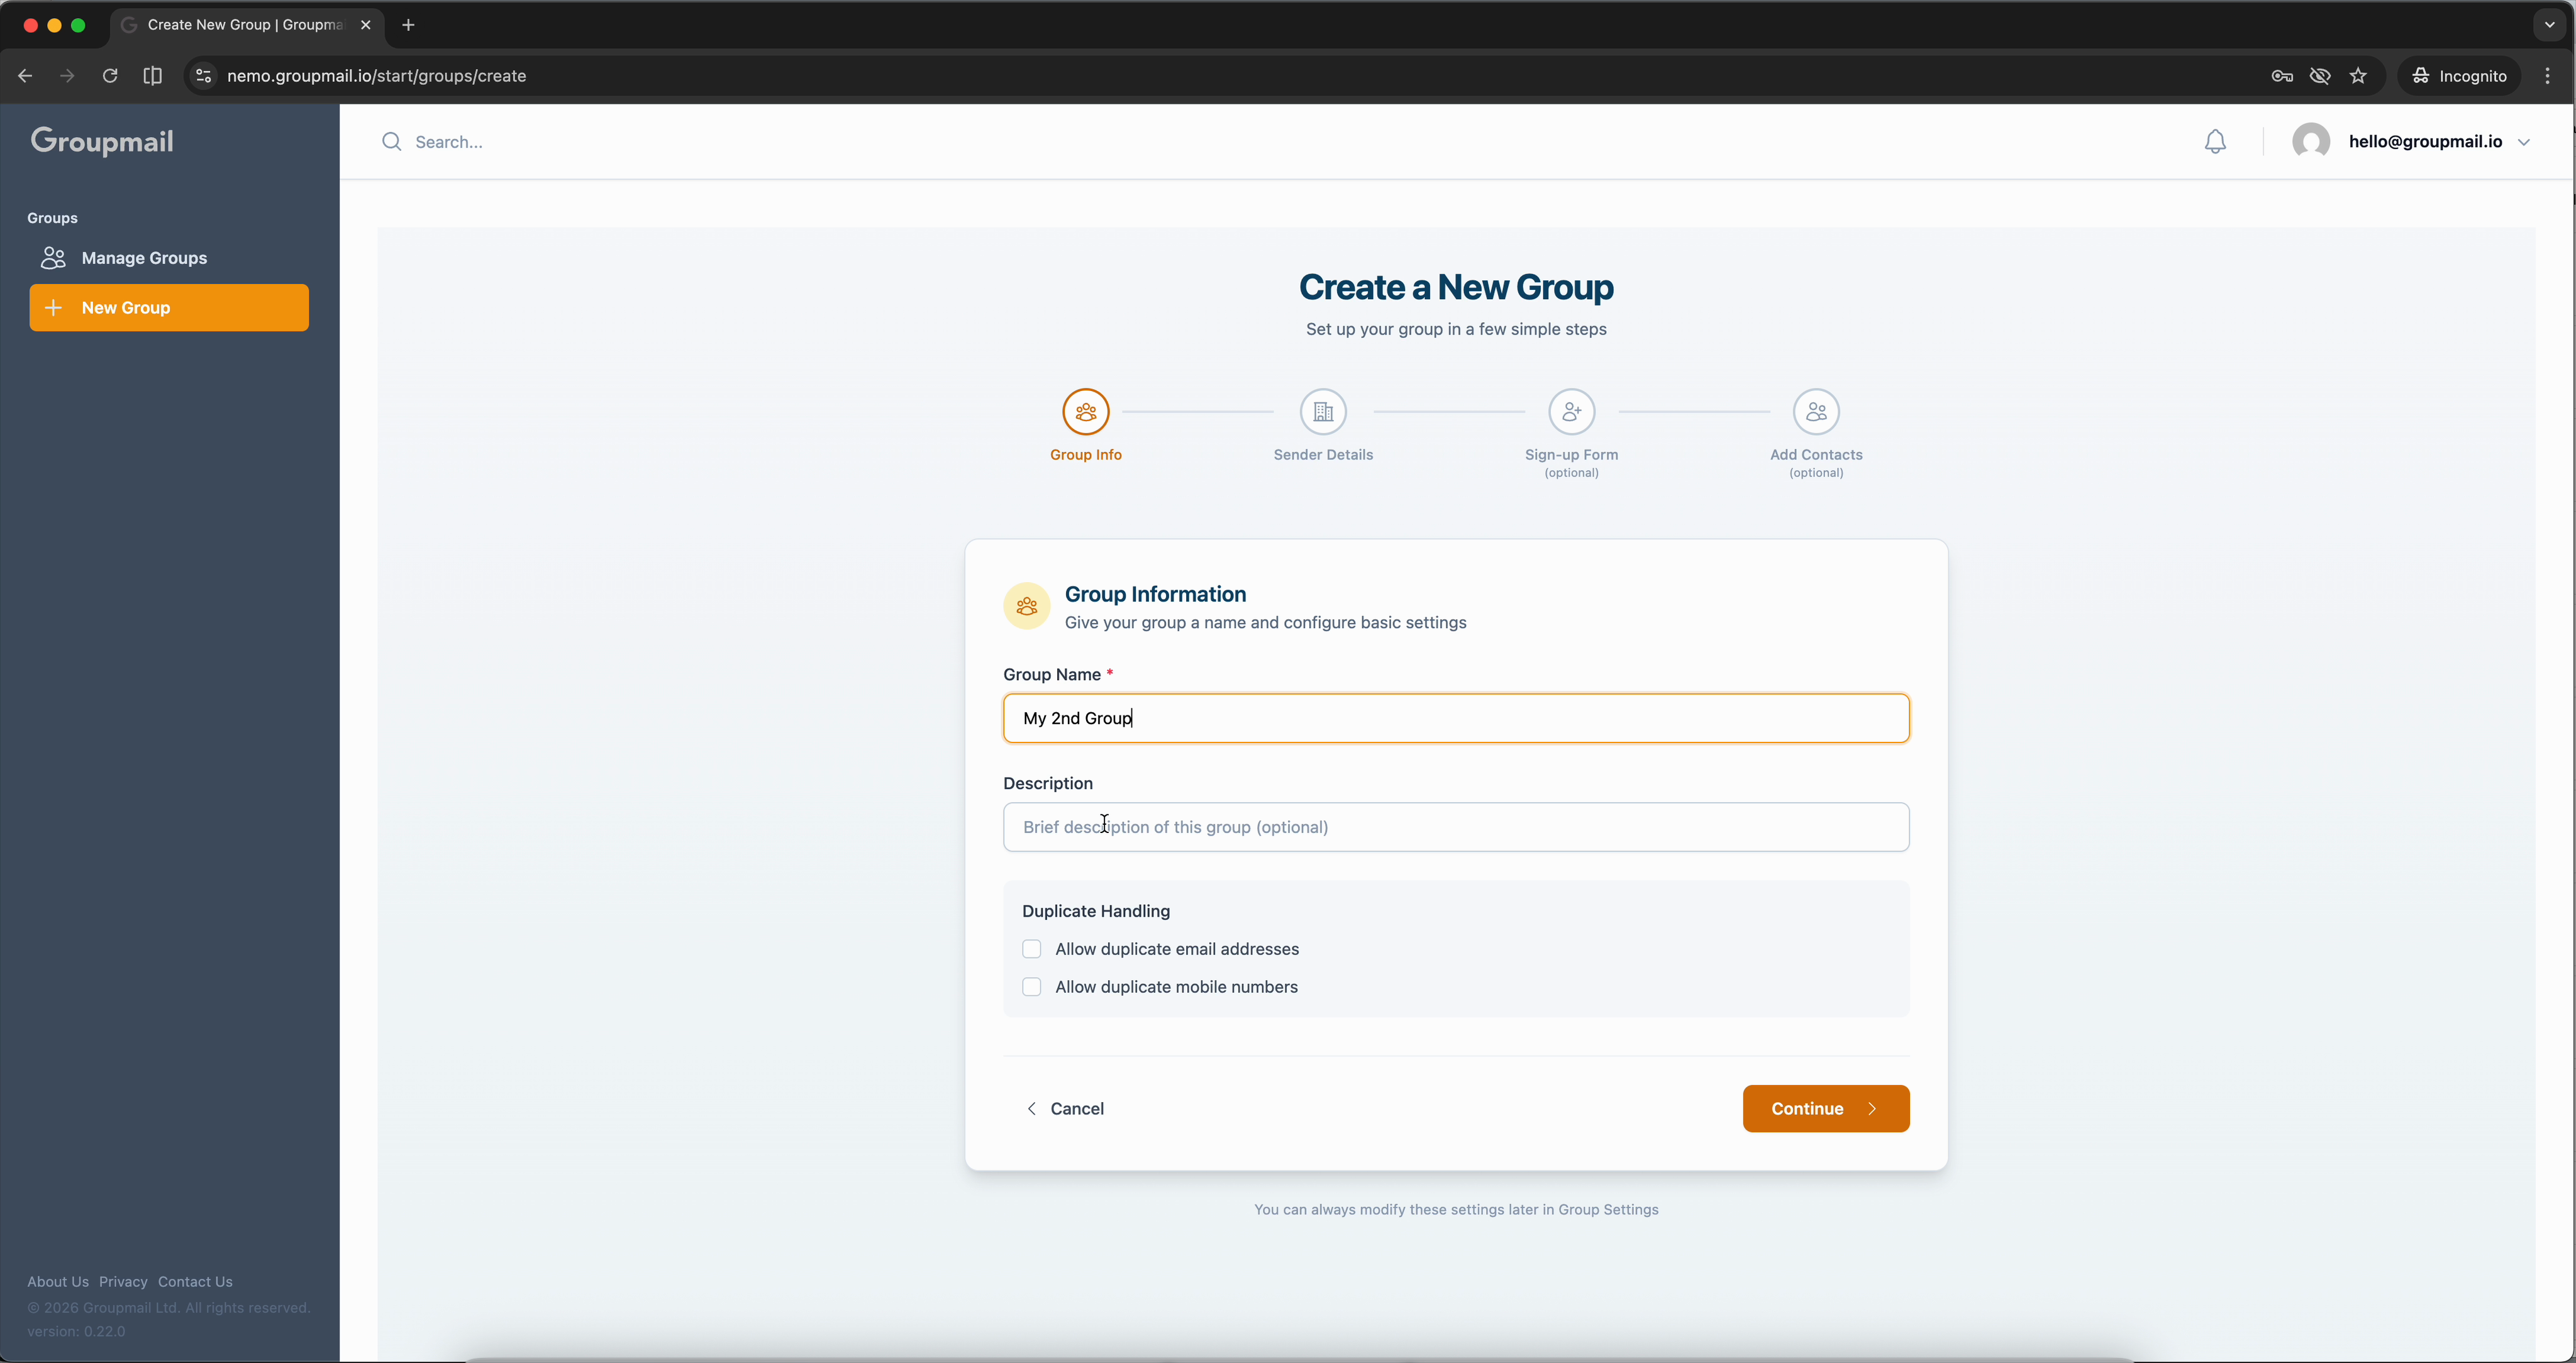
Below the name, you'll see Duplicate Handling options. By default, Groupmail prevents duplicate email addresses within a group. You can toggle this if your use case requires duplicates.
Add Sender Details
Every group needs its own sender information. This is the name, reply-to email, and physical mailing address that appears in the footer of every email sent from this group.
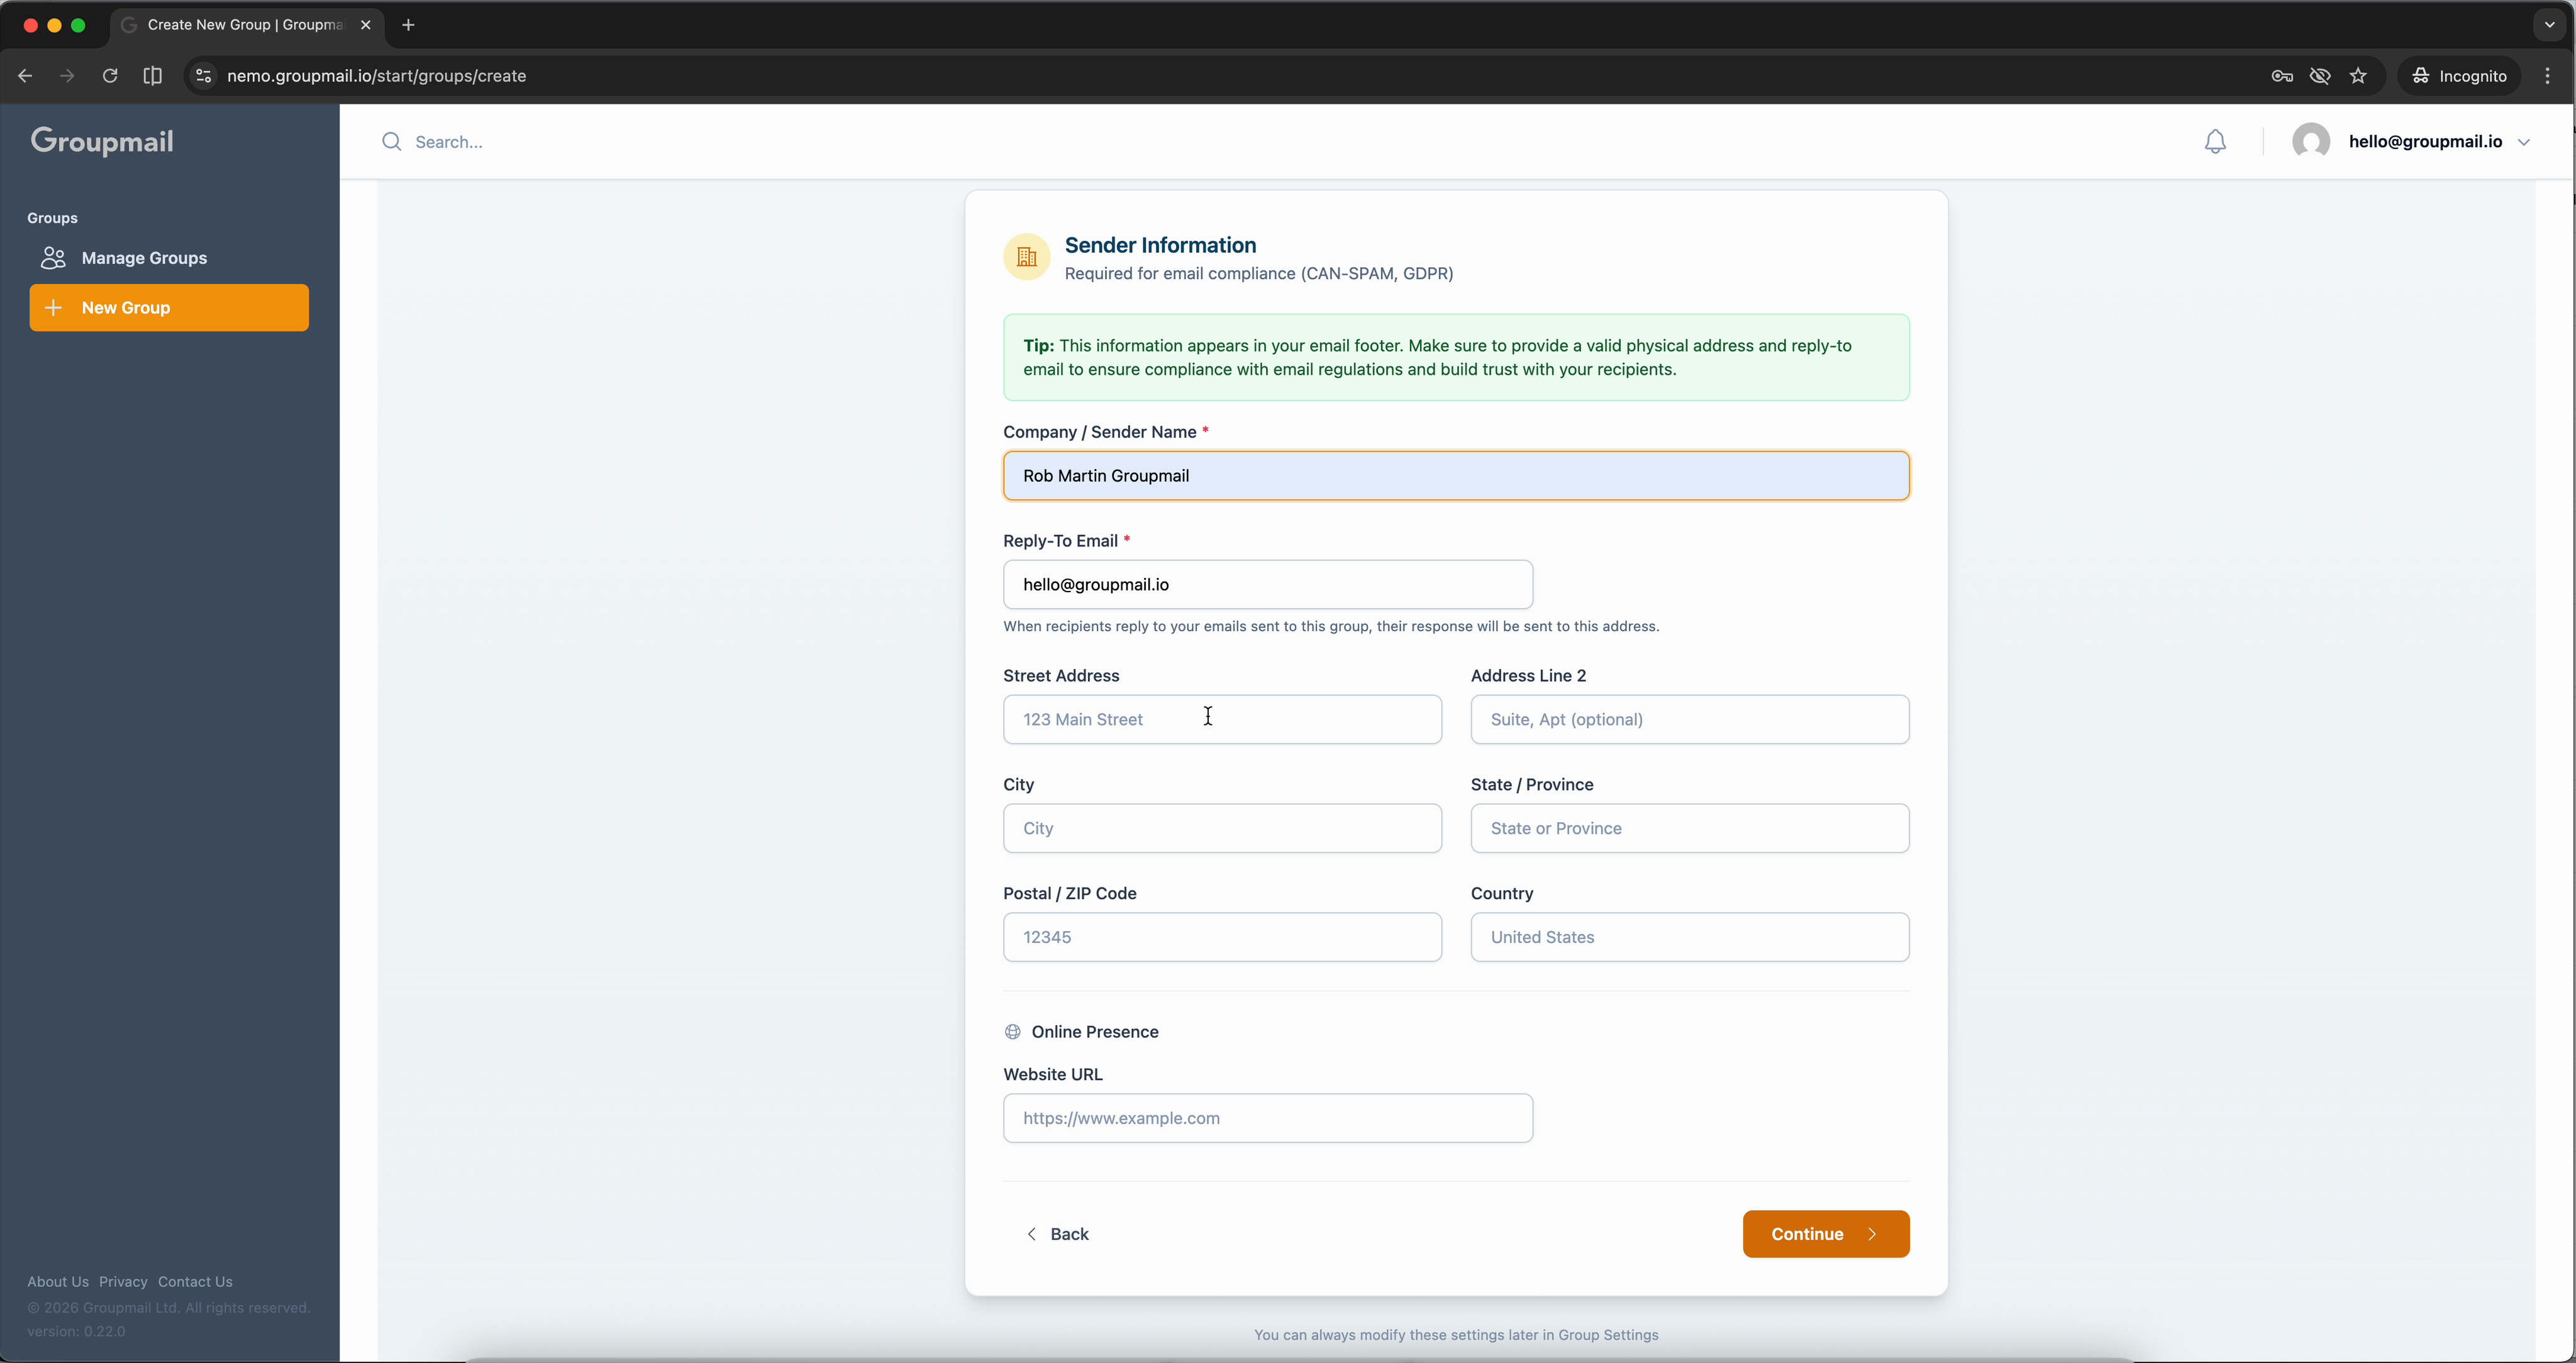
Fill in your company or sender name, reply-to email address, street address, city, postal code, and country. You can also add a website URL under the Online Presence section.
Each group maintains its own sender identity — perfect for businesses with multiple brands or departments.
Sign-up Form and Add Contacts
The wizard includes a Public Sign-up Form step. If you haven't completed the sender details, you'll see a note that sender information is required before enabling the form. You can always configure this later in Group Settings.
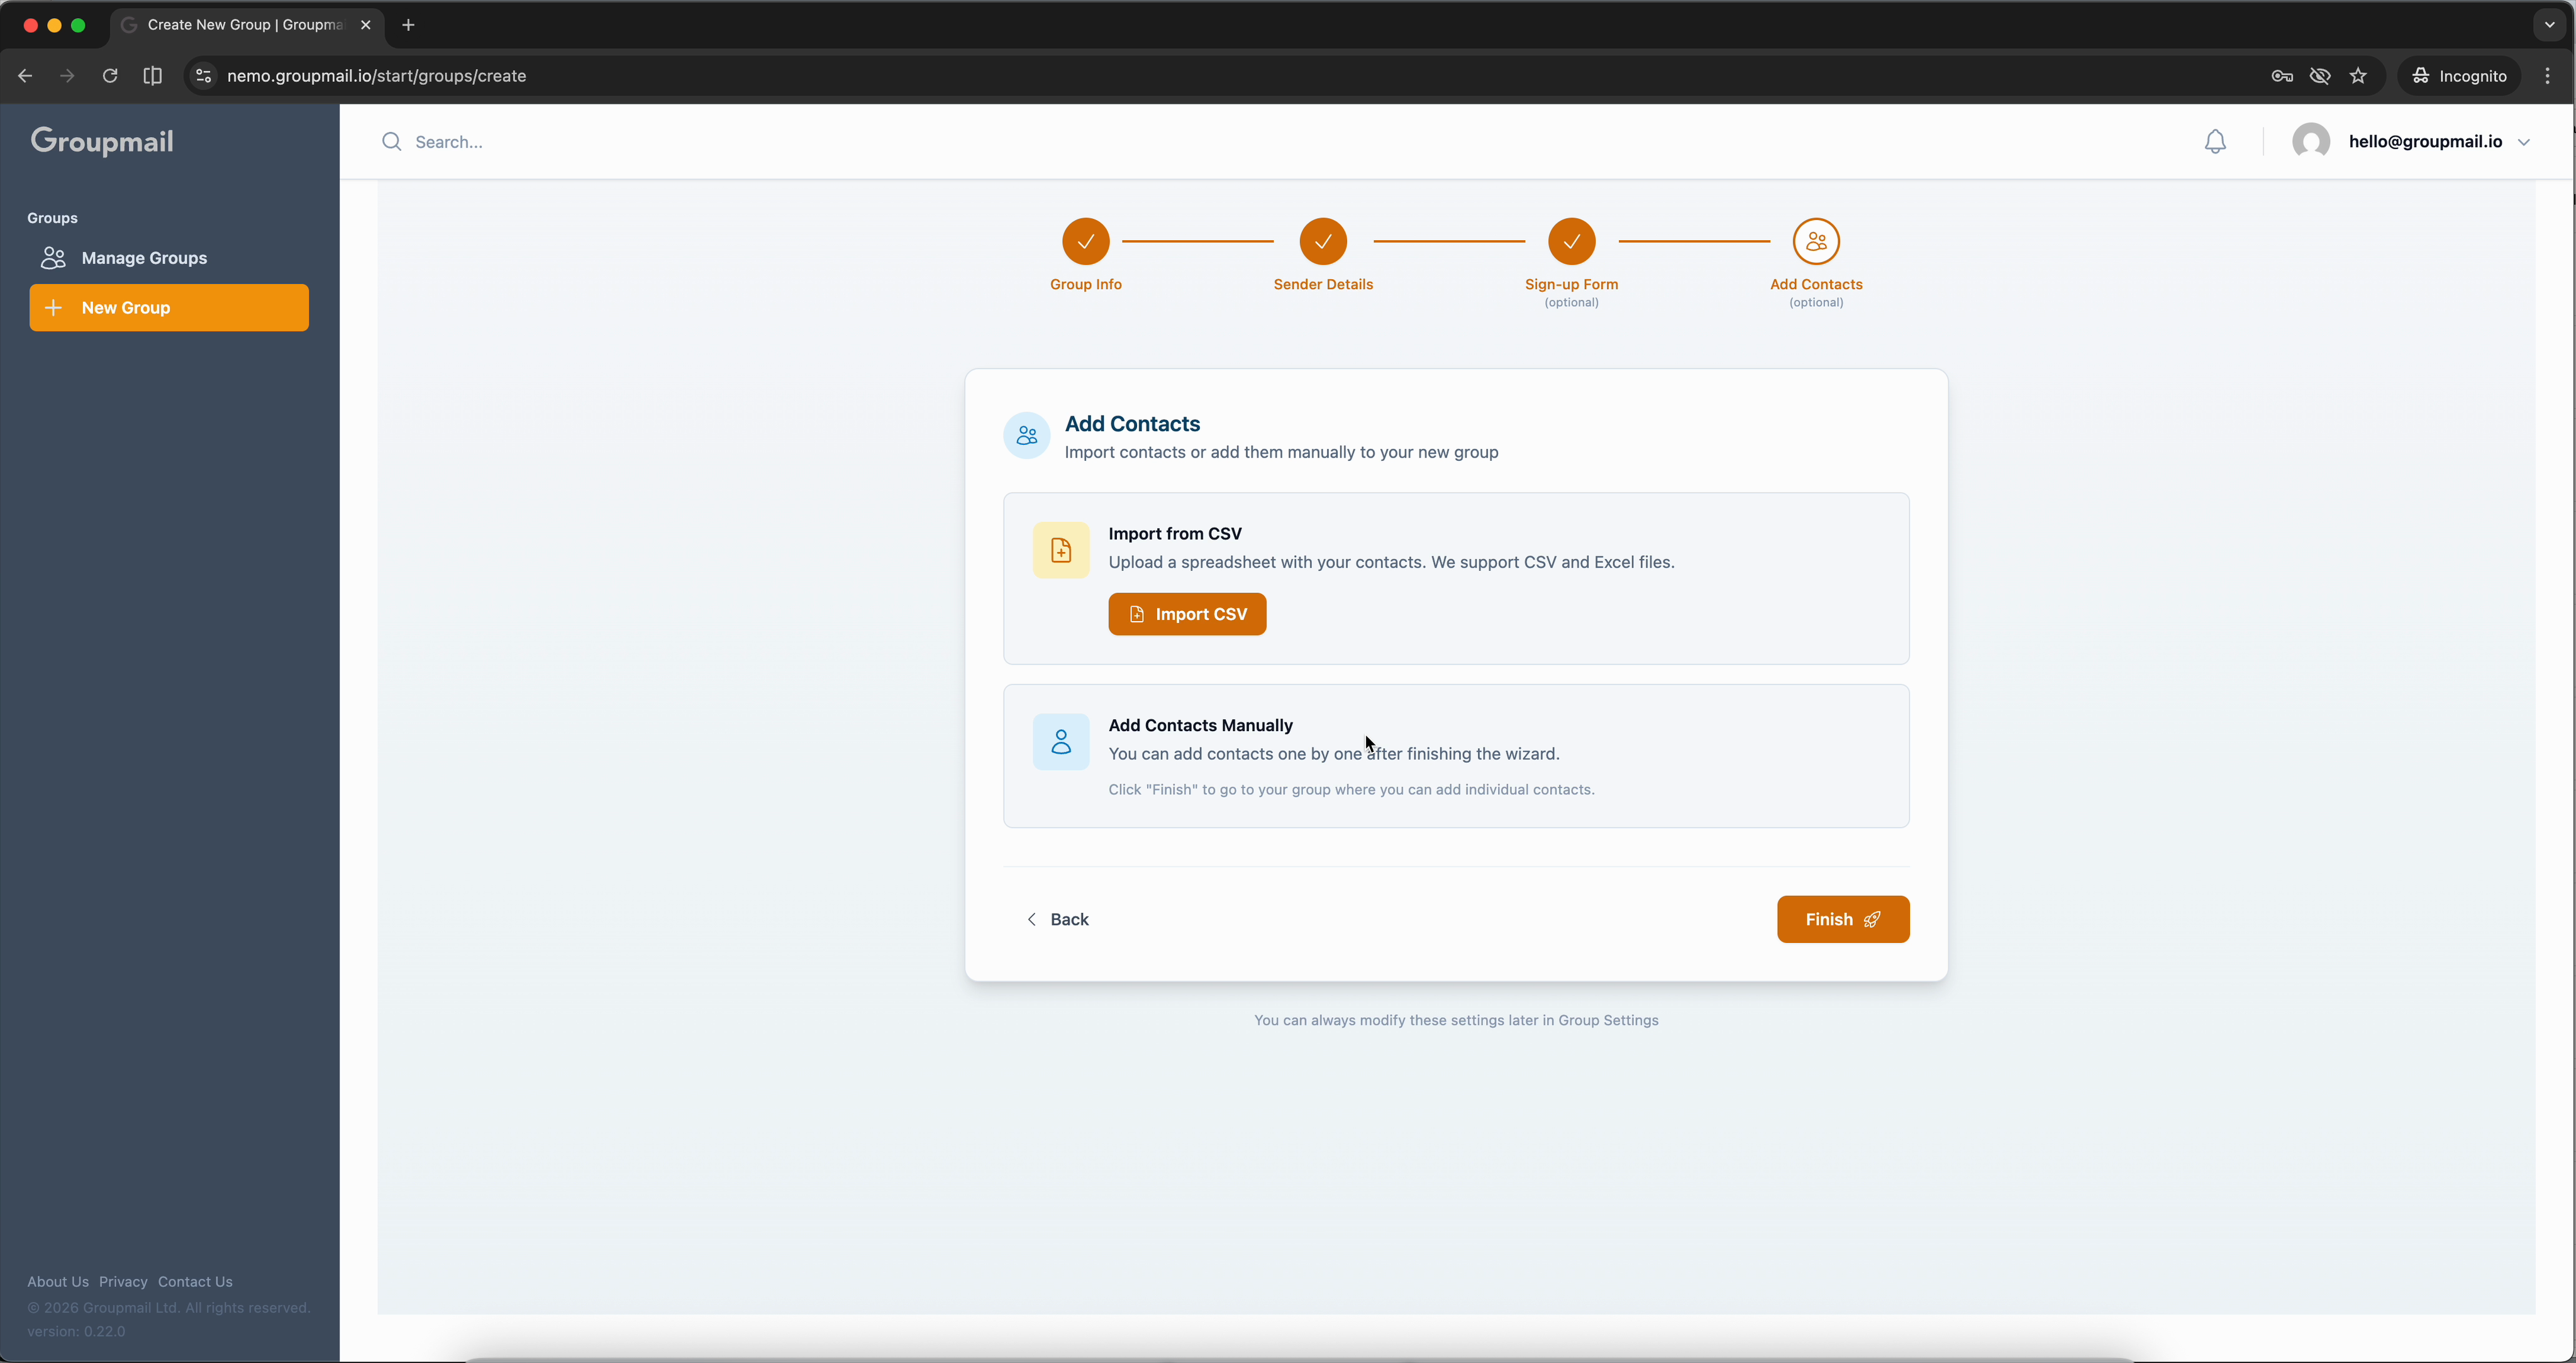
On the final step, you can Import from CSV to upload a spreadsheet of contacts, or click Finish and add contacts manually afterward.
Your New Group is Ready
Click Finish and you'll land on the Contacts page for your new group. The sidebar now shows your new group in the Current Group dropdown, and you can switch between groups at any time.
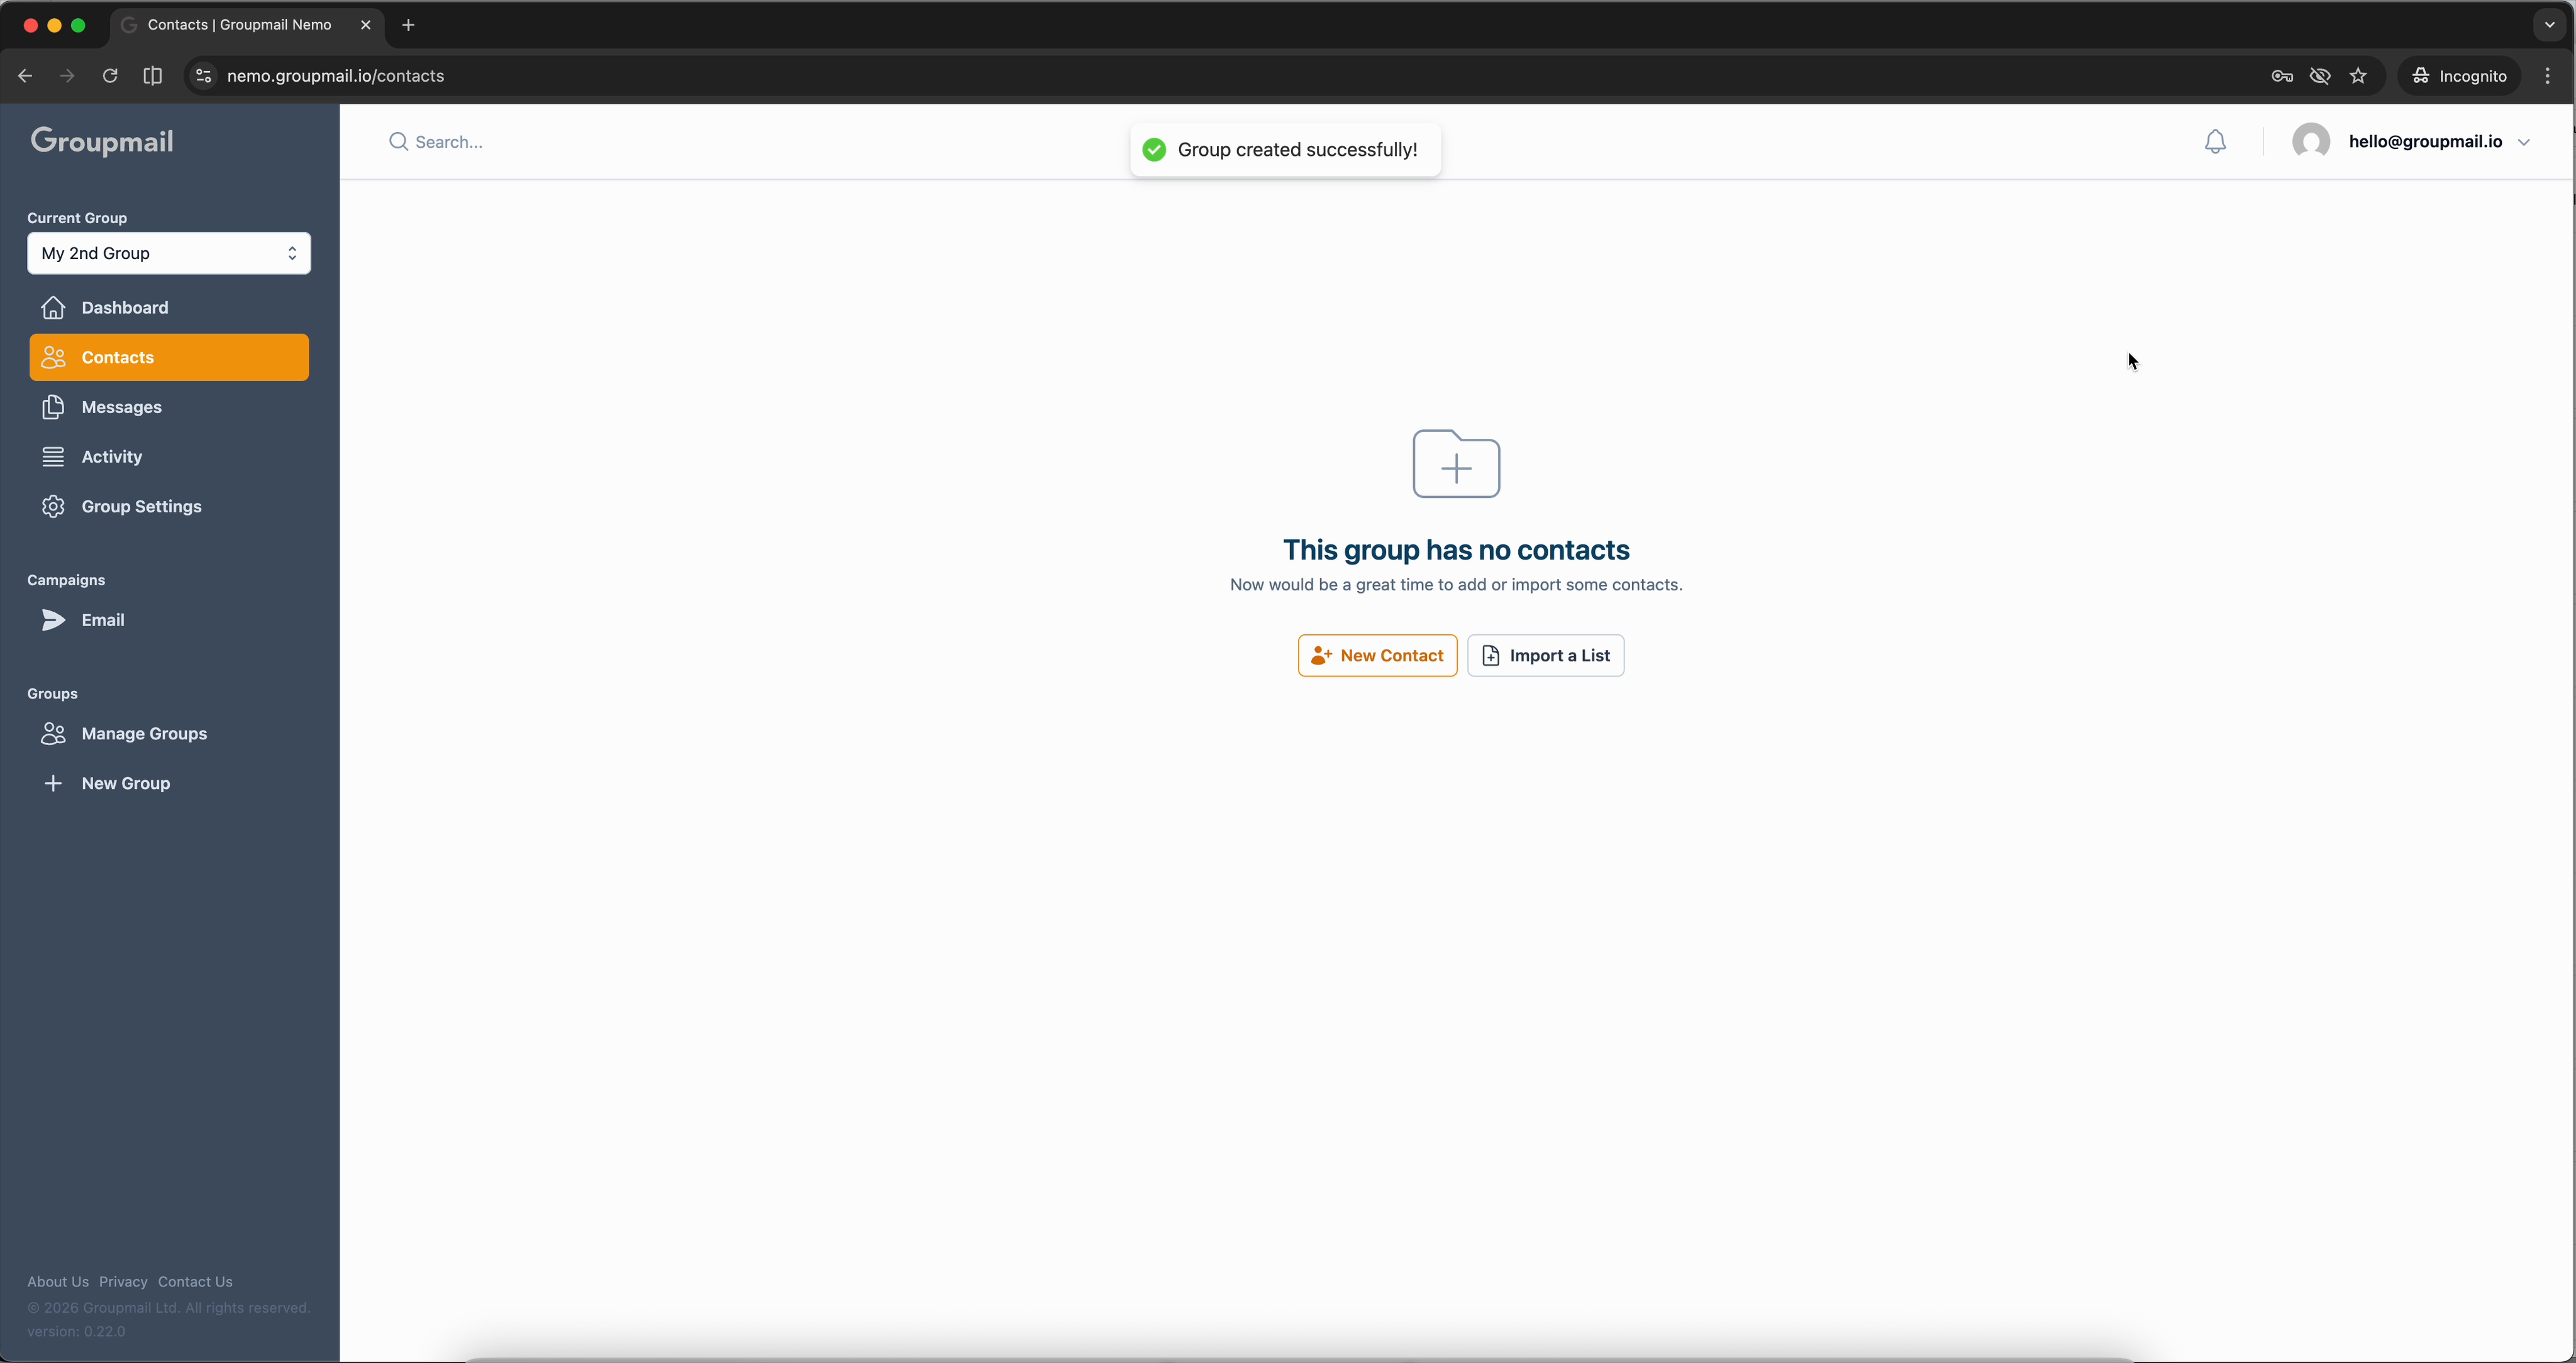
From here you can start adding contacts, create messages, or head back to the dashboard to see your group summary.
What's Next?
- Add Contacts — Import contacts in bulk from a CSV file or add them one by one.
- Set Up a Subscription Form — Let visitors subscribe directly from your website.
- Create a Newsletter — Write and send your first message to this group.